
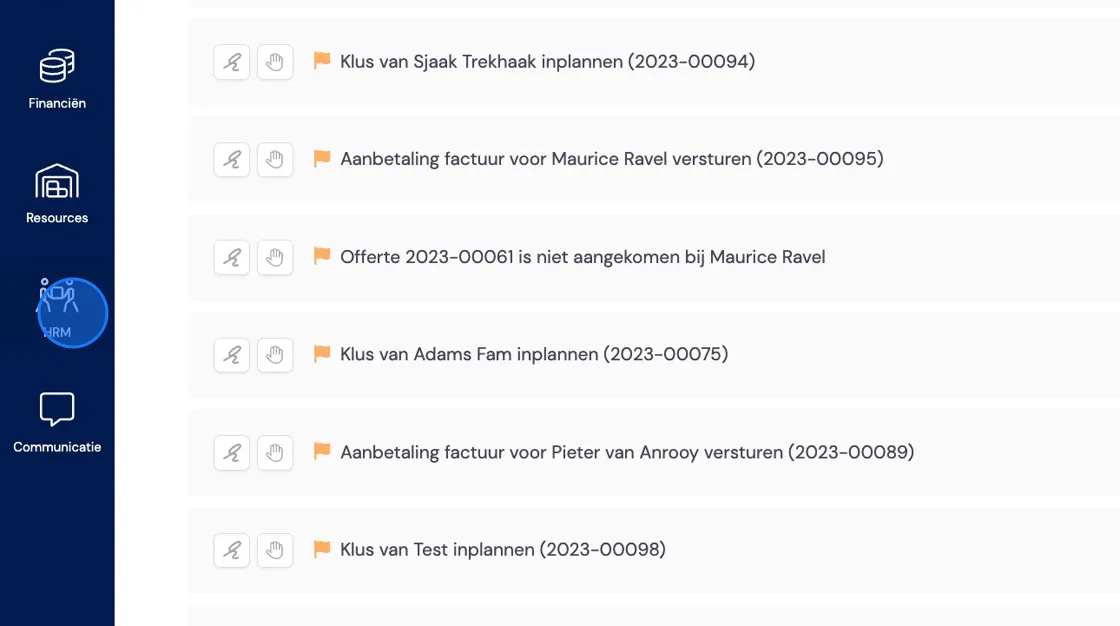
It can happen that a mover incurs costs during the job that are for the company’s account. They can then submit an expense claim via the app, which you can process in the way described below. For setting up categories, see the bottom of the page. Go to HRM.
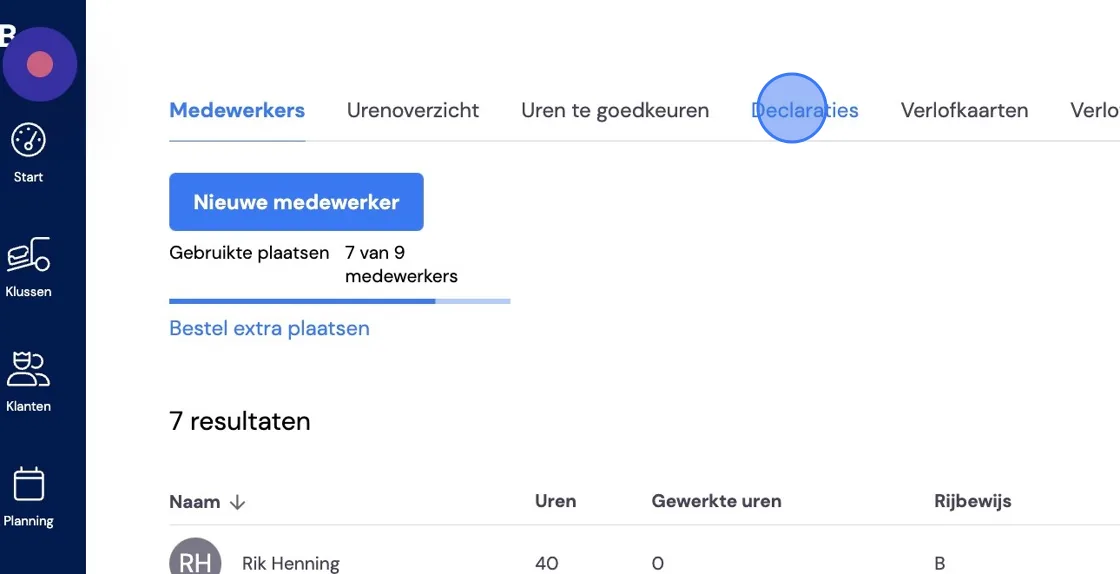
Go to Expense claims.
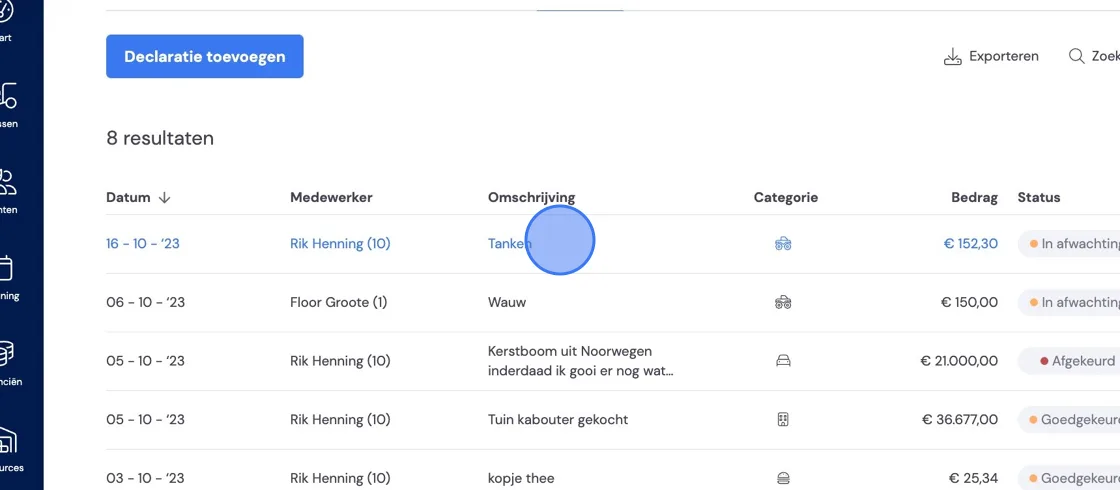
Here you’ll see an overview of all requests and their status.
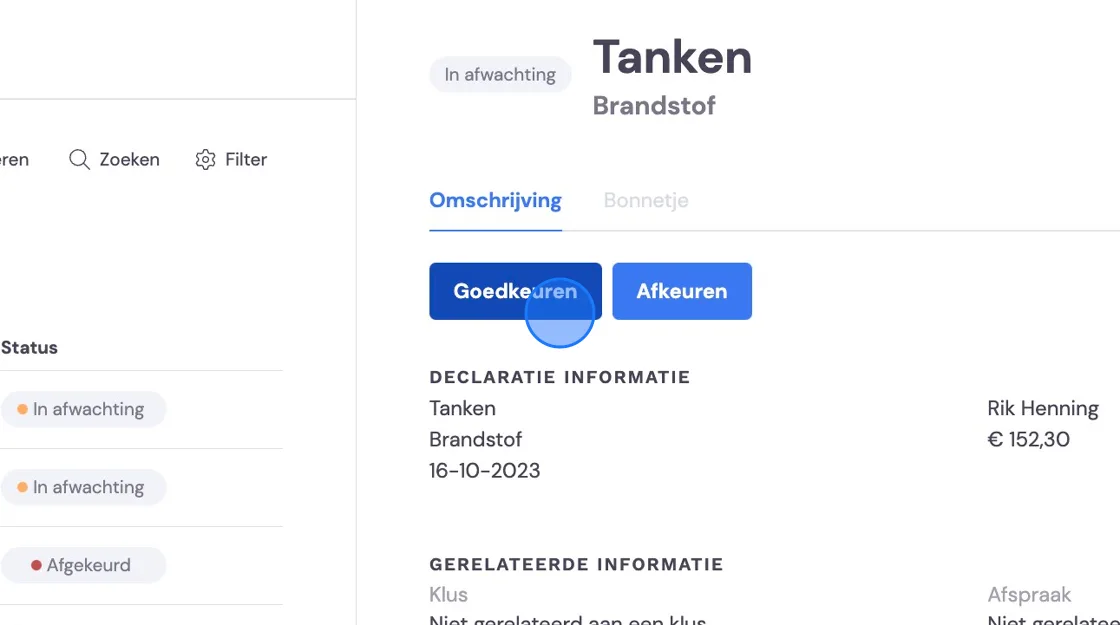
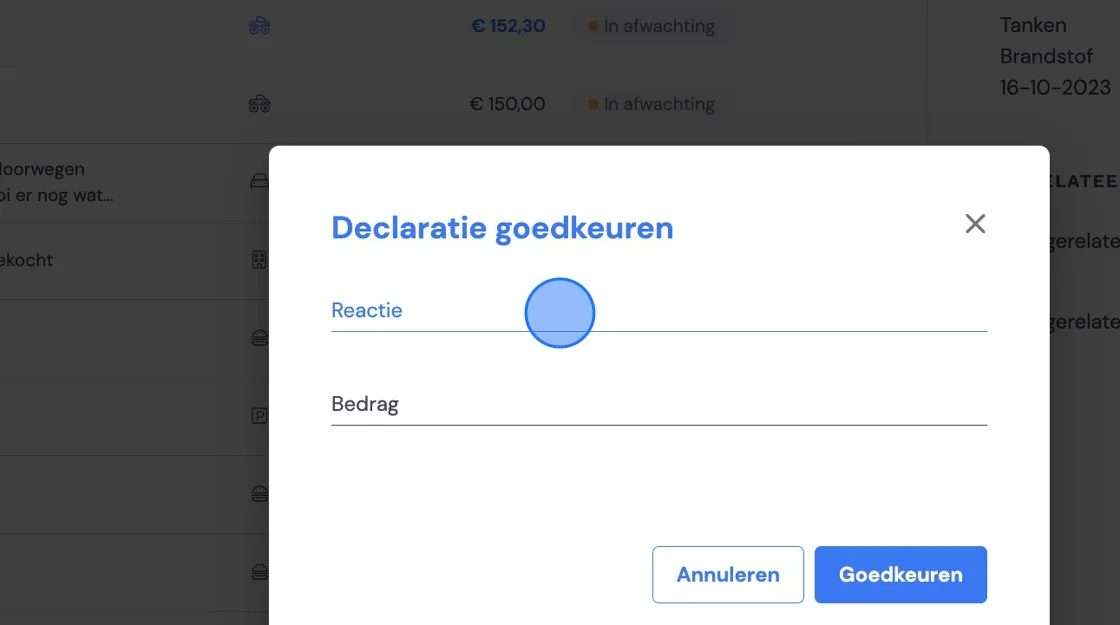
You can view any request. If the employee has taken a photo of the receipt, that button will be visible. Any comments can also be found here. If you agree with the request, you can click approve.
Add a comment and enter the amount you’re going to reimburse.
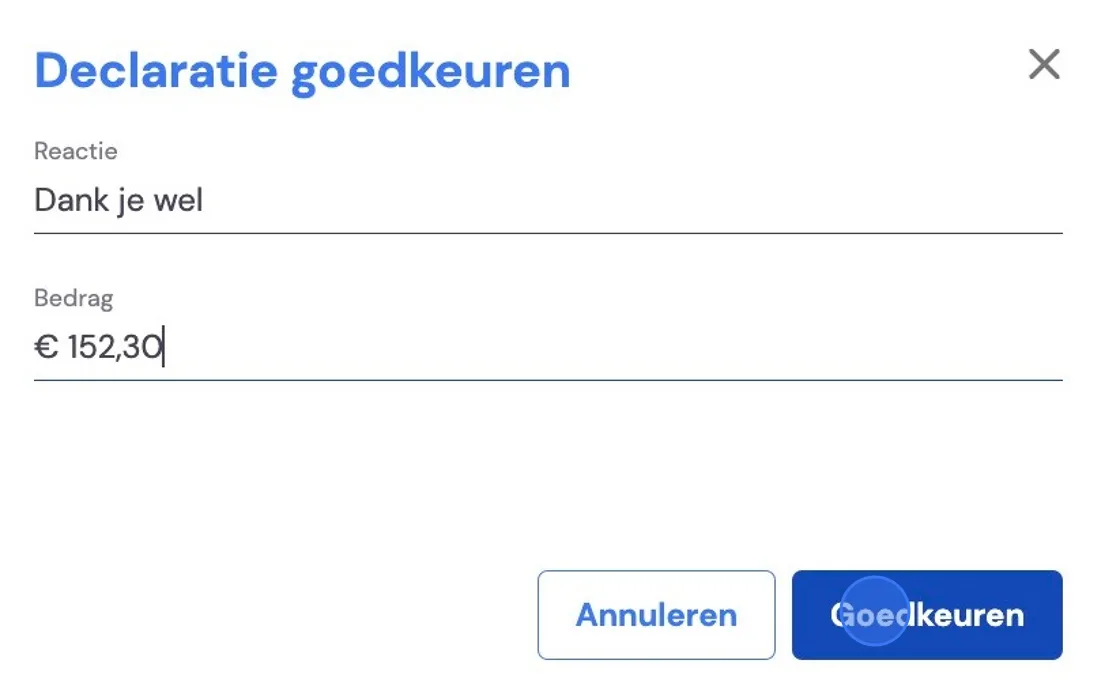
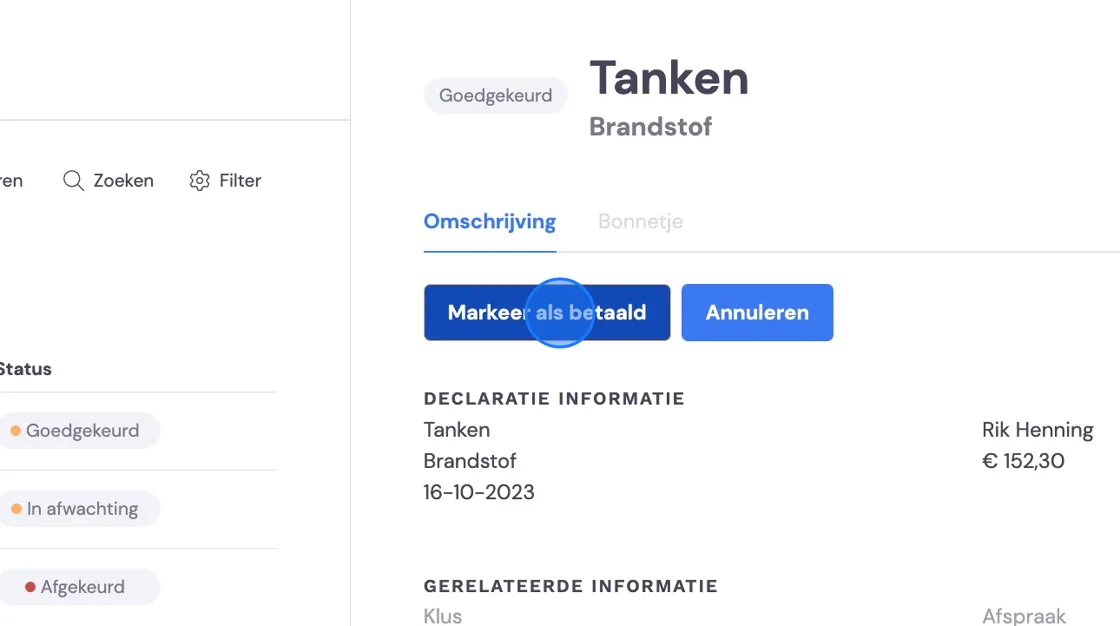
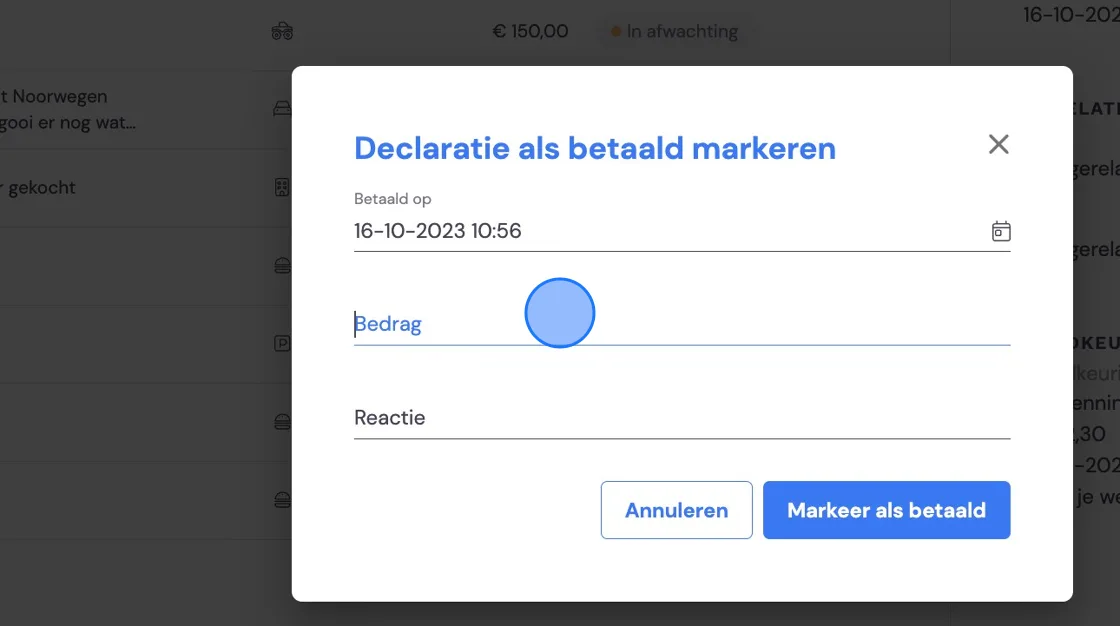
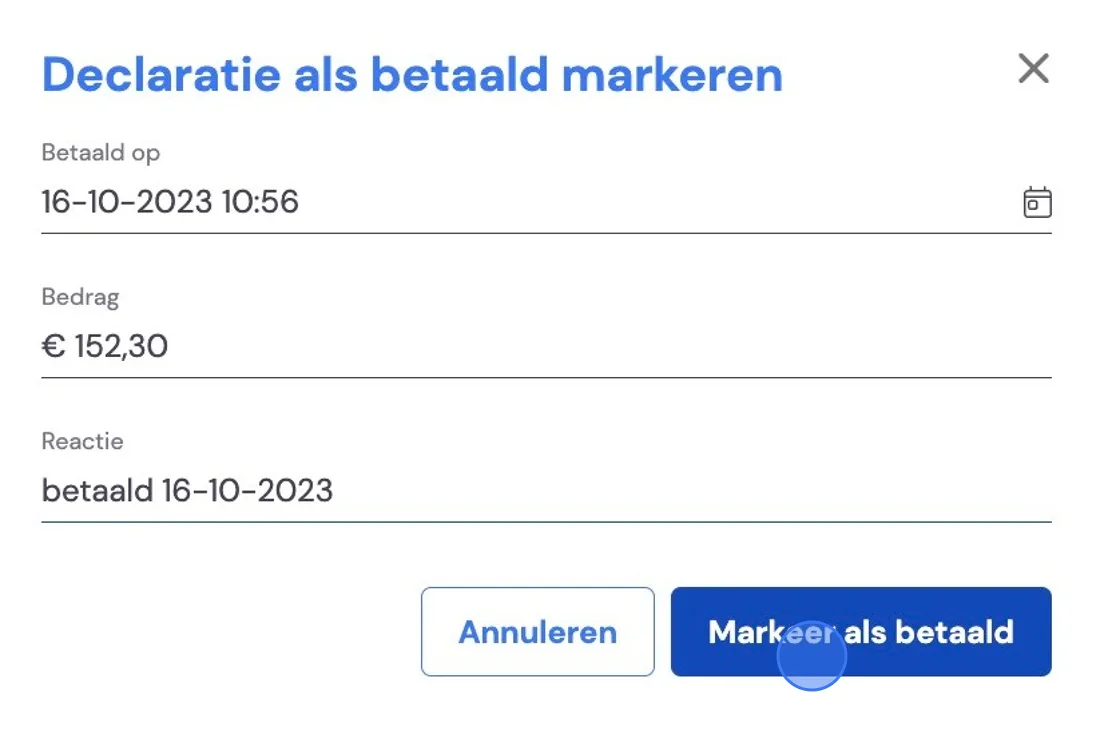
You then still have one step to complete, which is marking this expense claim as paid once you’ve also made the payment.
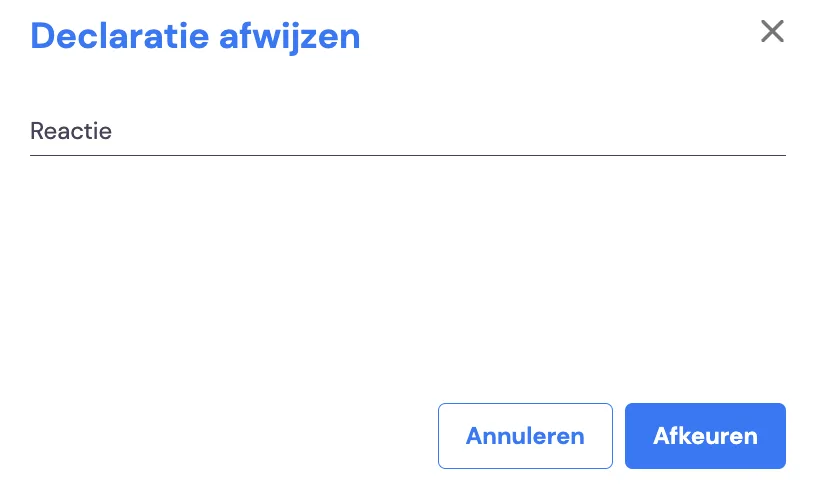
You can also reject the request. This allows the employee to make changes or submit a new request if anything isn’t correct. Everything you enter or process here is immediately visible to the employee in their app.
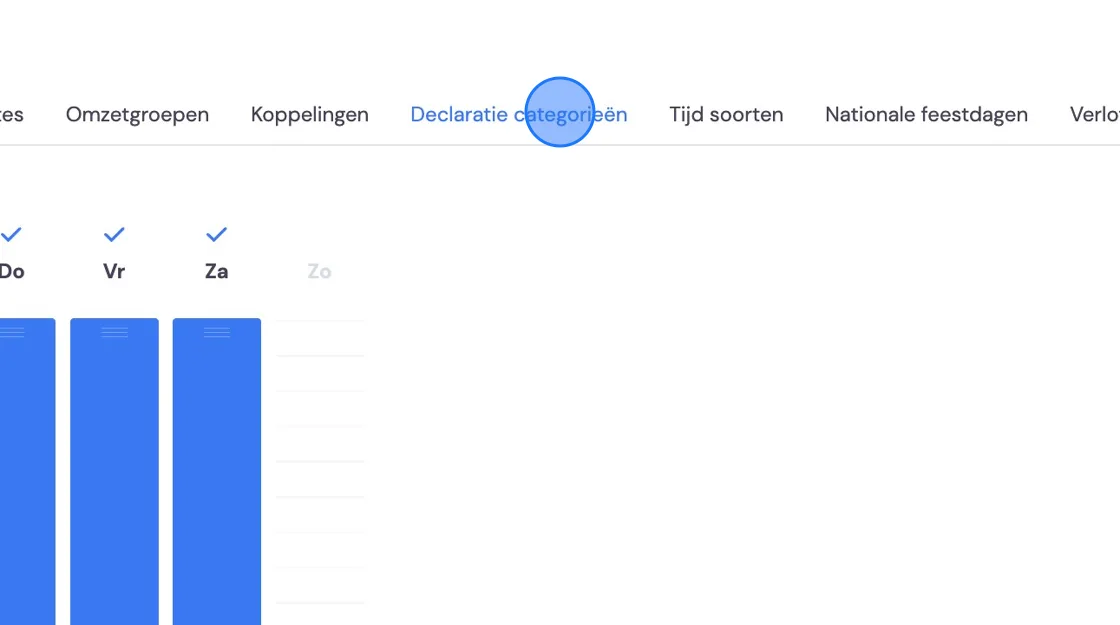
It’s also possible to create your own categories for the types of expense claims. Below you’ll find where you can do this. Go to Settings -> Expense claim categories.
Here you have an overview of all categories. Here you can also make changes to an existing category.
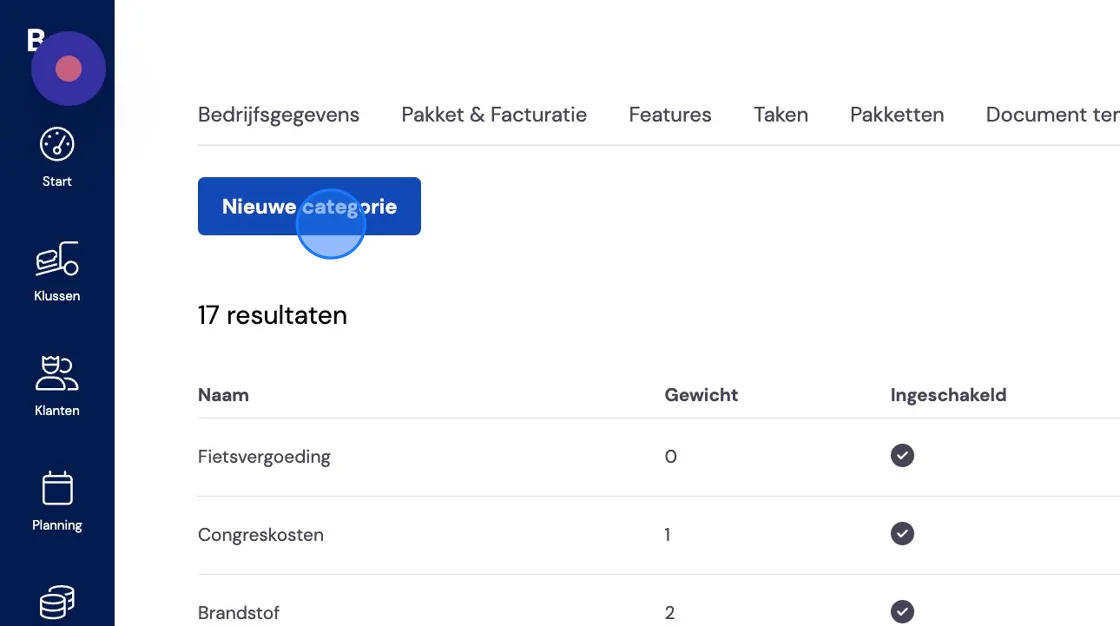
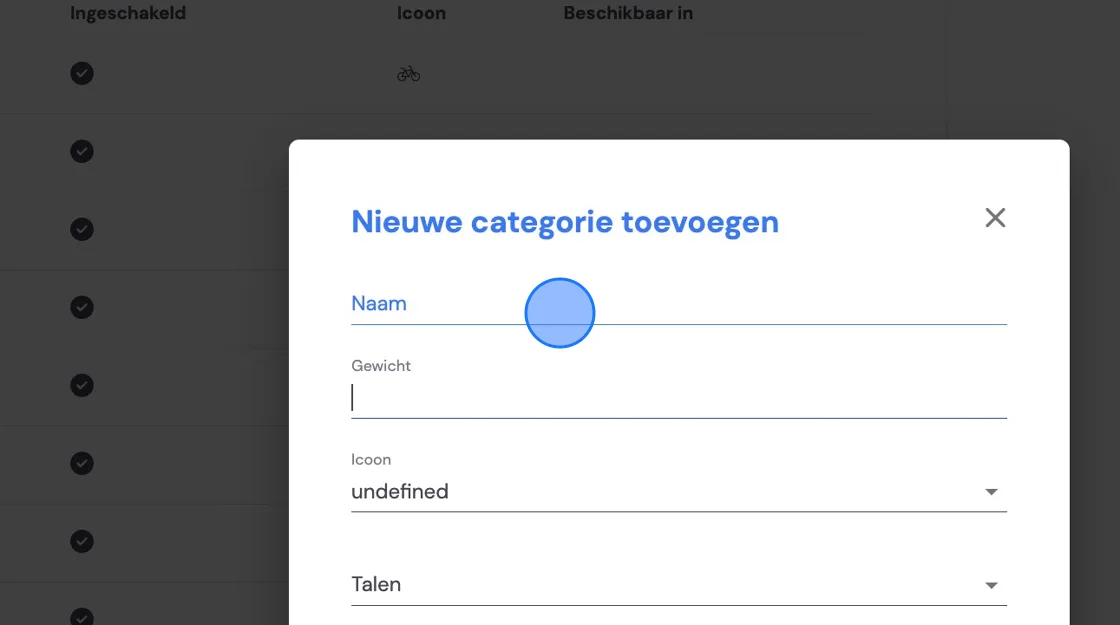
You can give it a name here. The weight determines how high it appears on the list for your employees, and you can choose icons.