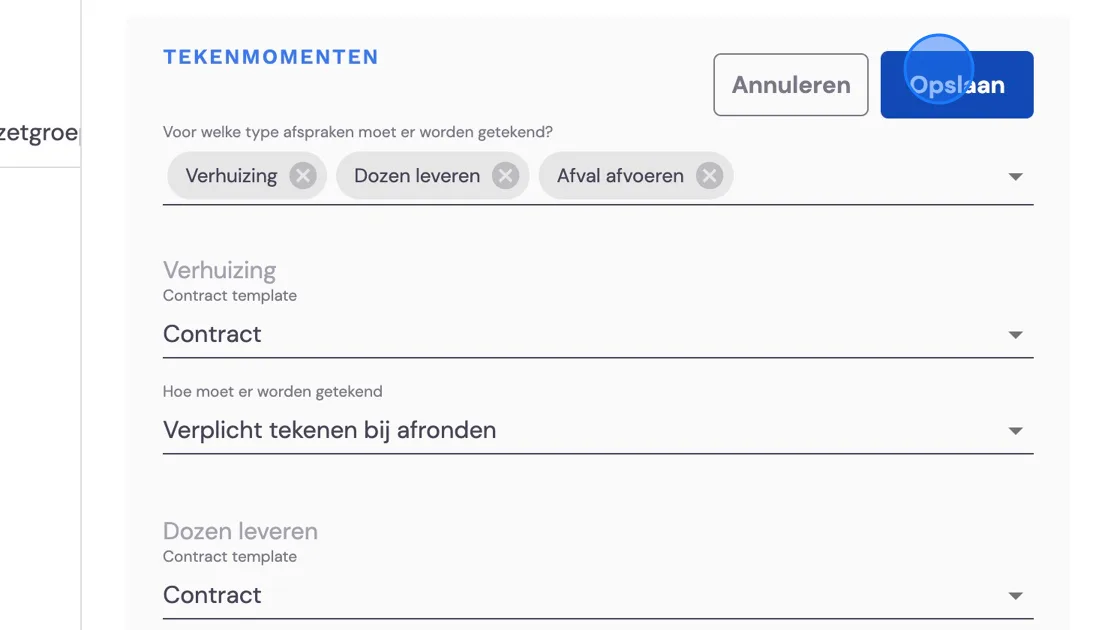
1. Welcome to part 2 of setting up a private move package. If you still have the end of part 1 open, scroll back up. If you've already saved the package and want to continue now, find the package under settings - packages - and the package you were working on. Then click on edit.
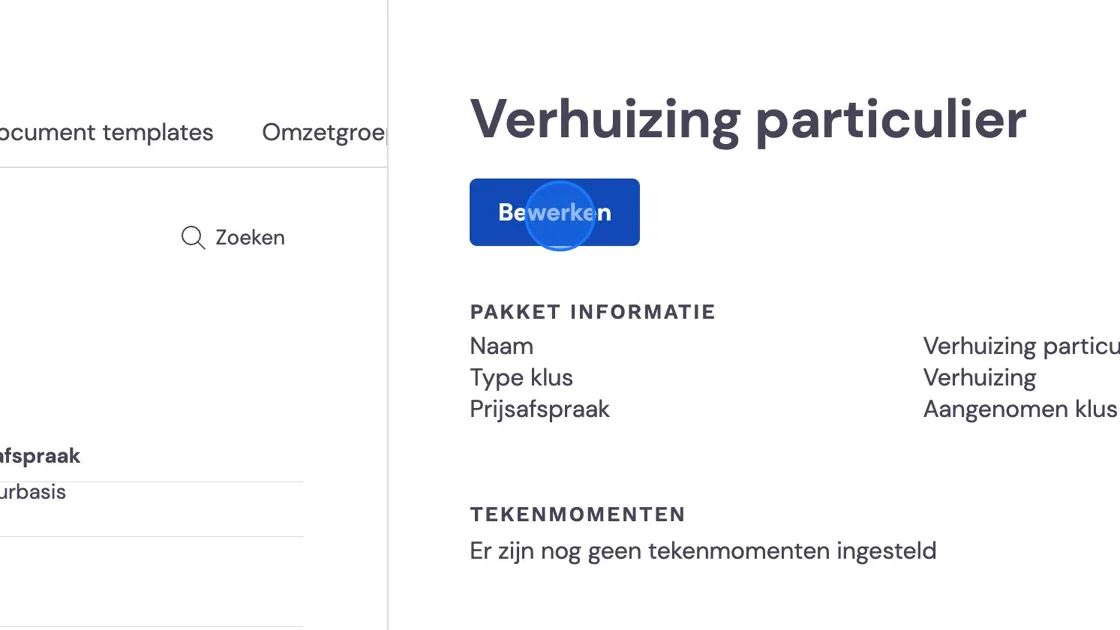
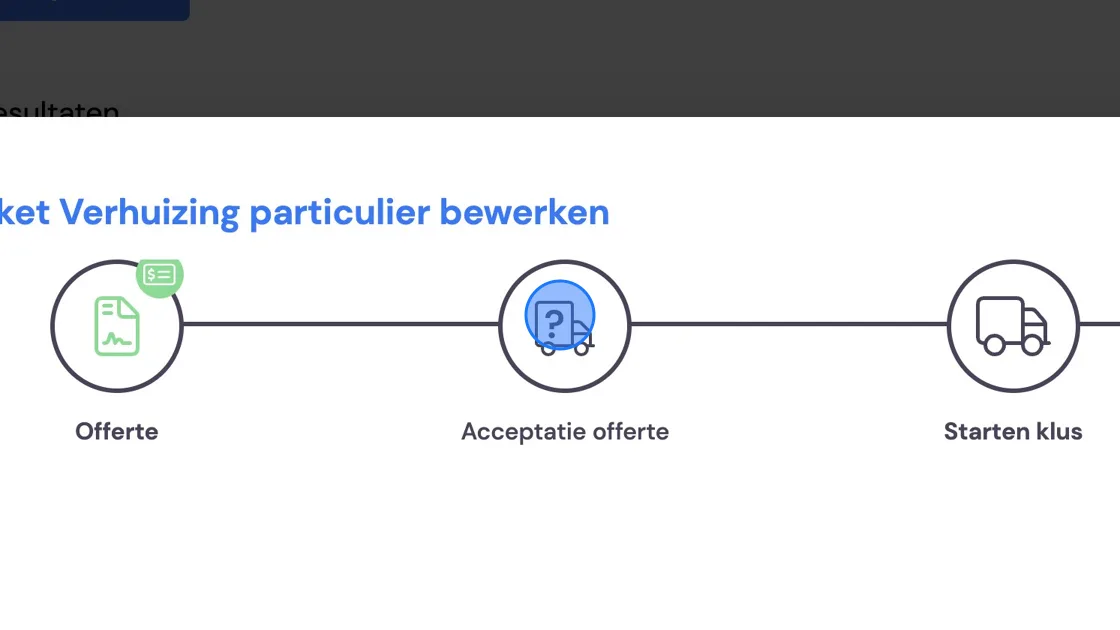
2. We're now going to choose the moment at which the invoicing task is created. There are two scenarios for this:
invoicing 100% can happen at any moment of the job. For this, you choose the moment that suits you best.
invoicing partially, e.g. 50/50 for a move via storage, or a 10% deposit. For this option you choose two invoice moments. Further on we'll explain everything that will then happen.
Note: Say you work with a deposit, or the move must be paid for before it's carried out - then this has consequences for how the move proceeds within Bas. A move with a package that has a payment moment at Quote acceptance will have the phases Deposit sent and Deposit received. As long as no payment has been received, it's not possible to schedule the move. So you can't create work orders to deliver boxes that are visible to employees. If you do want to be able to schedule the move before receiving a deposit, we recommend setting the invoice moment at "starting job" and adjusting the task for sending the invoice under Features to suit your company's needs.

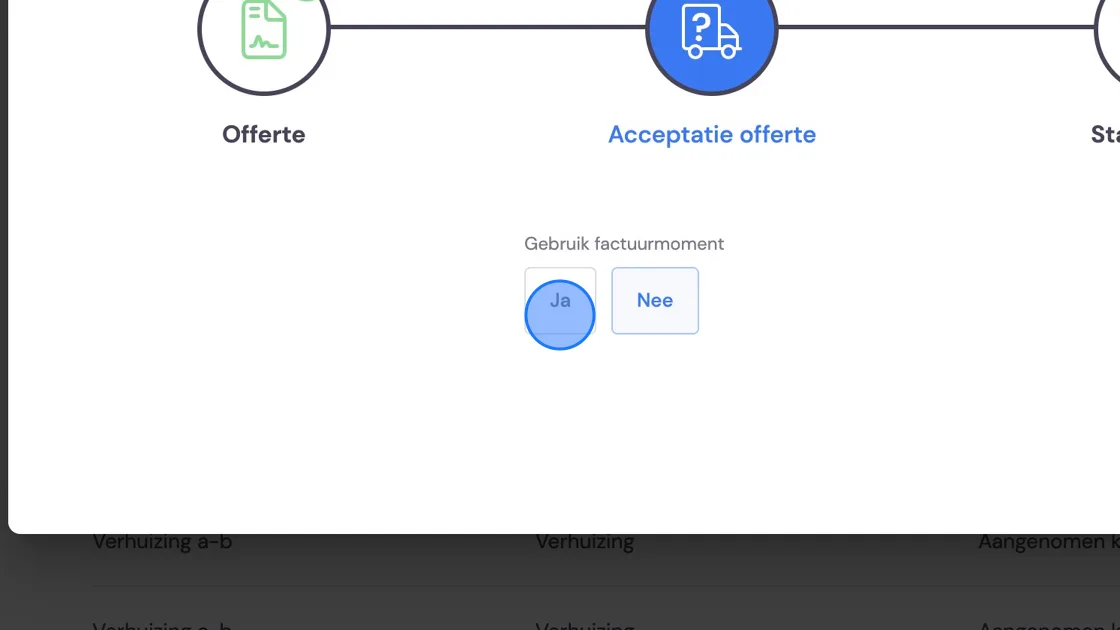
3. Choose "Yes".
4. Here choose Including or Excluding VAT and the invoice template you created beforehand. Note: If you've chosen one of the last 3 invoice moments, you also have the option here to let the removal crew settle payment on the job. This can be done by card or cash, but we also offer a link with payment provider "Mollie". See all the options for this at:
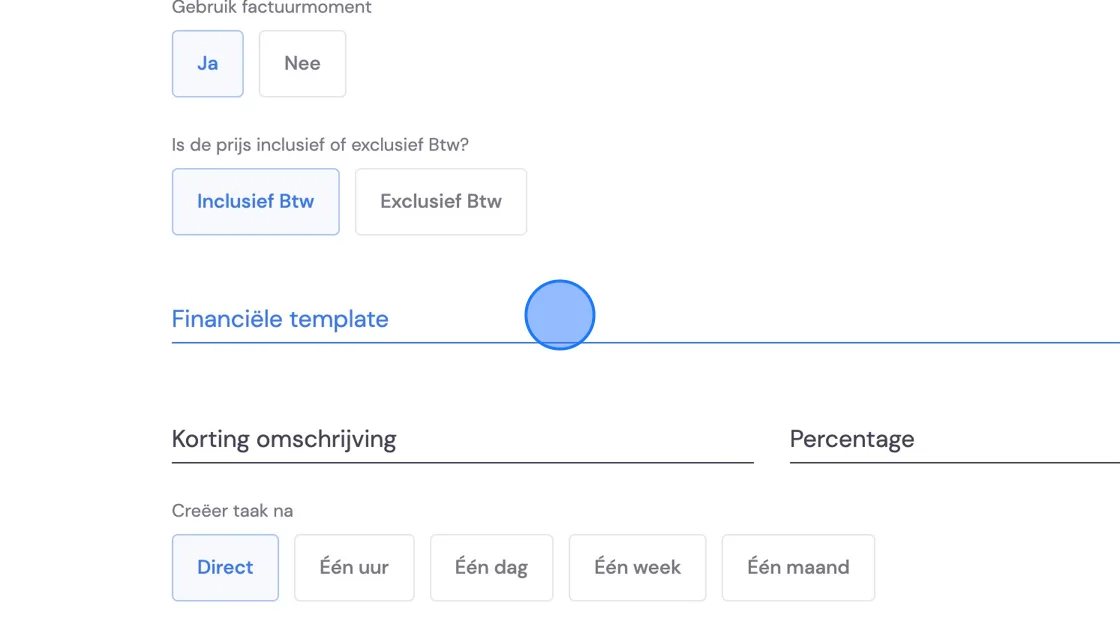
5. Here you can enter standard discount lines if you want to. This always works with percentages. These can later be adjusted or removed by the surveyor.
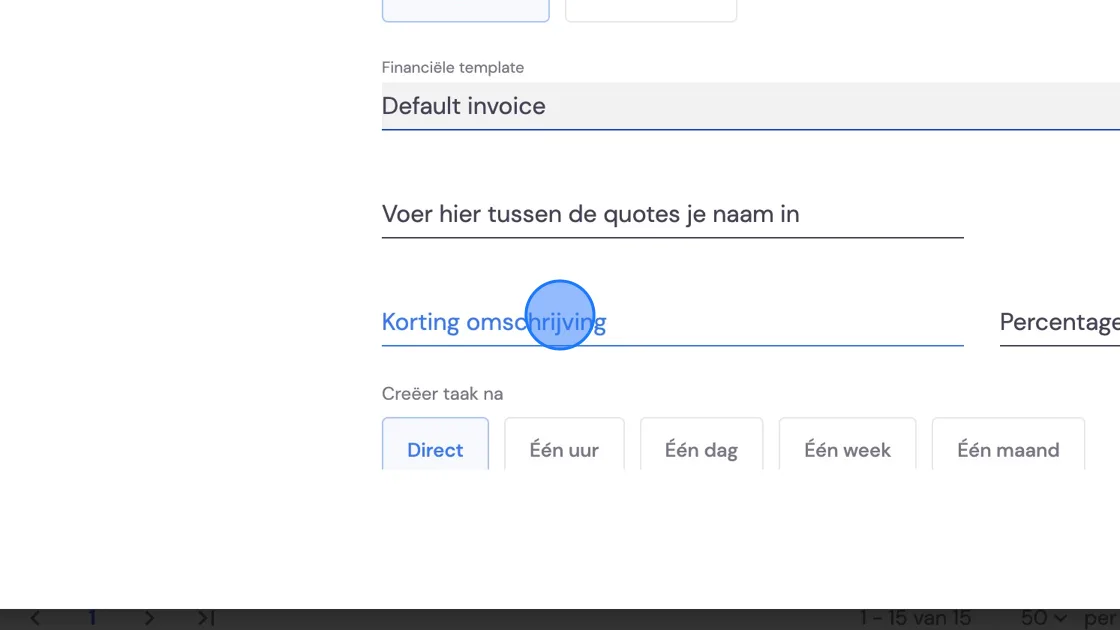
6. The option "Create task after" gives you the ability to move the moment at which the task for creating and sending the invoice takes place, according to your process.
After that, you have the choice to add more items to the invoice. Adding fixed amounts is for packages without a quote (see Creating a business move package).
But if you've chosen two or more invoice moments in your package, then at the first invoice moment you can fill in the percentage or fixed amount you initially want to invoice. Then, at the second invoice moment, as soon as the move reaches that phase, an invoice will be created with the full move amount minus the amount already invoiced. (NB. Storage invoicing is separate from this)
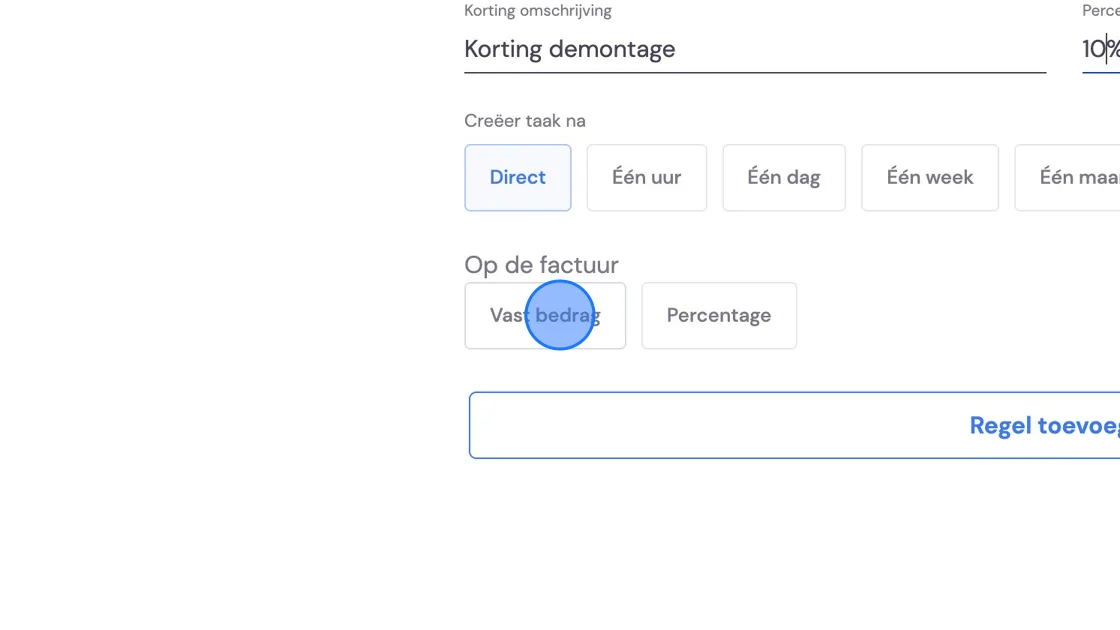
7. Click on "Save" but you're not done yet!
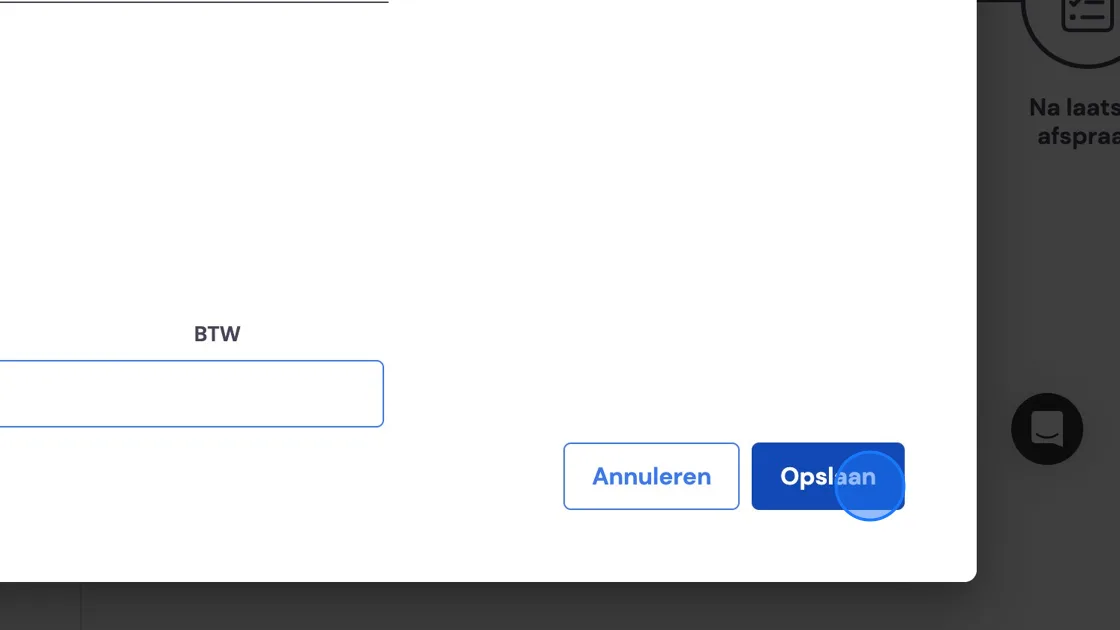
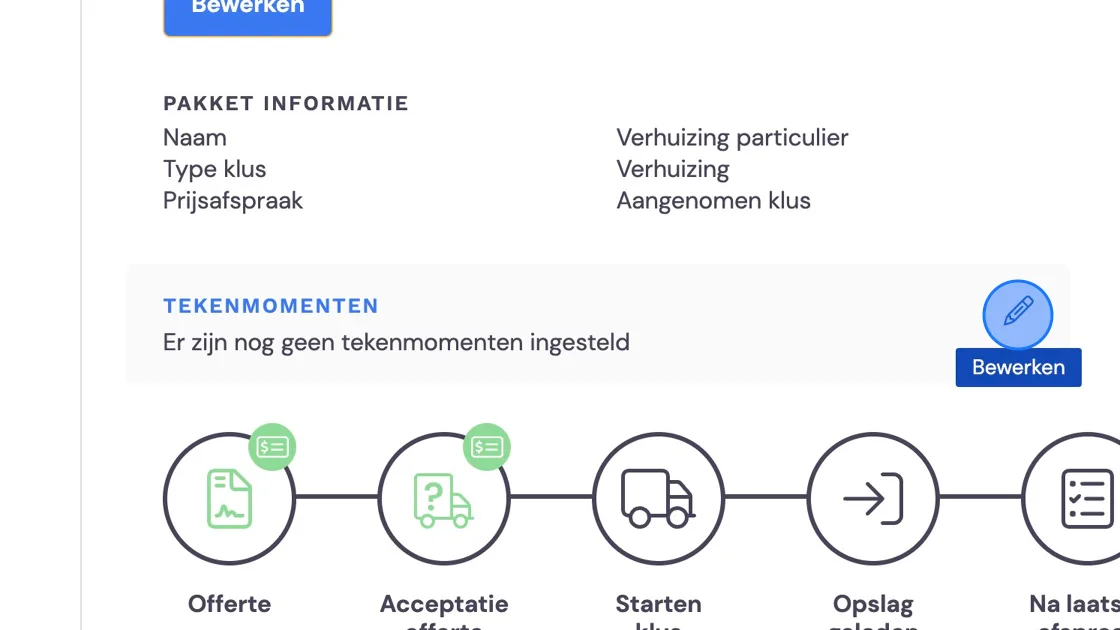
8. You still need to choose a moment at which the removal crew asks the customer for a signature. (The removal crew can skip this step, see point 10.) For example for receipt of boxes and a completed move. Click on the pencil icon next to signing moments. (This appears as soon as you move your mouse over that field)
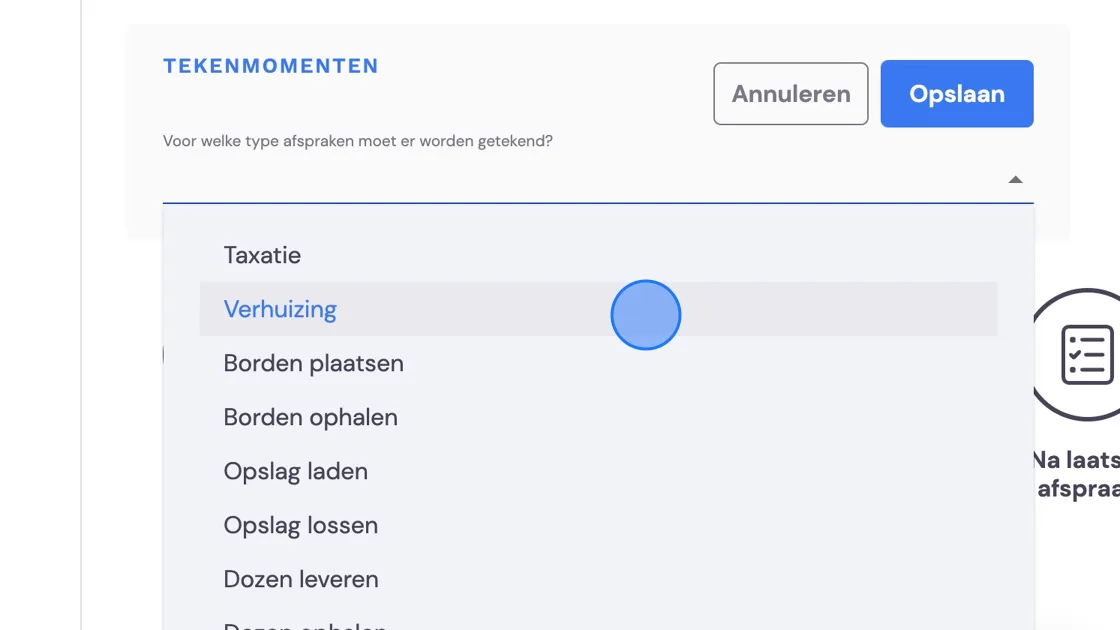
9. Choose the moments.
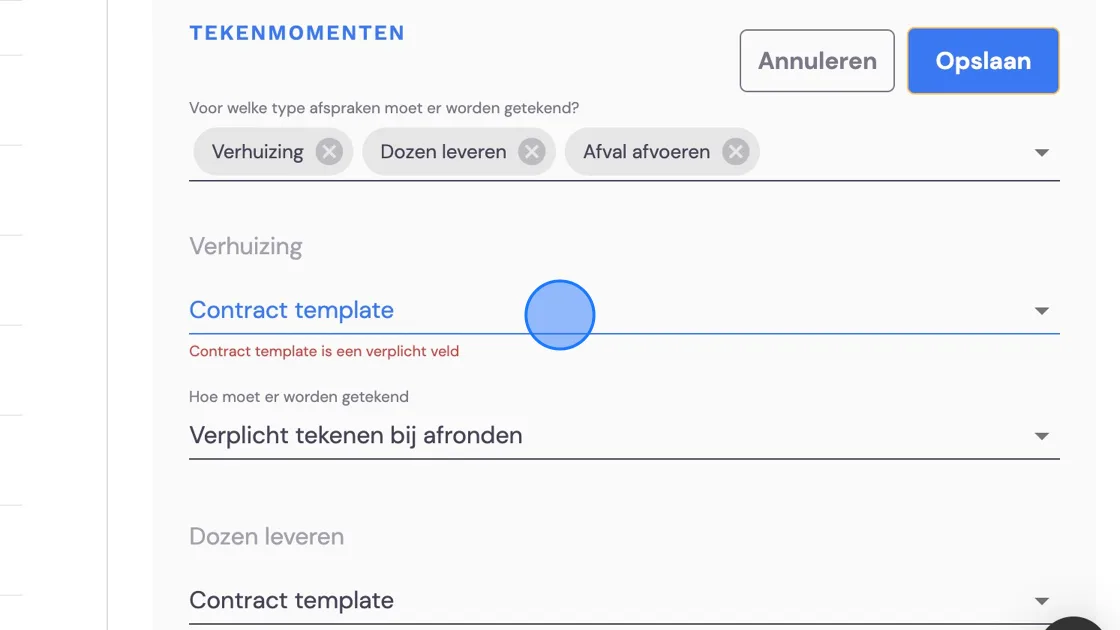
10. Here choose a signature template for each individual moment. BAS provides a standard one, but you also have the option to personalise it. You can do that in the same menu where you created the invoice and quote templates.
Under the template you can also choose whether the removal crew is required to obtain a signature or whether this can be skipped.
11. Once you're done with that, you can get started with this move package.