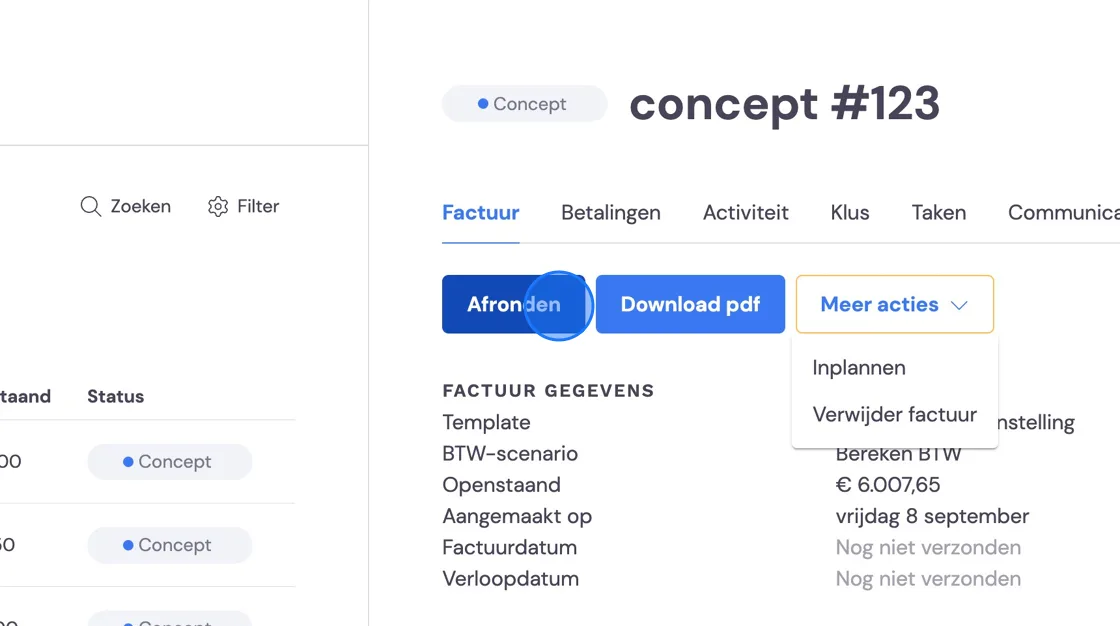
Invoicing a customer's recurring jobs works as follows. If all is well, you'll already have prepared a lot of this when setting up the right package. You can start adjusting and completing the invoice as soon as each removal task has been completed and the hours have been submitted. It can happen that the removal crew haven't done this yet, or that you want to make some adjustments to the hours. To do this, we'll first check the hours. Go to the job.
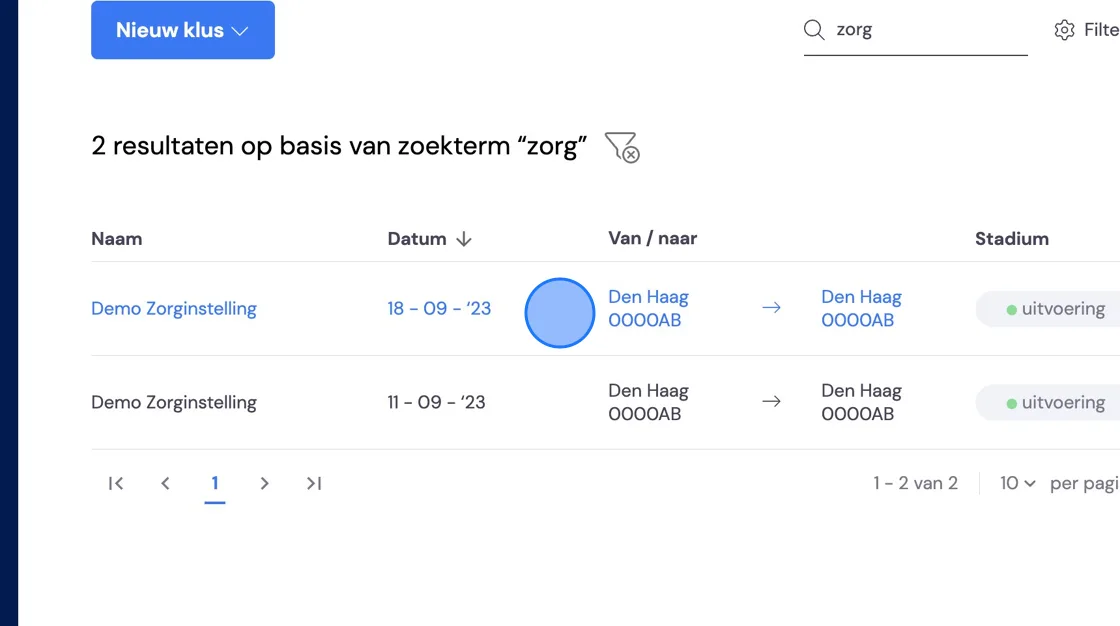
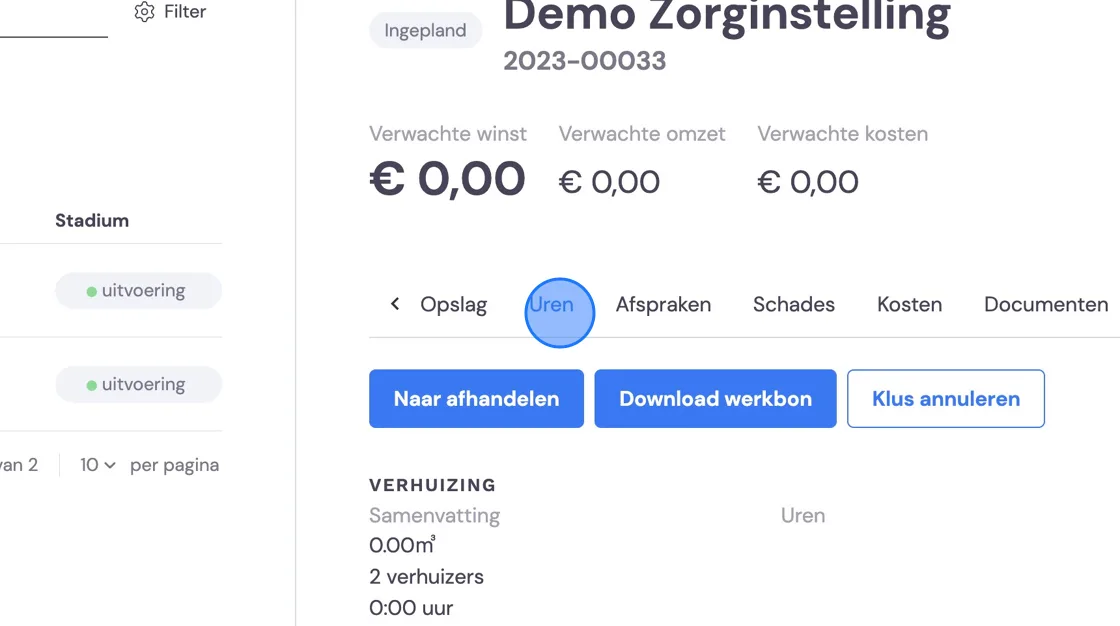
Go to Hours.
Here you'll see an overview of the hours. If you hover your mouse over the various categories, you'll get an explanation of the columns. Clicking the down arrow will expand all of the employee's days.
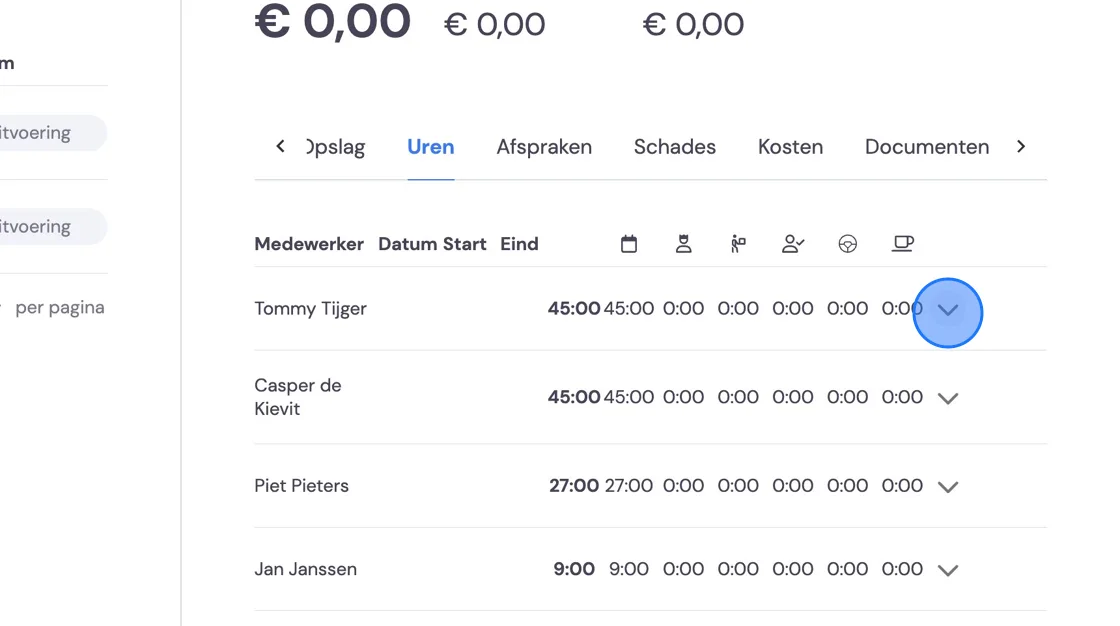
Here you can adjust the hours as much as you like. Any changes you make here will not reach the employee and will also not be included in the payroll hours.
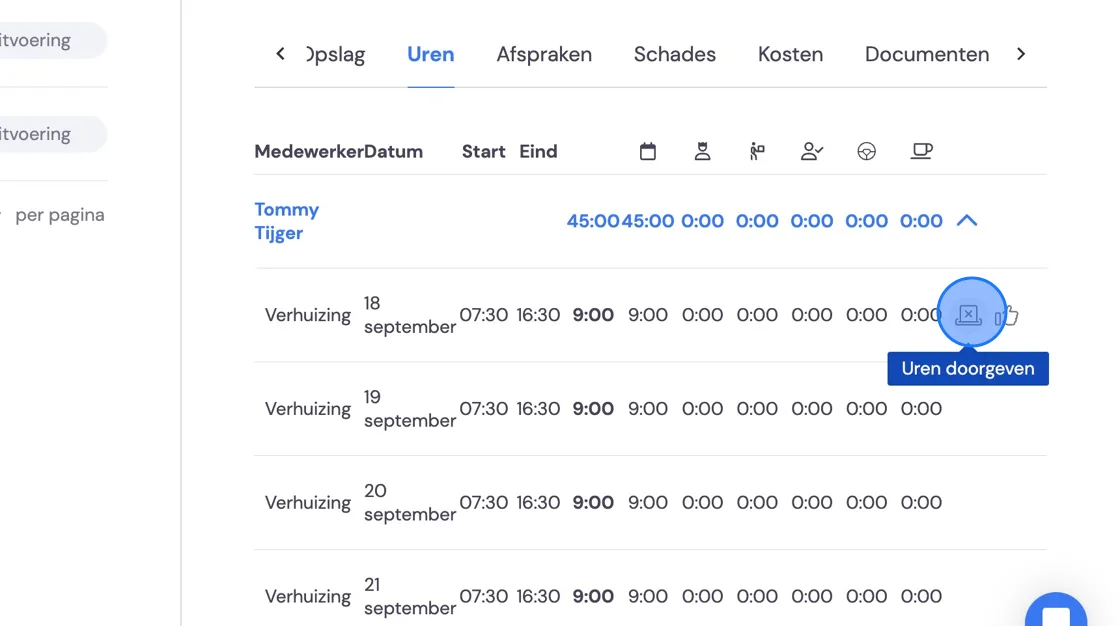
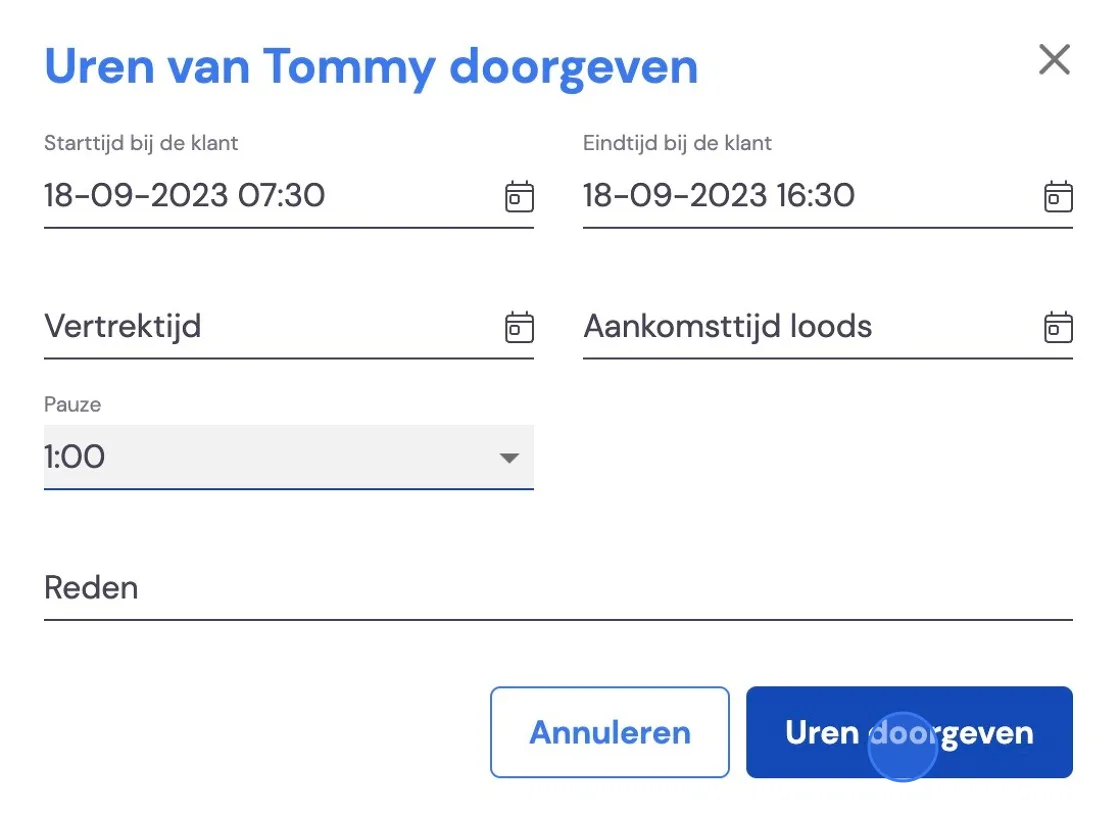
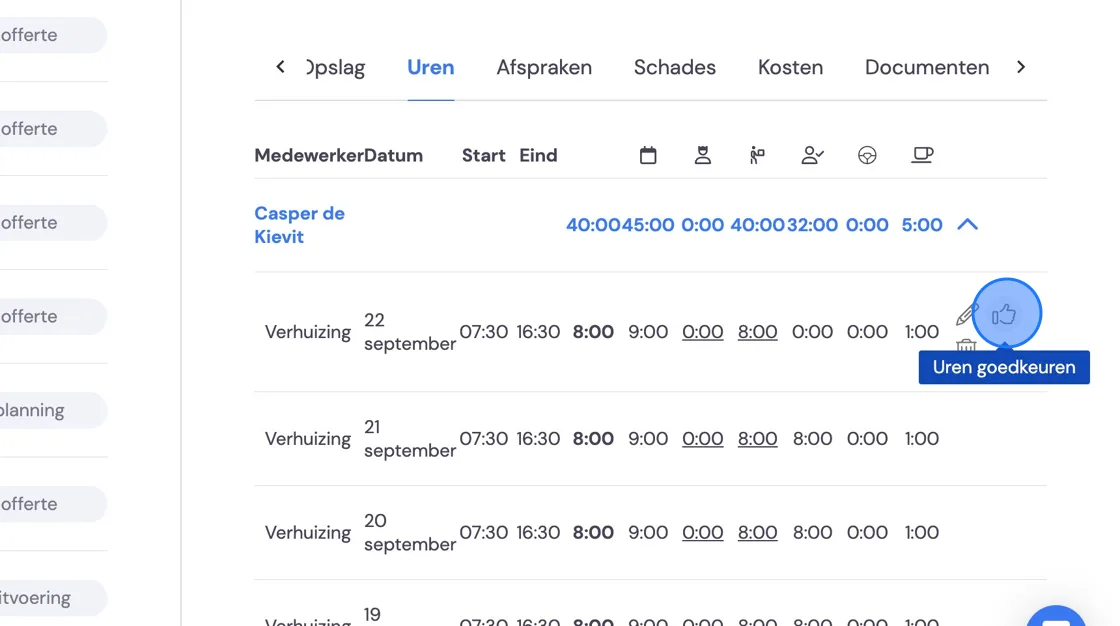
Only approved hours will be ready for you to fill in later when invoicing. Until then, you can update the tasks daily whenever needed.
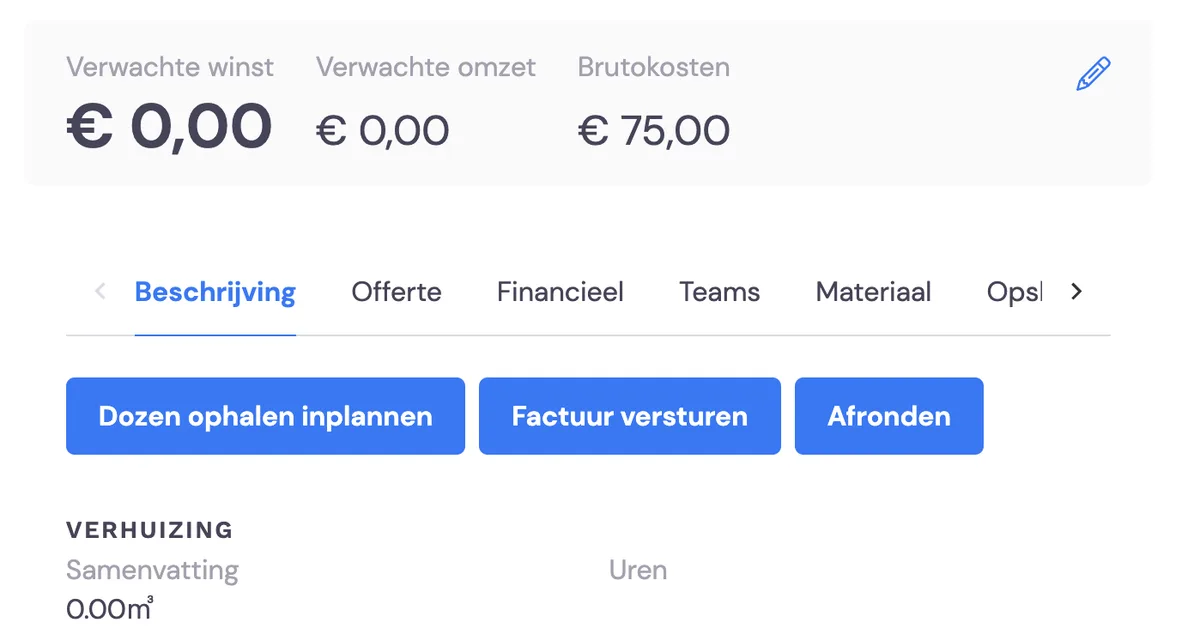
Once all hours for the entire period have been entered and the job has been completed by the foreman, you can enter the hours on the invoice. To do this, go to the job and select Send invoice.
Check the details
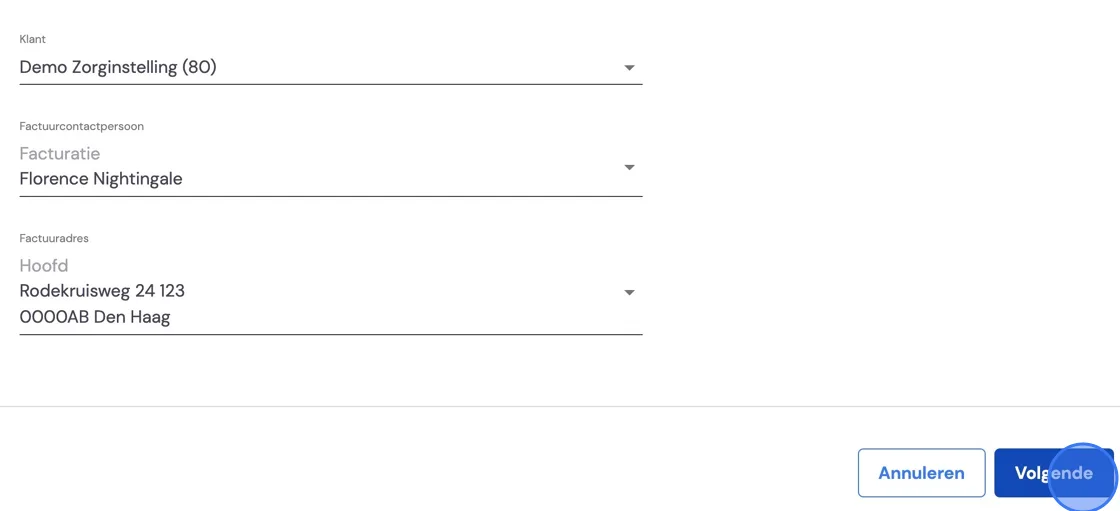
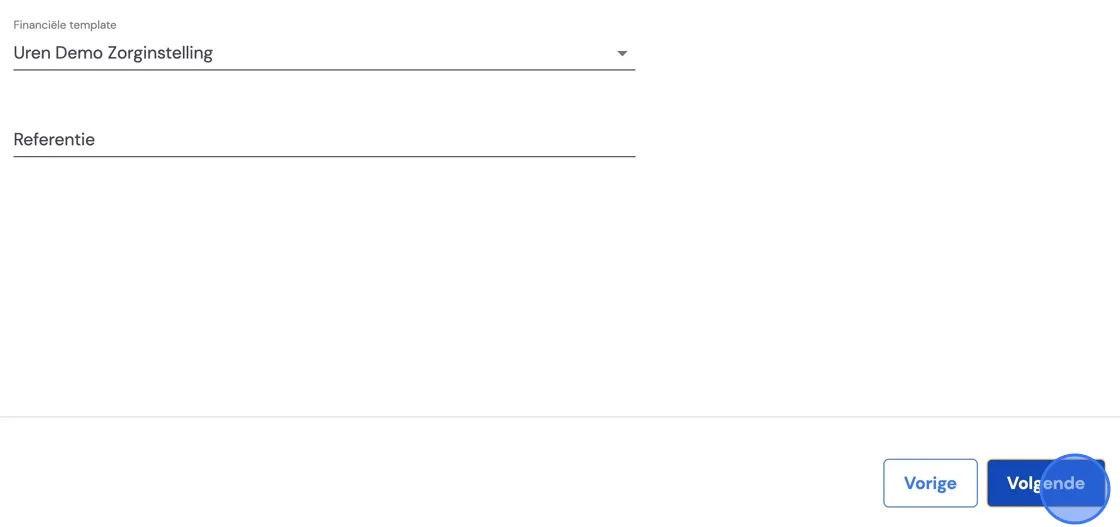
Check that you have the correct template.
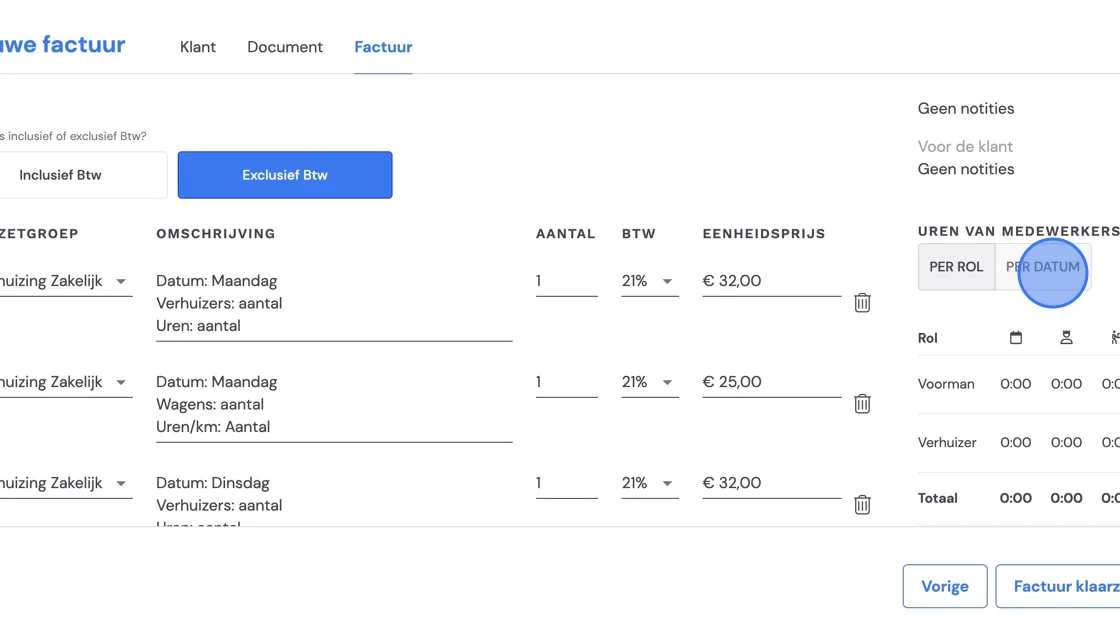
On the right you'll see an overview of all hours worked, either by role over the entire period this job covered, or by date, depending on your customer's preferences.
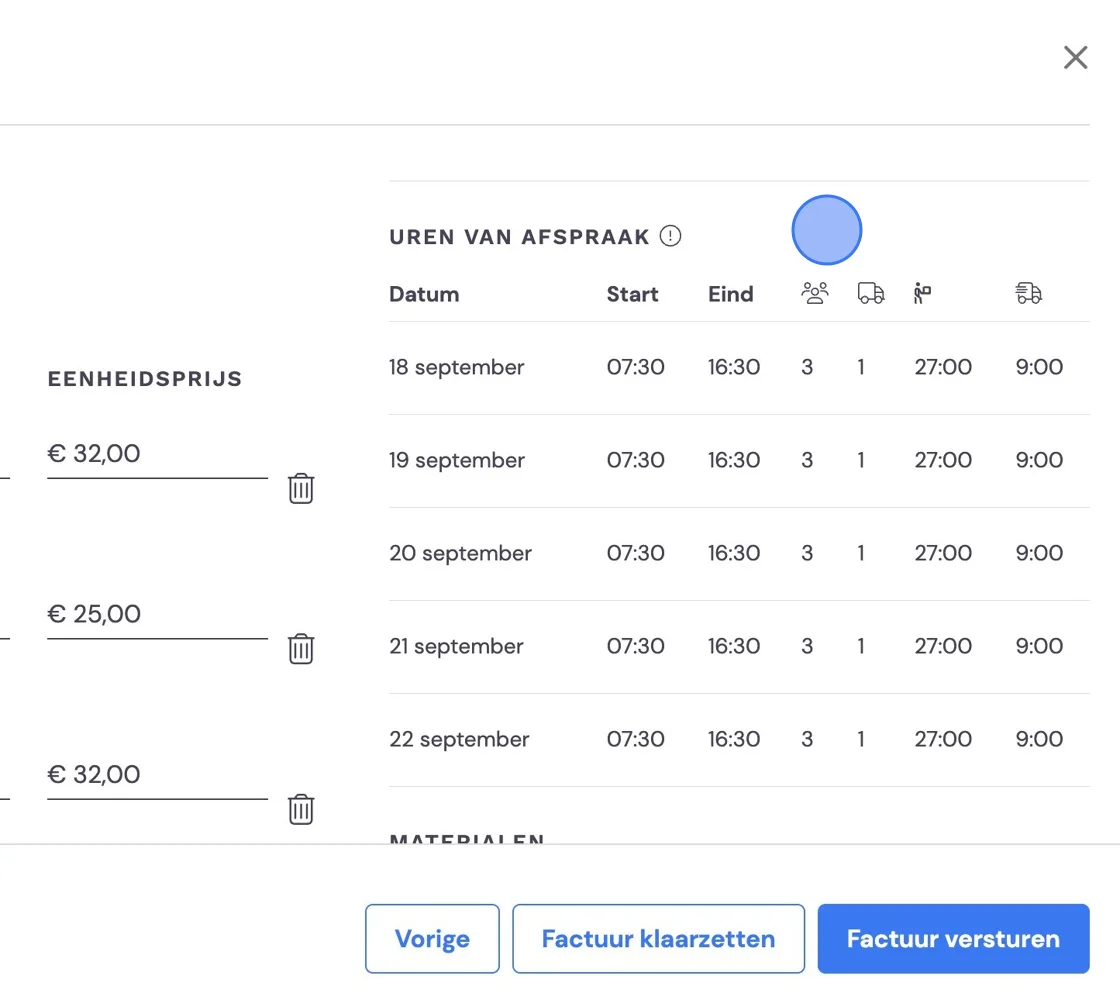
At the bottom you'll also find any materials used and/or extra kilometres reported by the foreman.
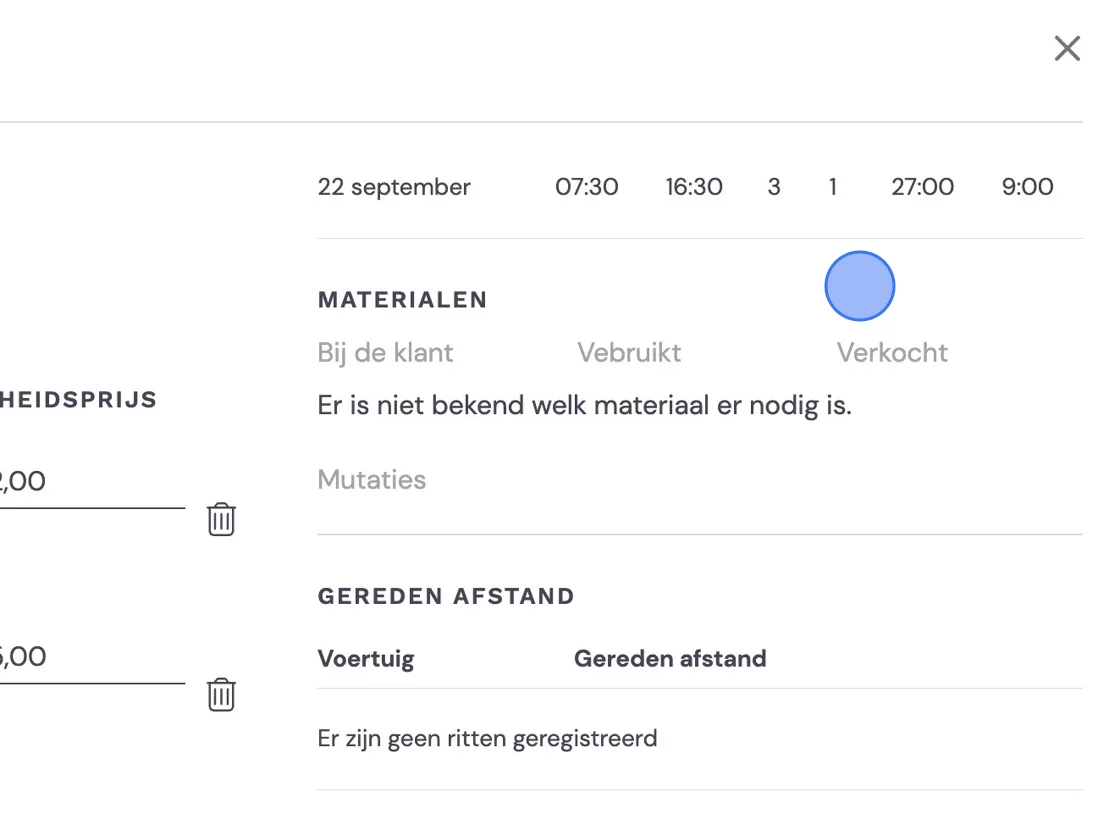
You can now manually complete your template however you like, with the information you need close at hand.
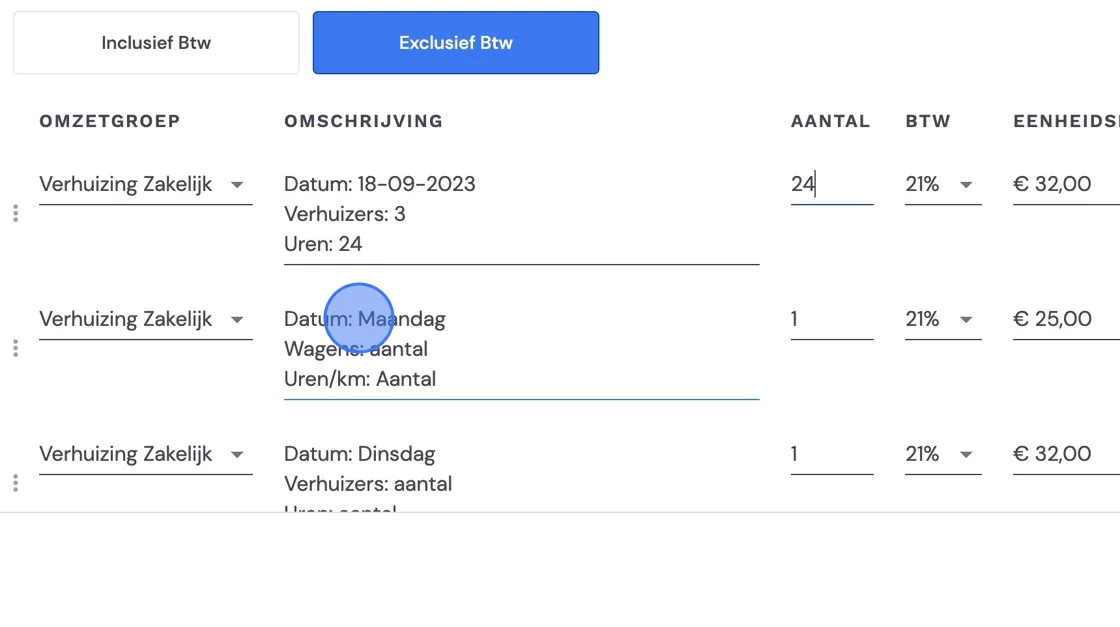
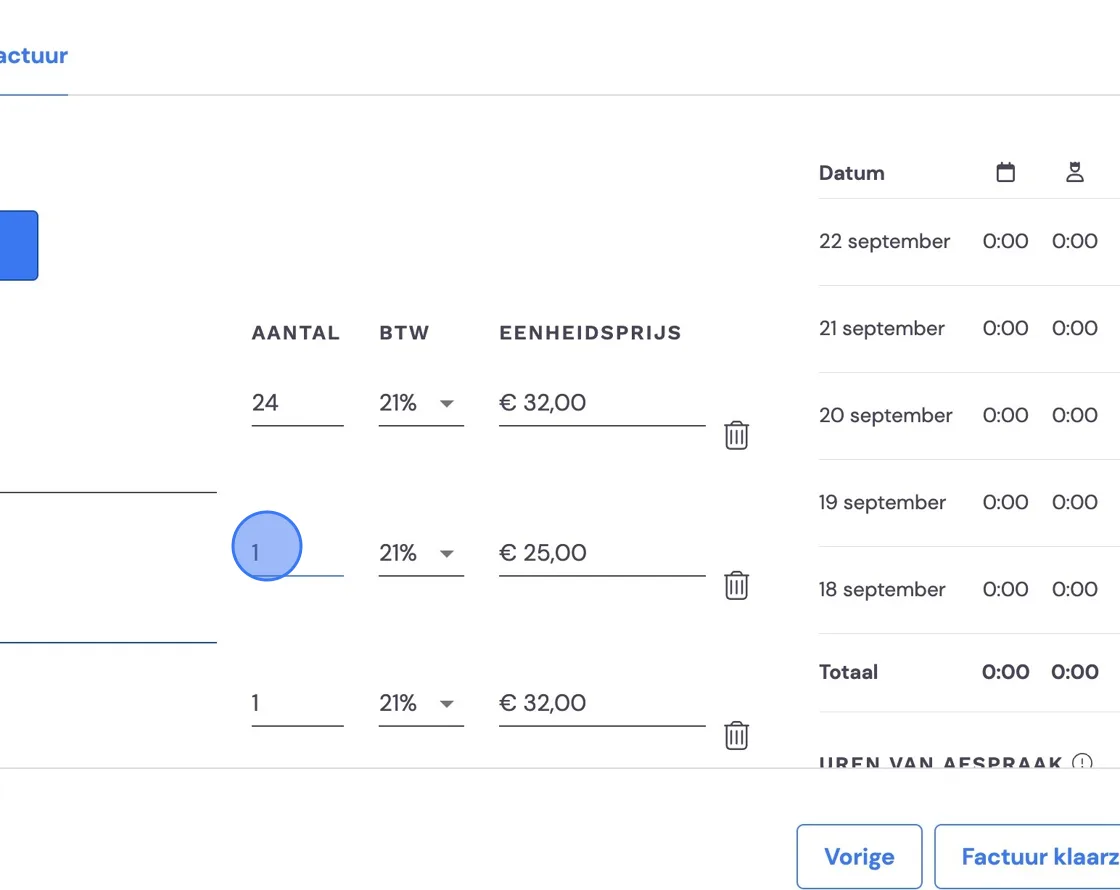
You can now prepare the invoice so you can adjust it later if needed, but please note: you'll no longer see the hours overview.
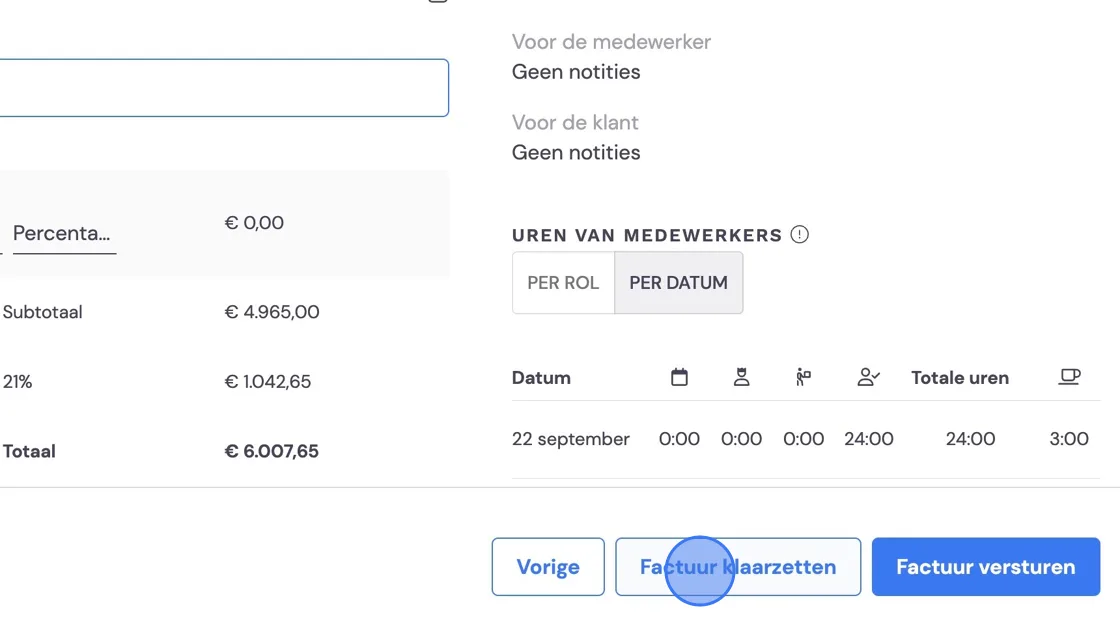
You can view the invoice here.
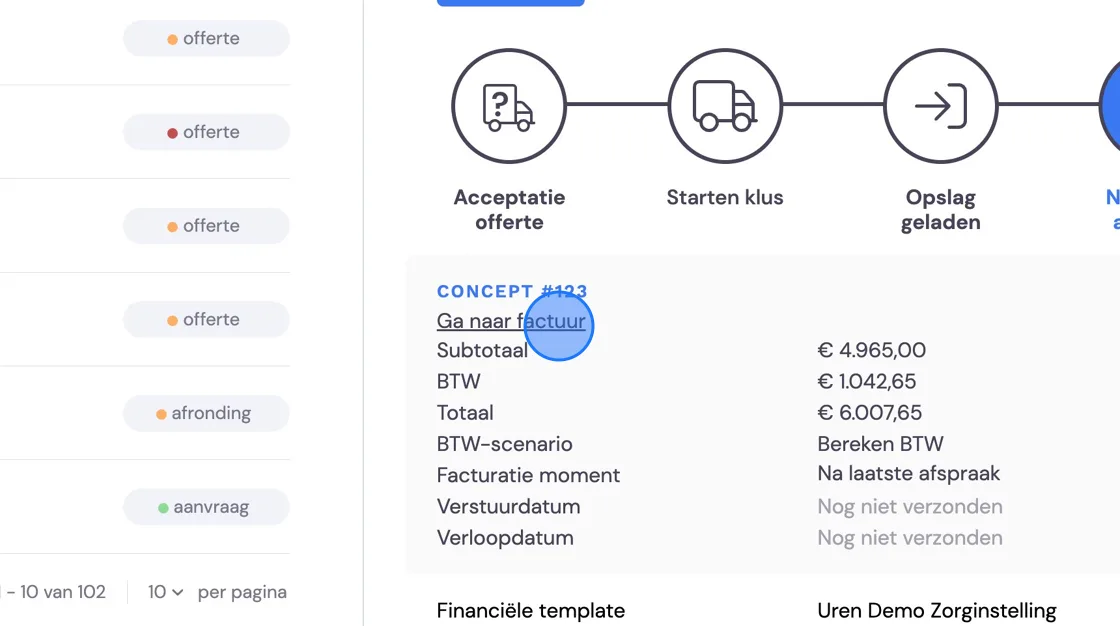
After that, you can send the invoice or schedule it to be sent later.