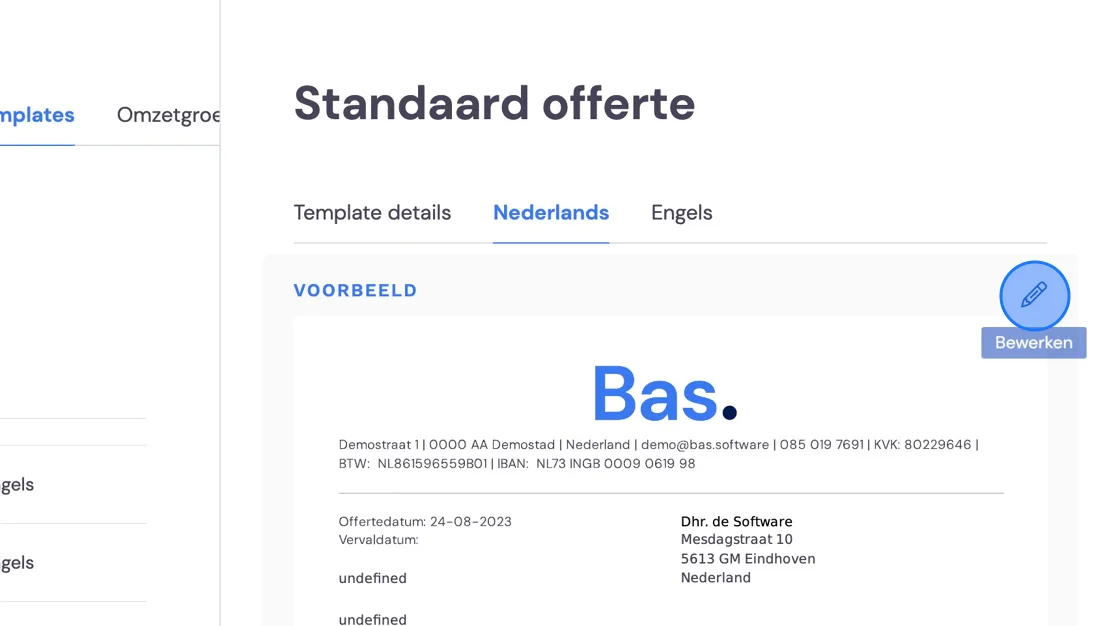
To personalise or specify details on your invoices and quotes, you have the option to include this in your template. We're happy to explain how. First, go to "Settings" -> "Document Templates". Choose the template you want to change or start a new one. You can open the templates by clicking the pencil icon.
You'll be taken to the editor section, where you can change the entire layout. We're now just going to add the free text fields. You place these in blocks, which you can add to from the right-hand side.
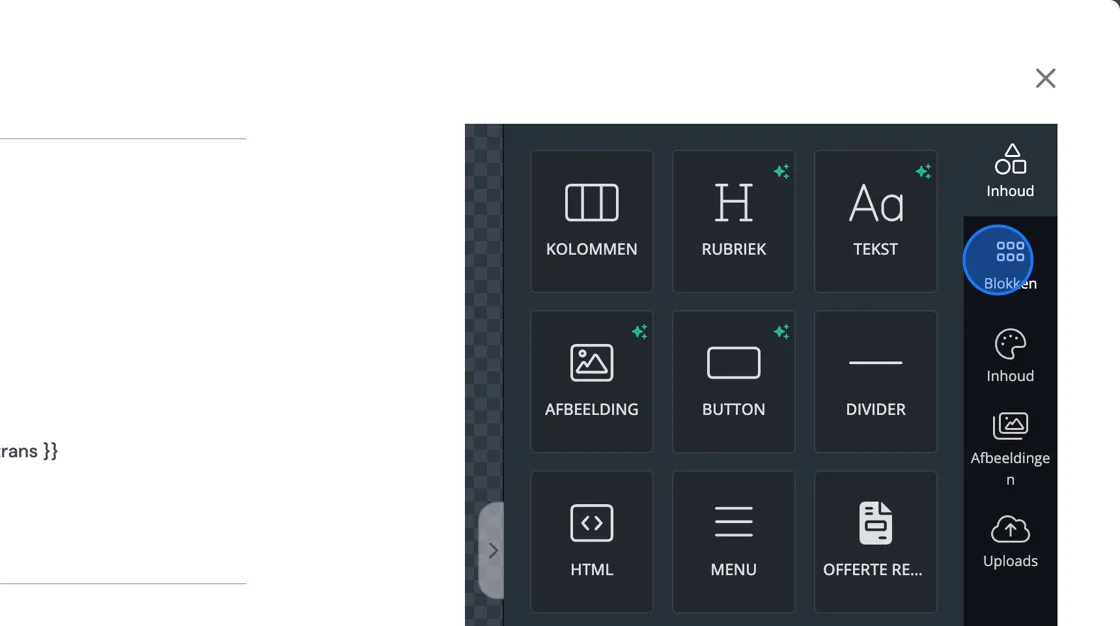
Select the shape you want and drag it to the location in your template.
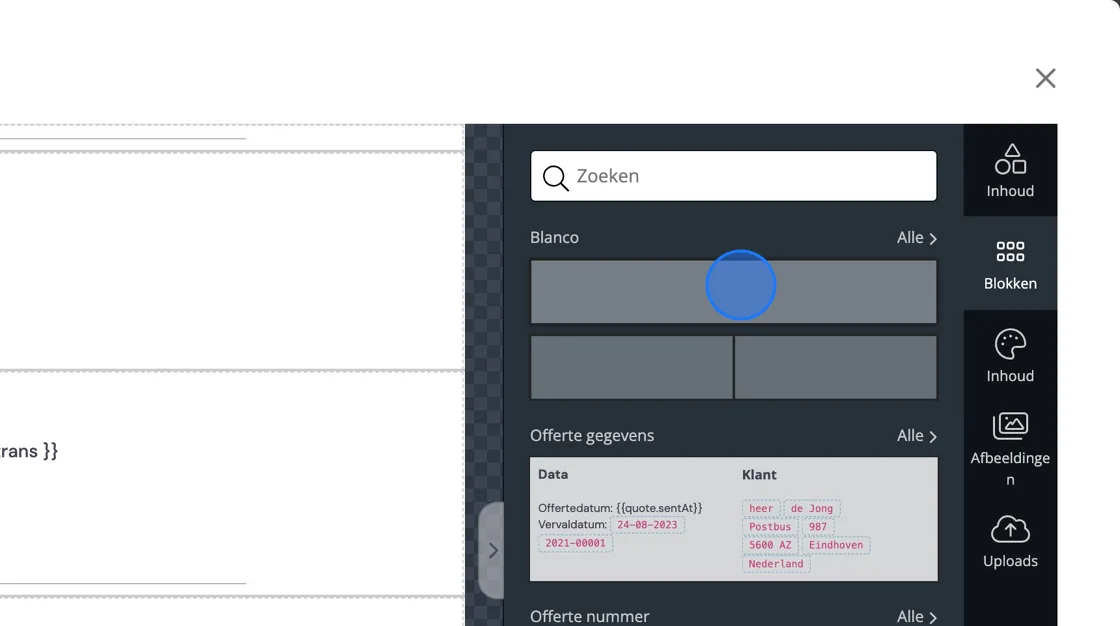
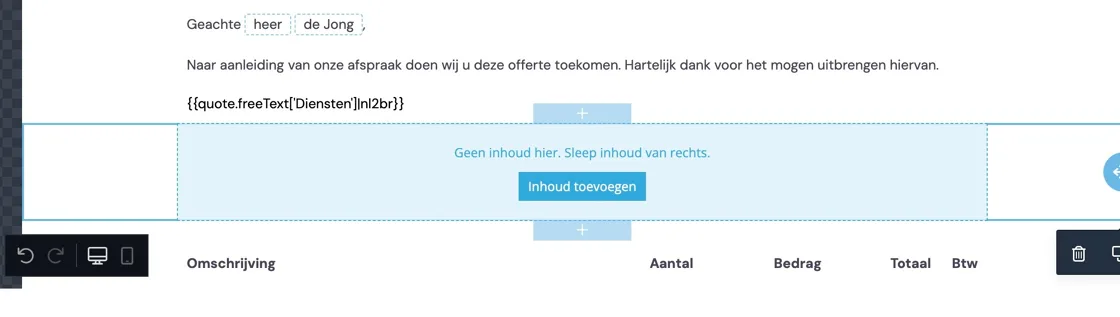
We've now placed an empty text field here. As you can see, we already added a free text field just above this block. We're now going to make a new one and need to indicate in this block that we're going to use text. Click the cross icon in the top right of the screen.
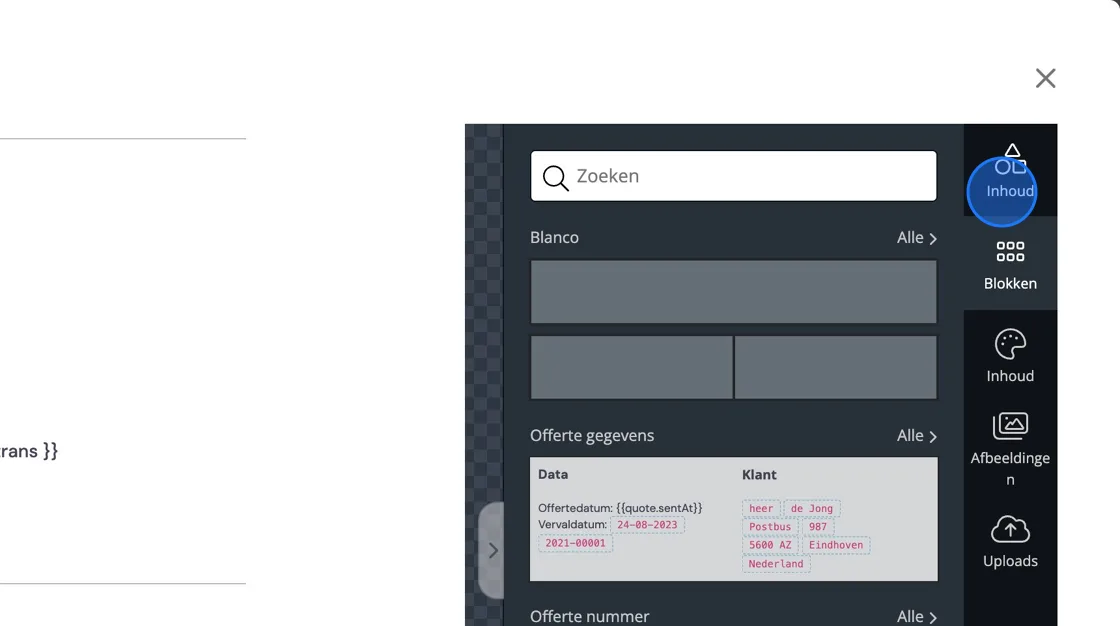
You're then back where you were before, so select content now.
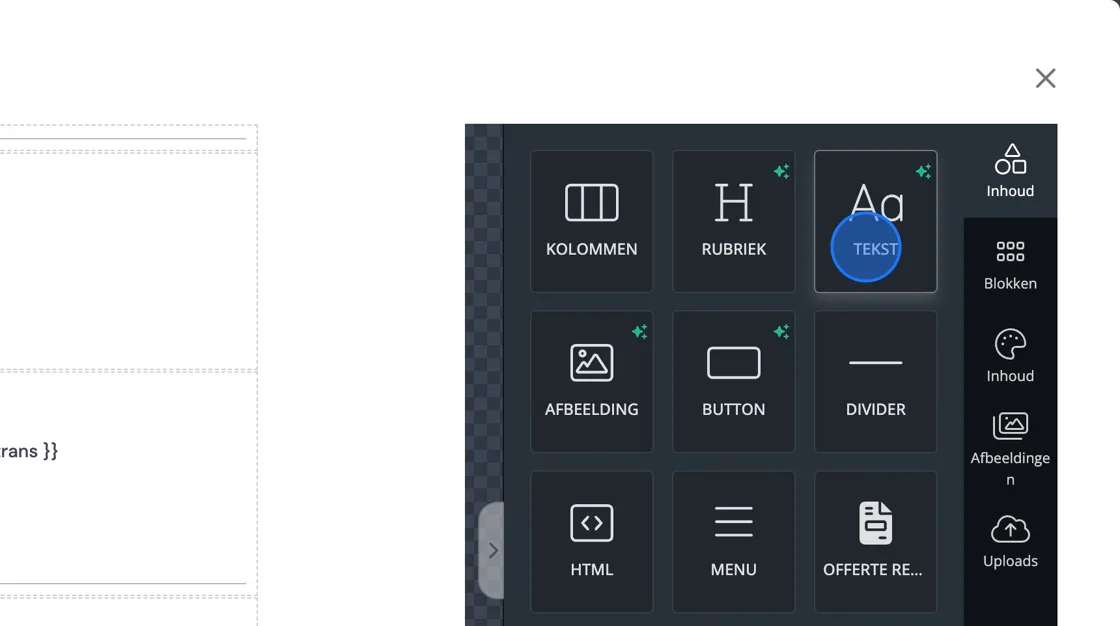
Now select "TEXT" and drag it to your block.
Select the text block.
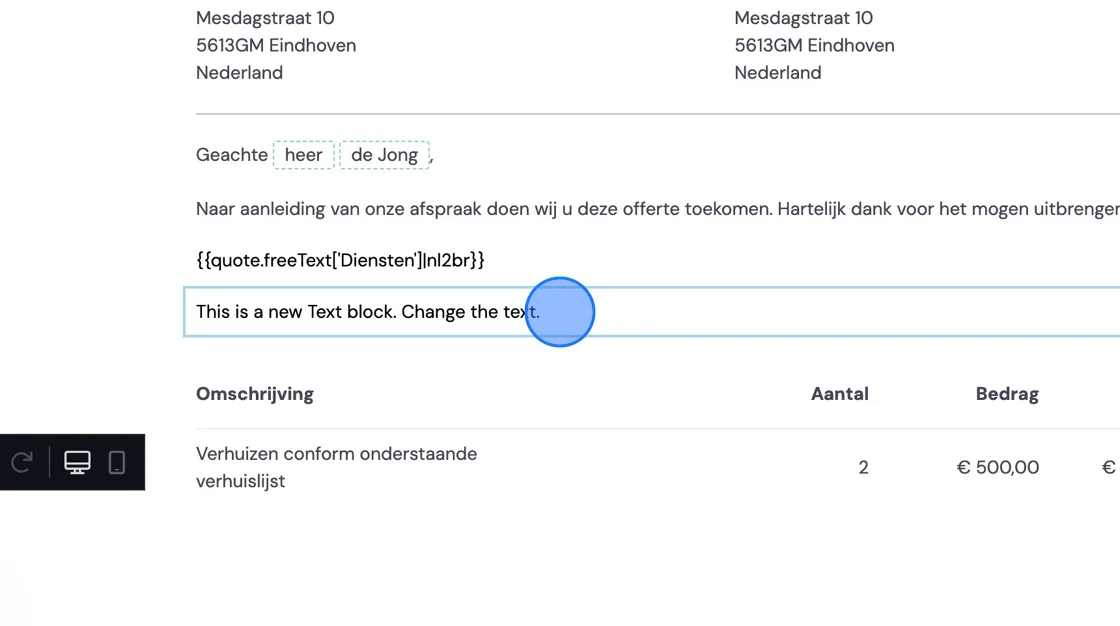
You can choose many variables here.
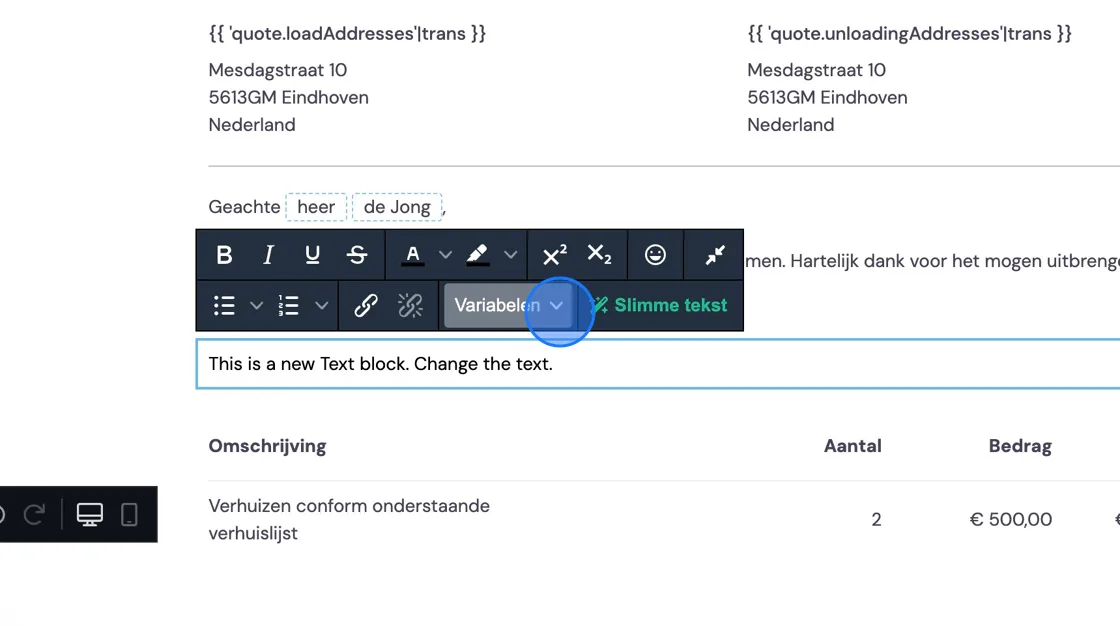
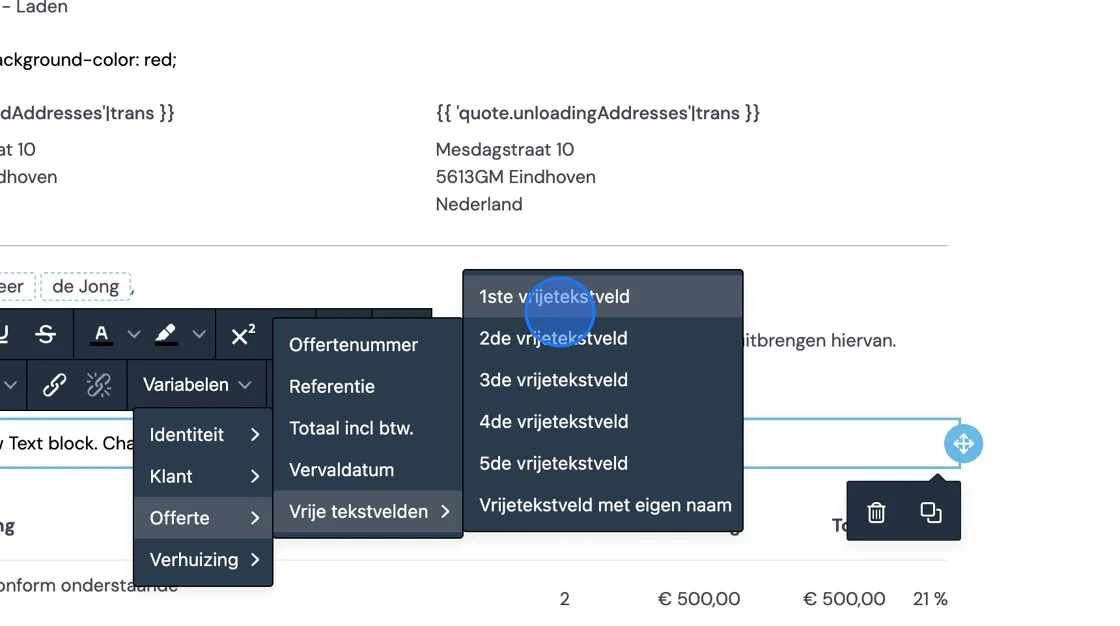
We're focusing on free text fields. You can quickly choose free text fields here, but sometimes it's nice to have a title so you can recognise what you're going to place where in your quote or invoice. That's why we use free text fields with their own name. If you select this option, you'll get a code where you can fill in your own title. We've included the code here for you to copy.
The code is #{{quote.freeText['title you want']|nl2br}}. Between the ' ' you can fill in whatever you want. For example: #{{quote.freeText['number of cubic metres']|nl2br}} or #{{quote.freeText['other additions']|nl2br}}. If you change anything else in the code, the whole template will stop working, but you can always go back to correct any mistakes. Don't be afraid to experiment with this.
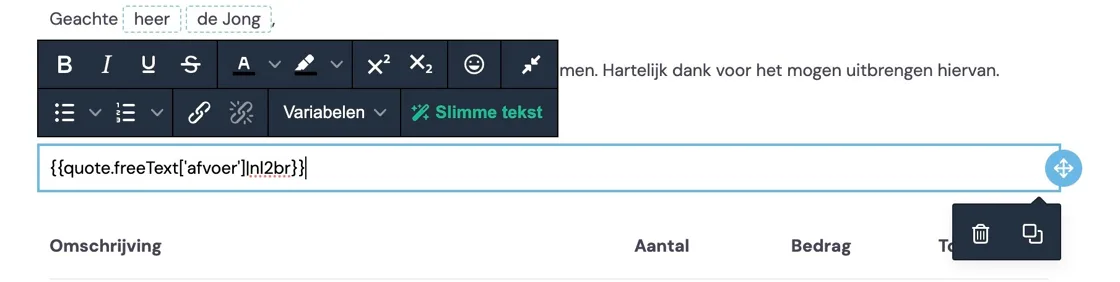
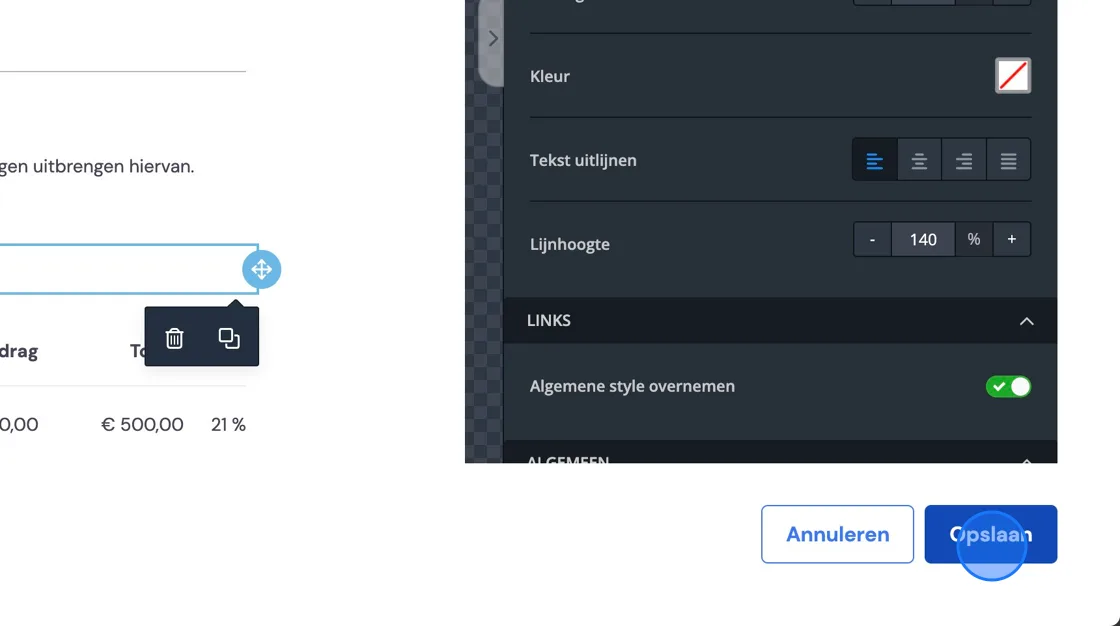
Click save and your template is ready.
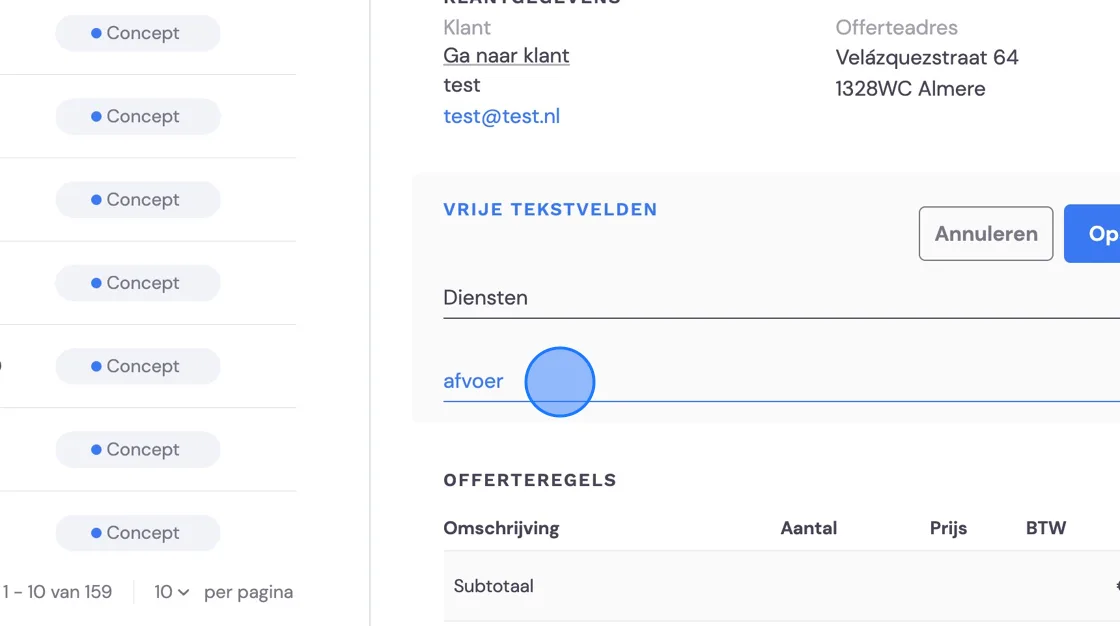
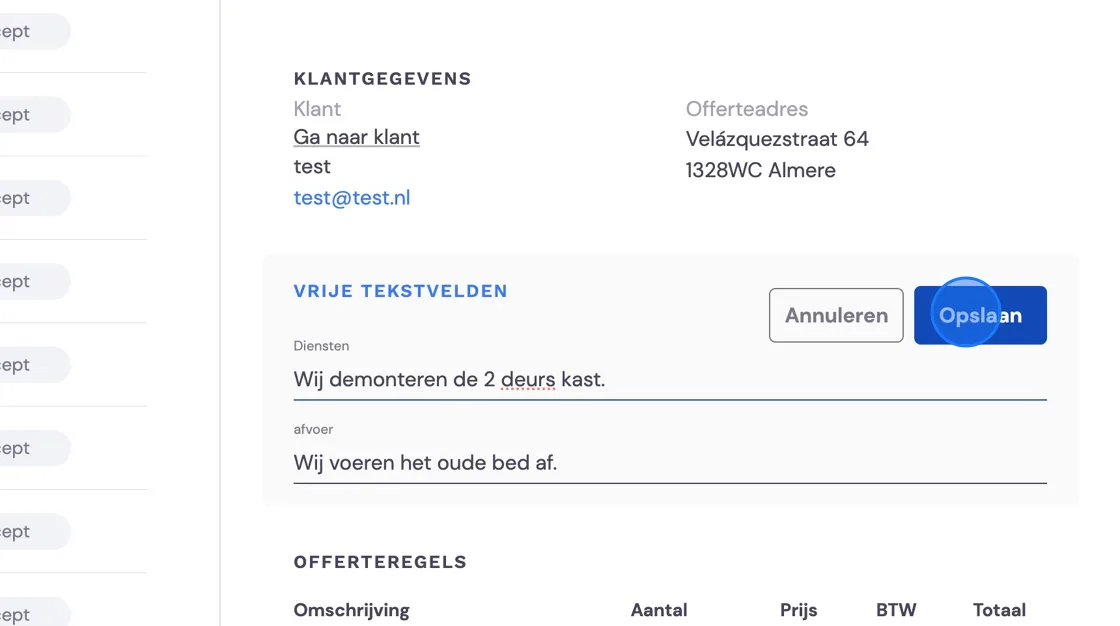
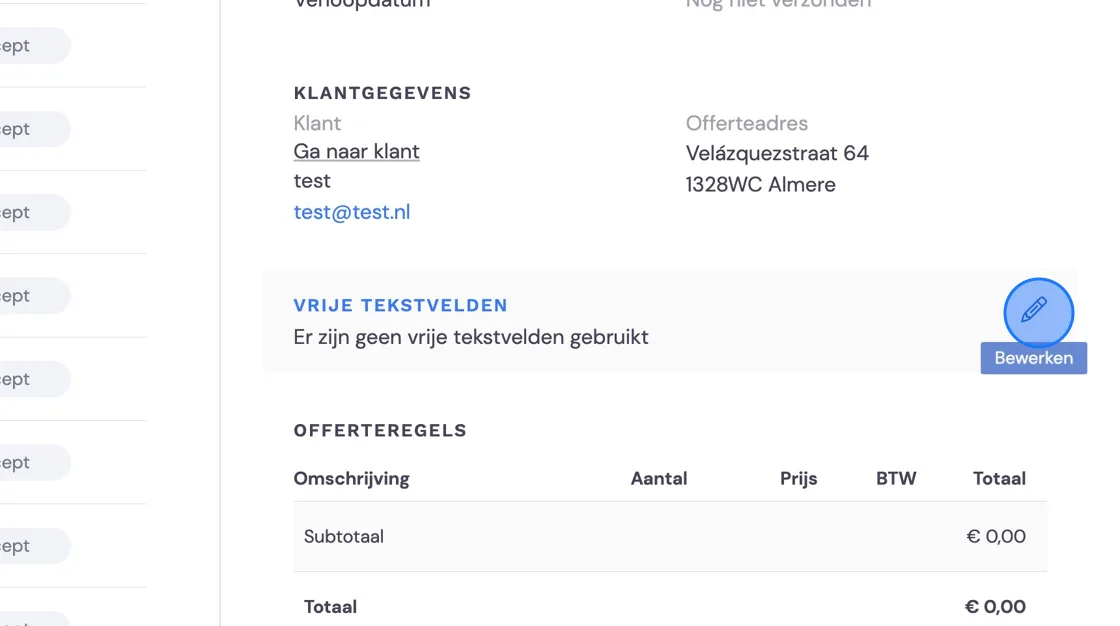
To see how it works, create a random invoice or quote (under Finances) and you can fill in the text fields by clicking the pencil icon on the right of your screen.
Fill in what you need. The titles you enter (such as Services and removal from the example) will not appear on the quote or invoice.