
The storage module consists of: warehouses with storage locations, the storage holders (such as containers, pallets, crates) and storage itself. In this phase you enter your warehouses, the associated storage locations and the first storage you use for a customer.
Entering warehouses
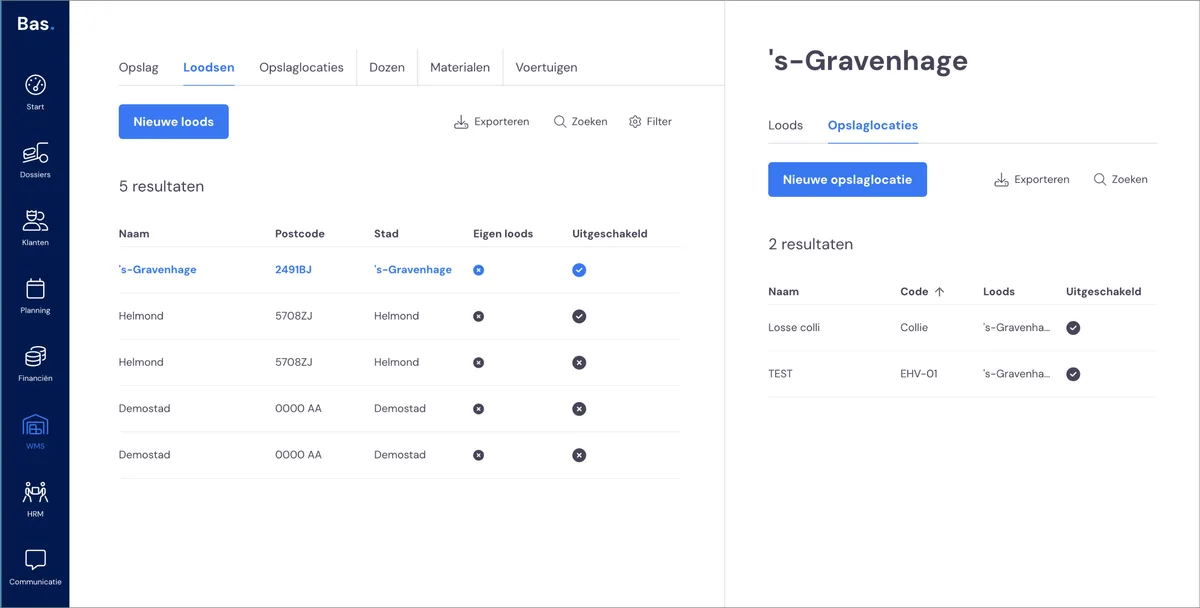
Enter the warehouses you use by clicking the 'New warehouse' button.
Entering storage locations
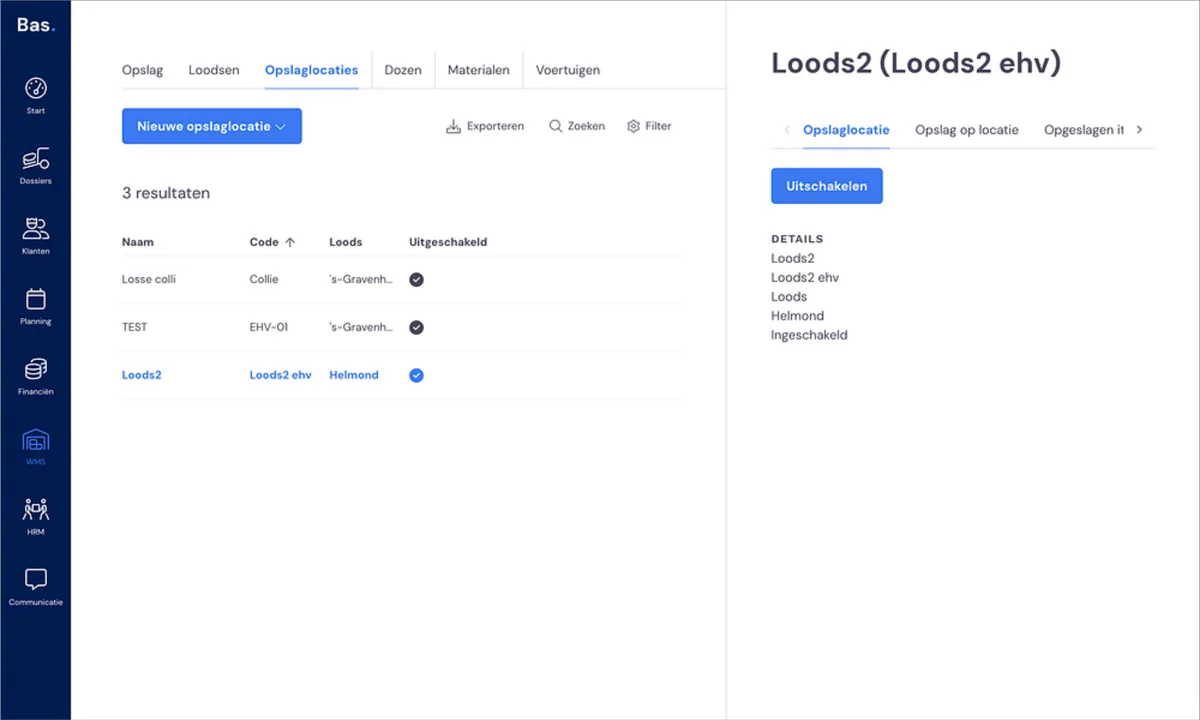
You can divide a warehouse into storage locations. If your warehouse is divided into rows and bays, a bay is a storage location. If you use a good coding system for this, you can use it to bring structure to your storage. Use the name and the code for the storage locations to store this structure.
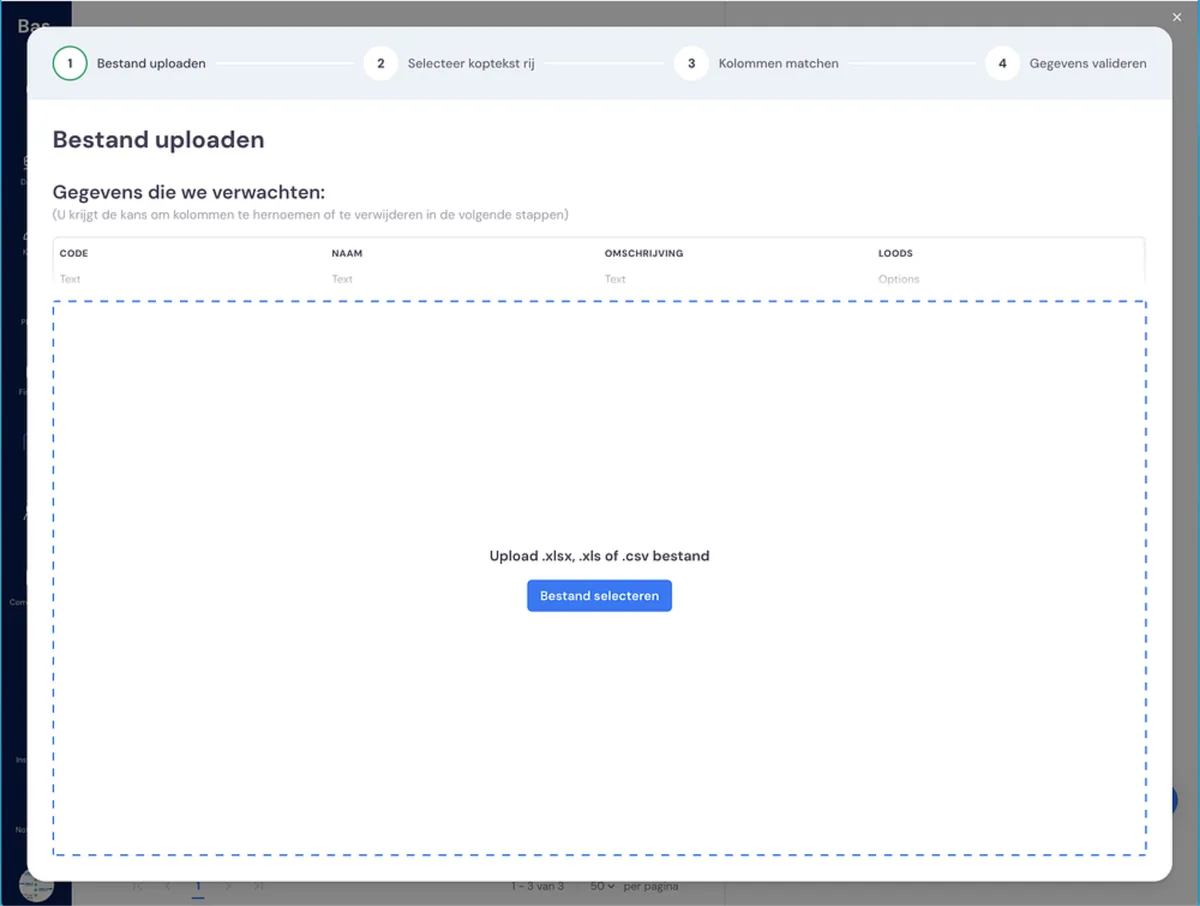
You can also add storage locations in bulk. Create an Excel sheet with the following columns: storage code, name, description, warehouse. Enter all the storage locations here and use 'New storage location' and the option to add them in bulk.
Entering storage holders
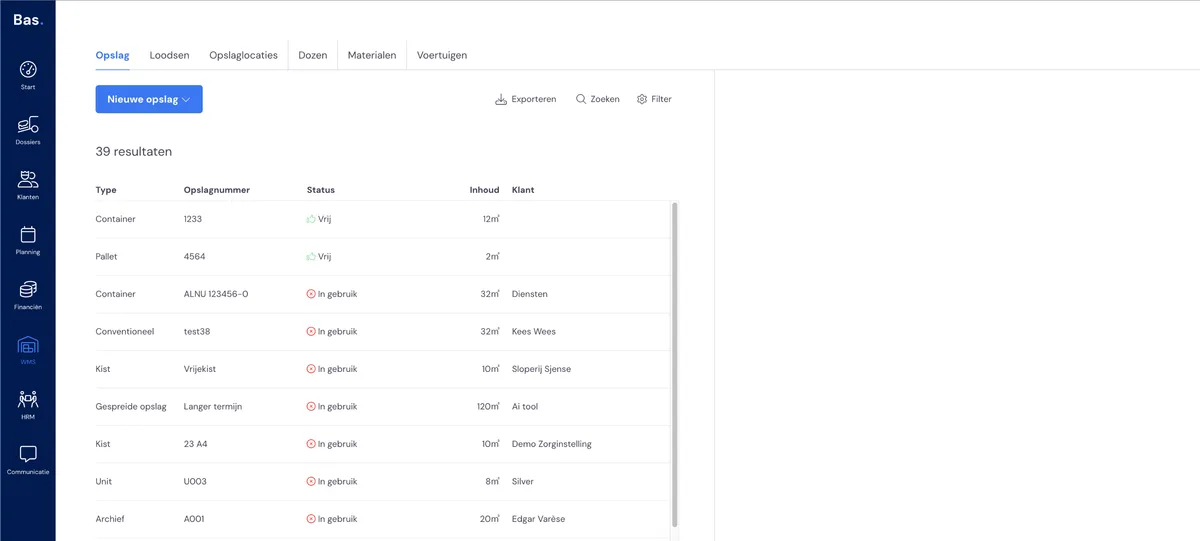
Once you've created your warehouses and your storage locations, it's time for the next step: the storage holders. These are the physical containers, crates, pallets, etc. in your storage.
In this step, create several storage holders so that they become available in the WMS. The status of these new storage holders is 'free'; in a later phase you'll use these storage holders to store items for your customer.
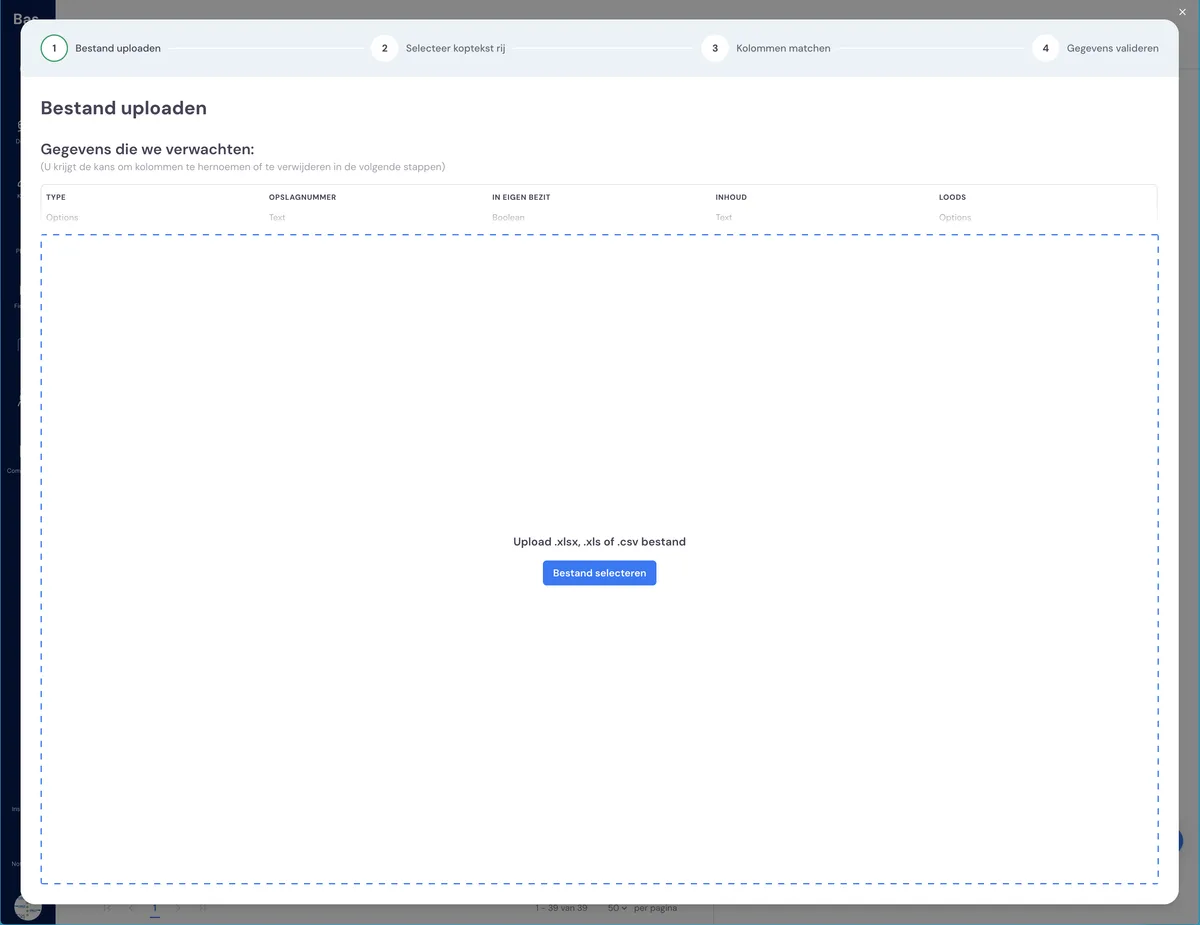
Here too, you can add storage holders in bulk by uploading an Excel sheet. The columns in this Excel sheet should be: type, storage number, owned (Y/N), contents, warehouse.
Next step
Next, you'll set up integrations. You can connect to Mollie, Exact Online and other third-party software >