
Here you get a step-by-step explanation of the options during a survey. It's an extensive explanation, but using it isn't too complicated. The app is designed with the aim of filling it in while surveying, so that your quote is ready at the end of the survey.
If all is well, you've scheduled a survey and it's ready for you. If not, we'd like to refer you to: Making a survey appointment. If you want to do a survey in the "back office" (office), it's ready under Jobs -> find the customer -> Description and start survey.
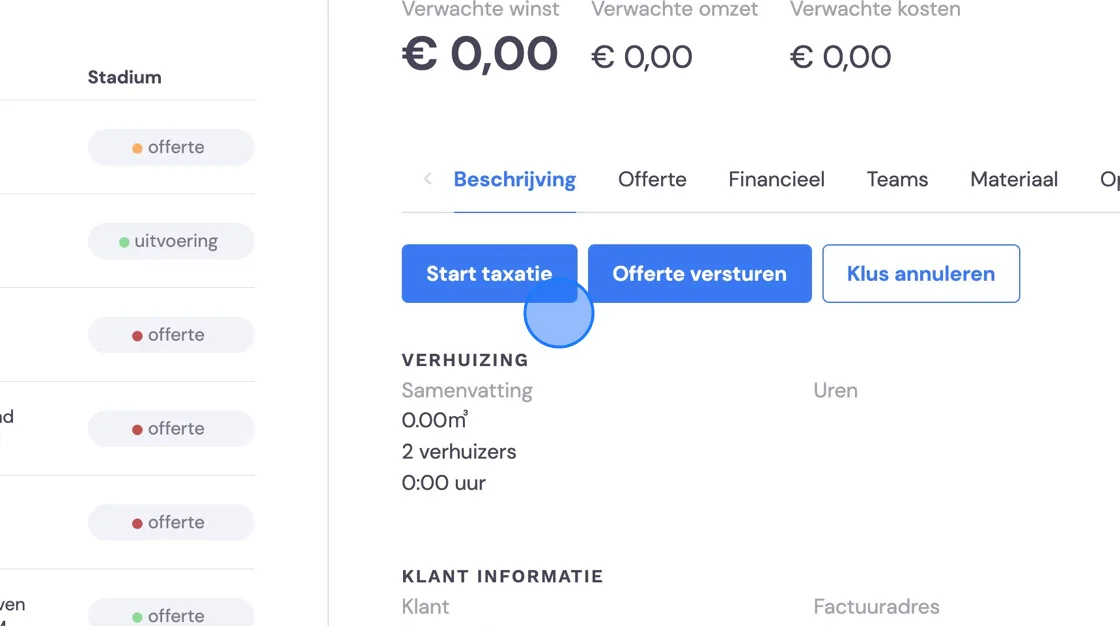
If you use a phone or tablet with the Bas app, the task will be ready for you under Jobs today. If you want to schedule a survey from the app, you can do so under new survey.
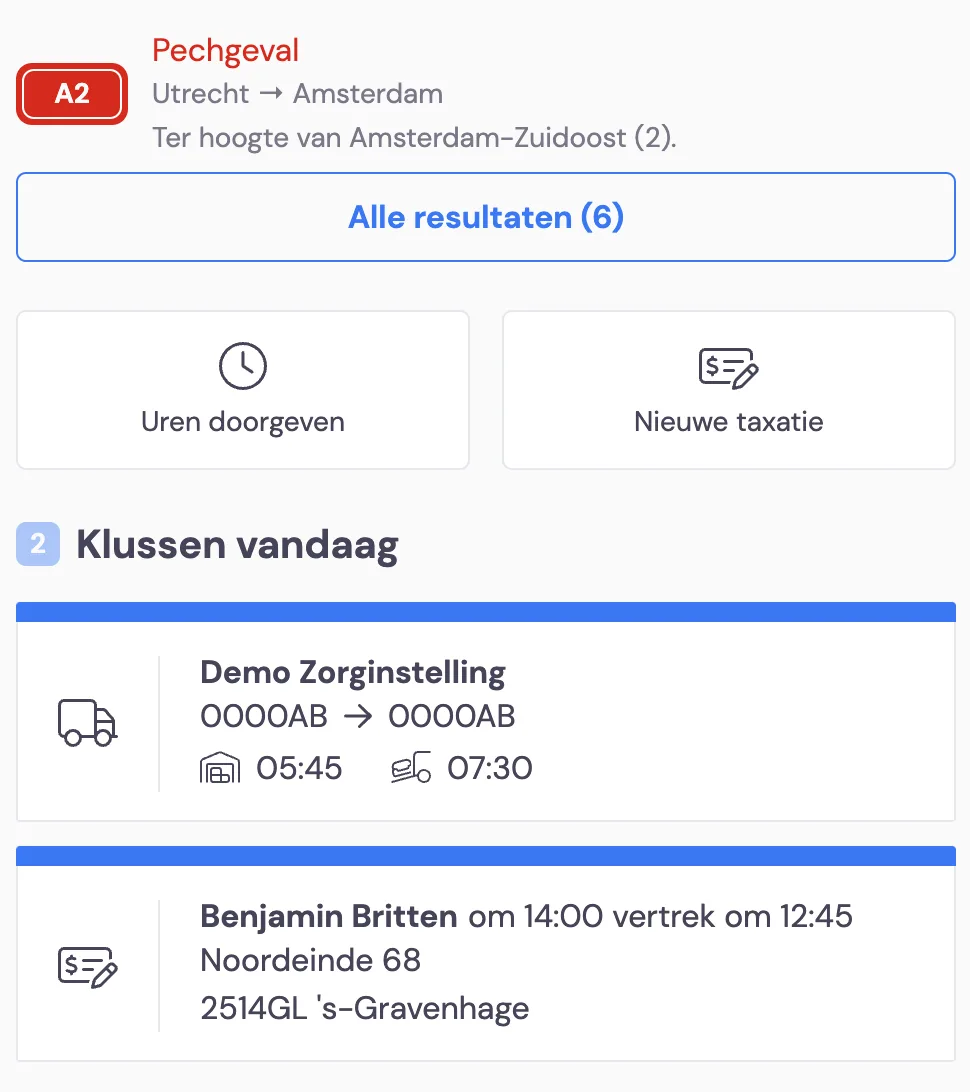
From the app, this notification appears first. It shows an overview of the details so far. It's good for administration if you report when you start driving, stop and start the survey. At the end, also report that you're stopping. That is important for closing the survey. You can also report that you've delivered boxes and pass mileage readings on to the office. If you were to scroll down here, you can see all the dates agreed so far.
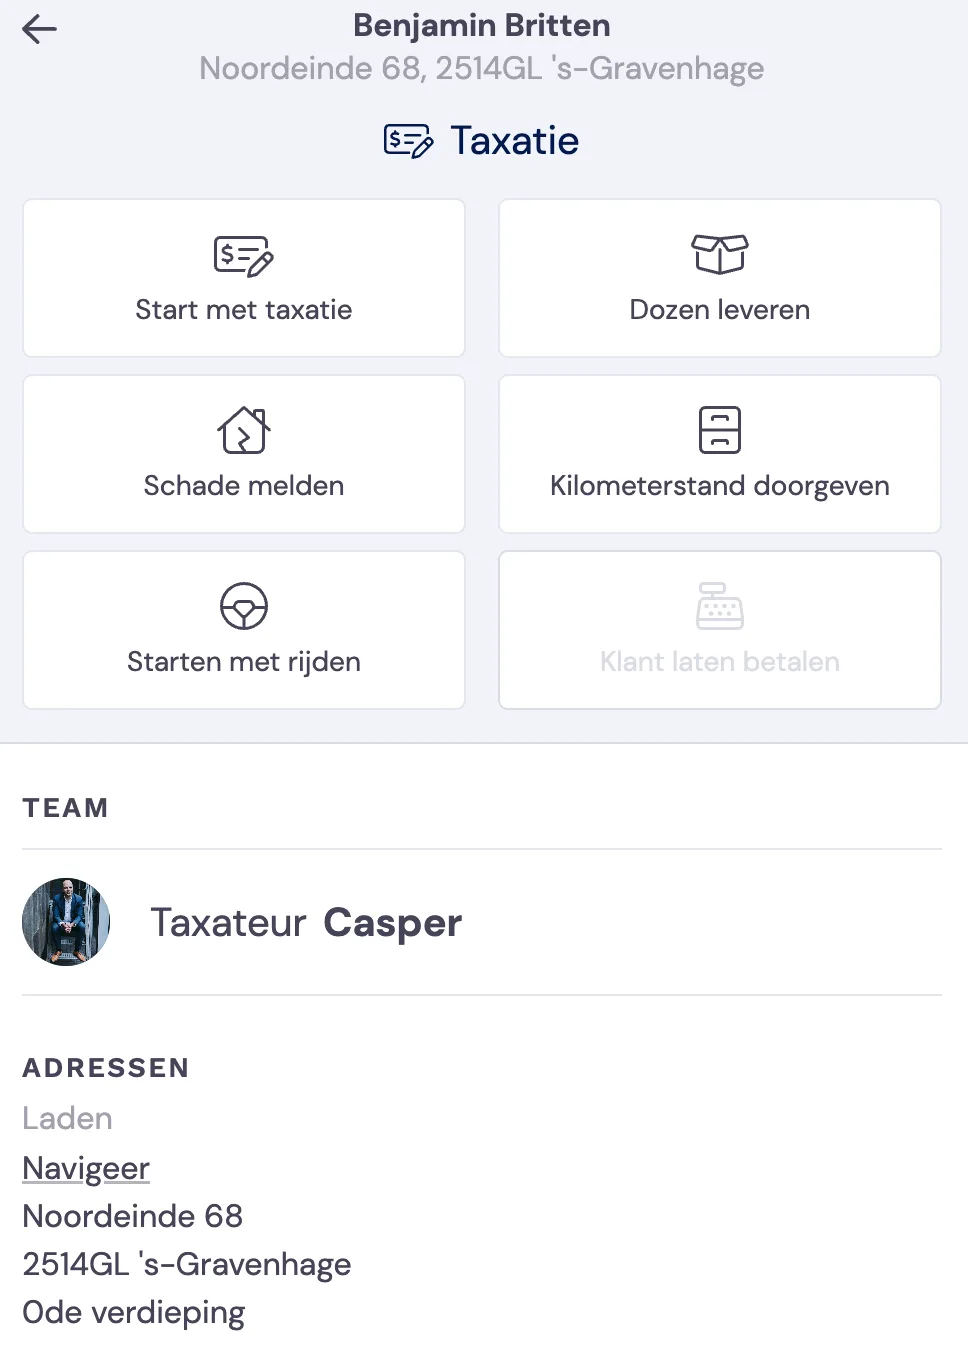
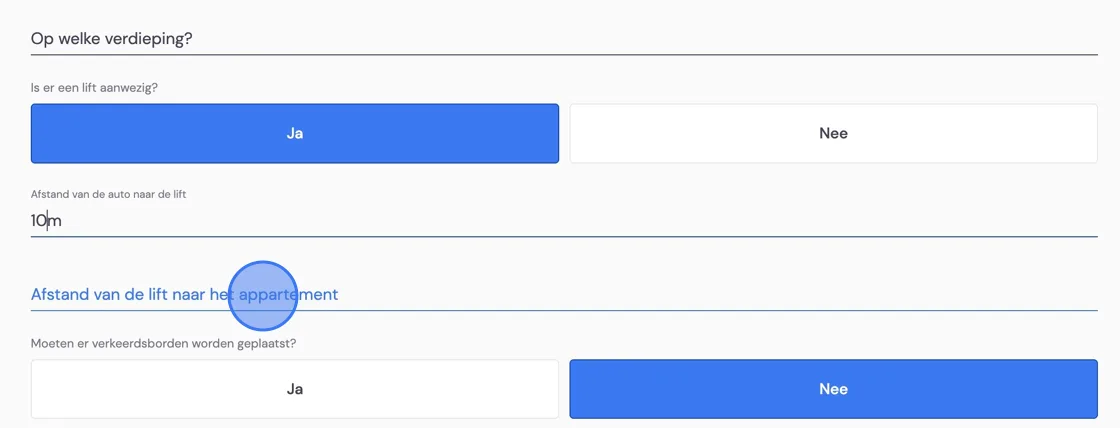
If you press start survey here or from the back office, you'll arrive at the section below where you check the loading address. You can add relevant details here. This can affect your pre-calculation.
First comes the load
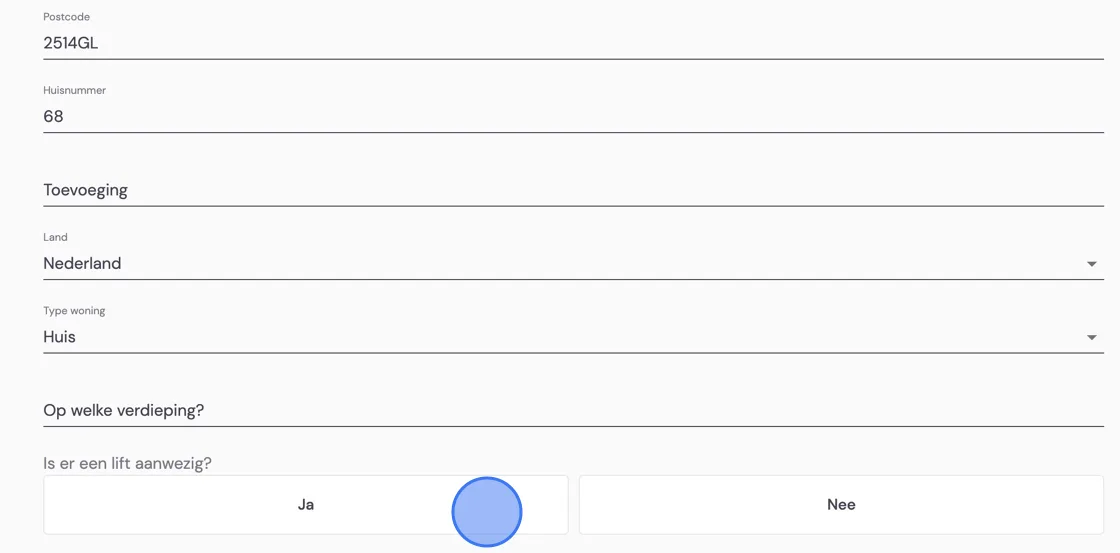
For example, the extra metres the removal crew has to cover.
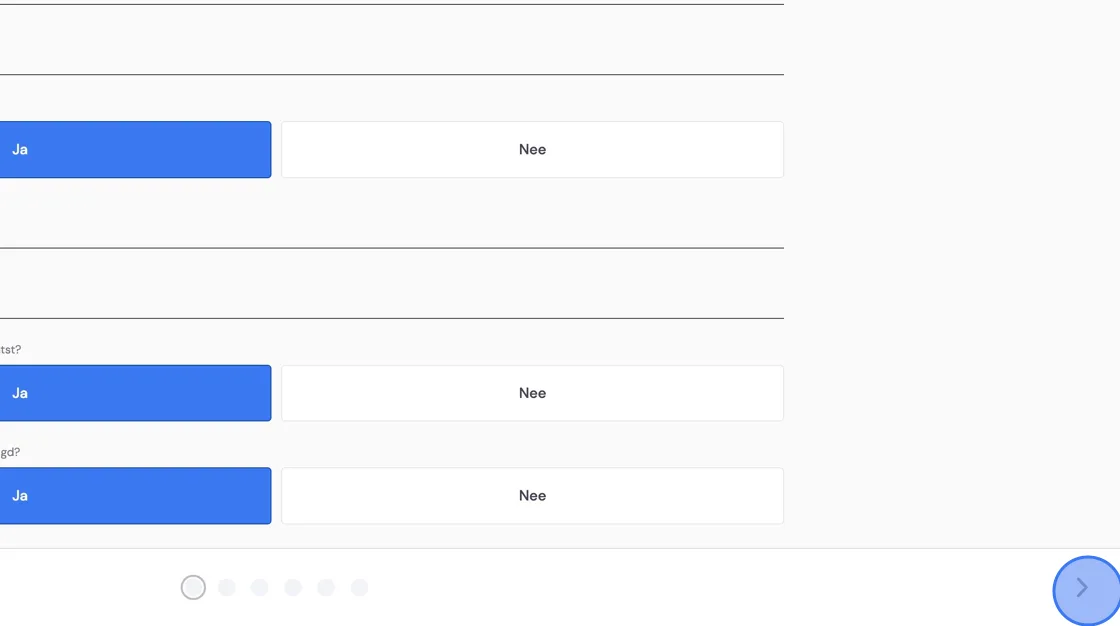
When you're happy, press next page. You use this button for every new phase during the survey. Want to go back a step? Then use the button at the bottom left. The next page checks the unloading details in the same way. You can also skip this if the address isn't known yet.
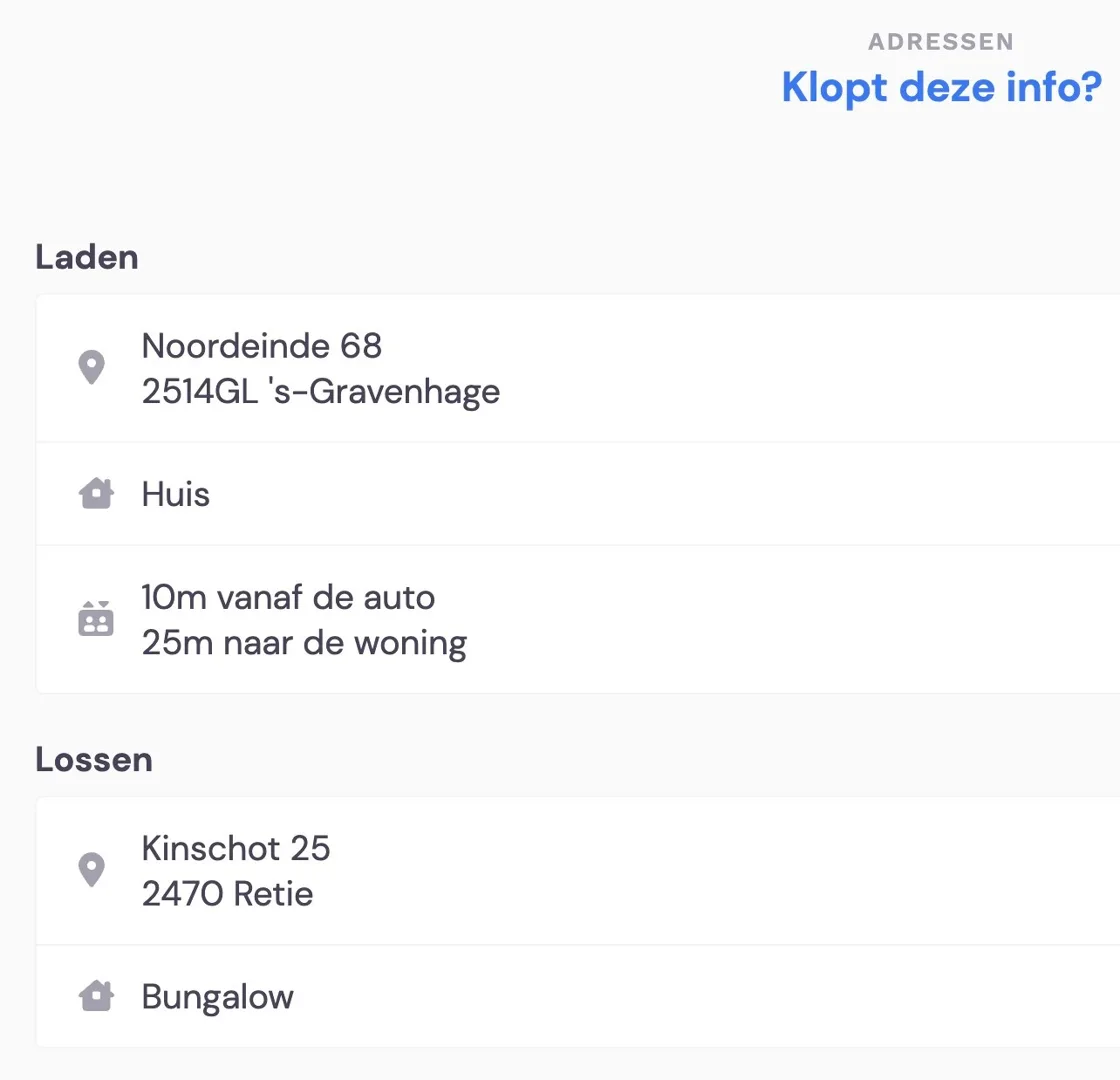
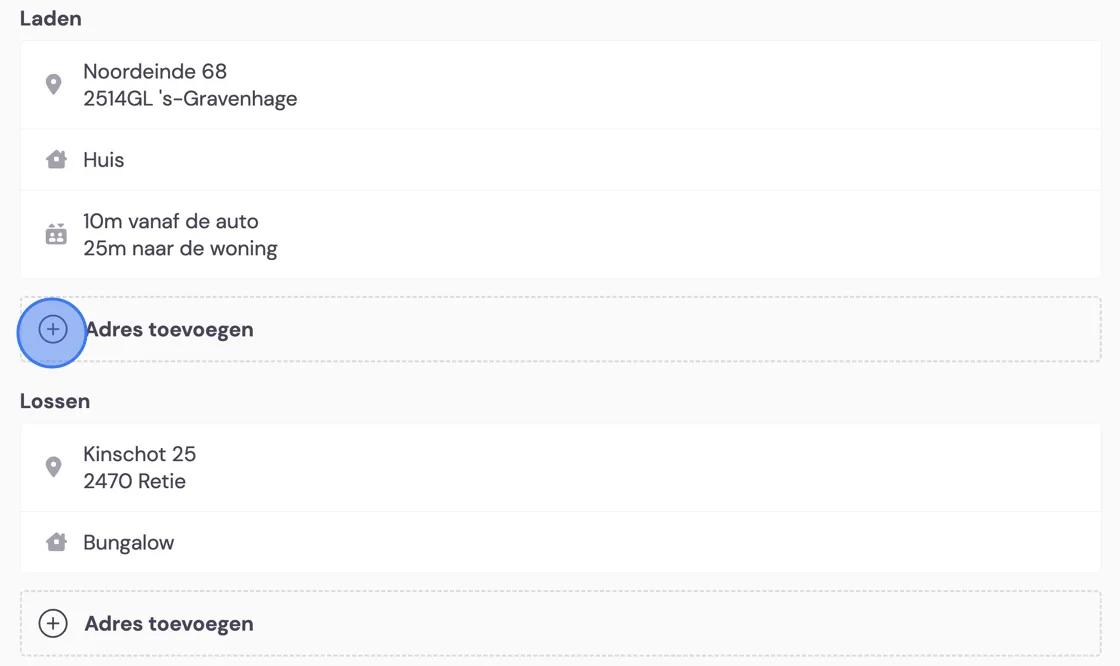
After that, you get an overview of the addresses. Any extra addresses can be entered later in the survey.
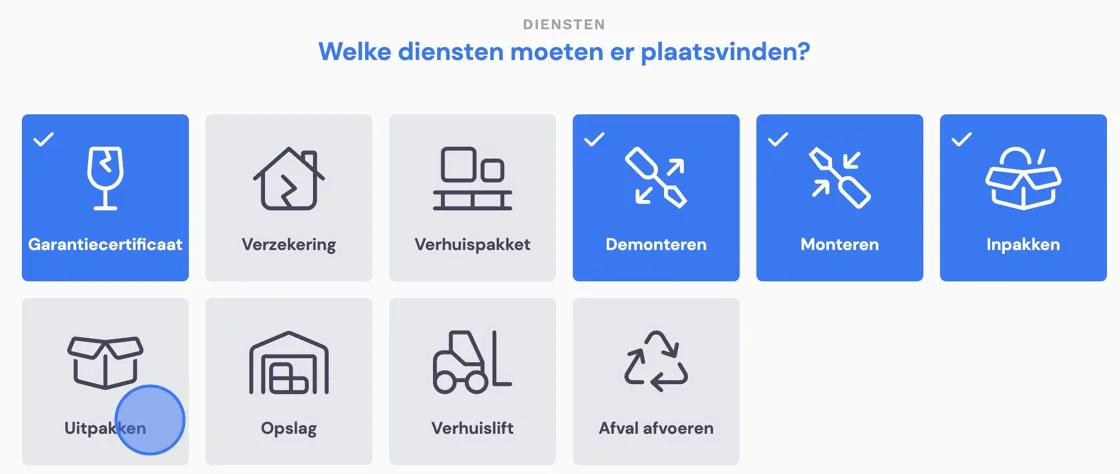
In the next step, you choose all the options you (possibly) want to offer the customer.
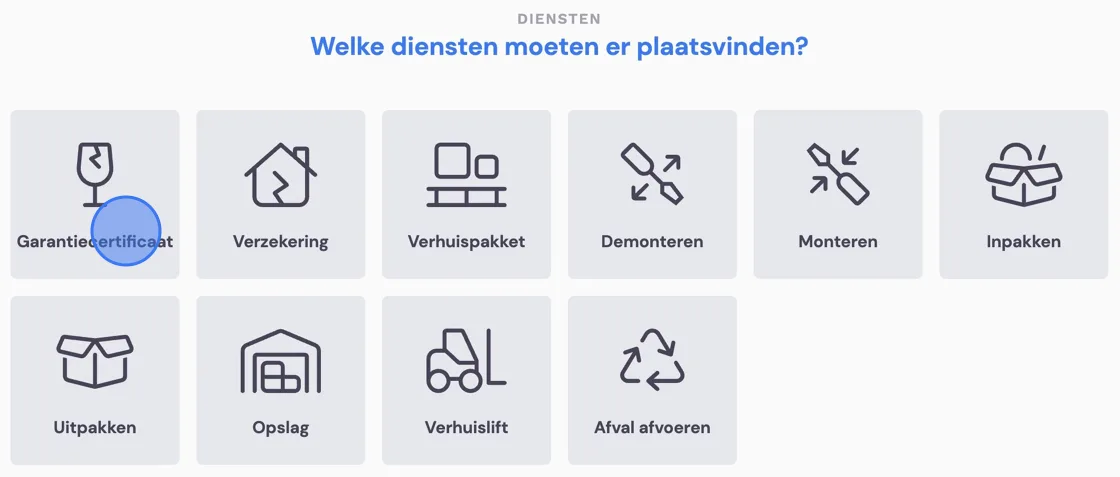
When you're happy with the selection, continue. A packing kit can be set up under Settings -> Features. In case you want to offer the customer a standard package of packing materials outside of the moves. Choosing the packing kit option during the survey ensures the planner gets the deliver boxes task. The load into storage option gives you the opportunity later on to write down the costs of this. You can then also indicate for everything you survey whether it should go into storage or not.
In the next step, you choose the rooms you want to survey. Don't know yet which rooms are in the house? No problem. Choose one to start with and add the rooms later during the survey.
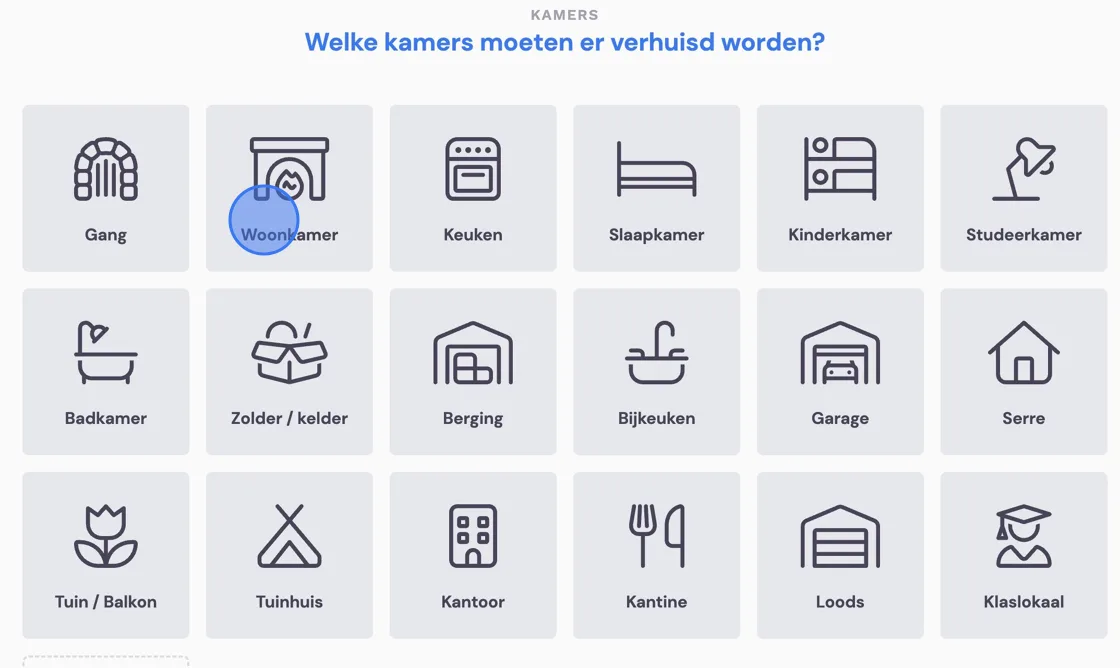
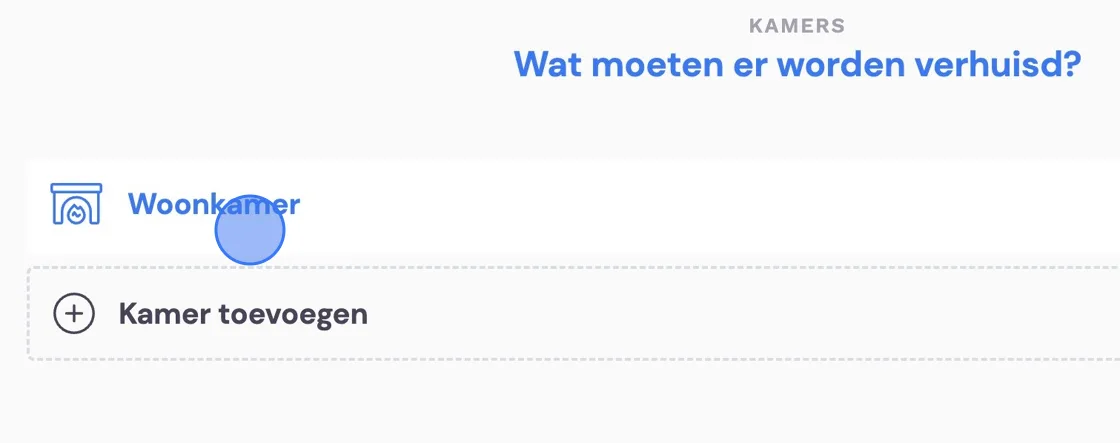
On the next page, your chosen room is ready. select it.
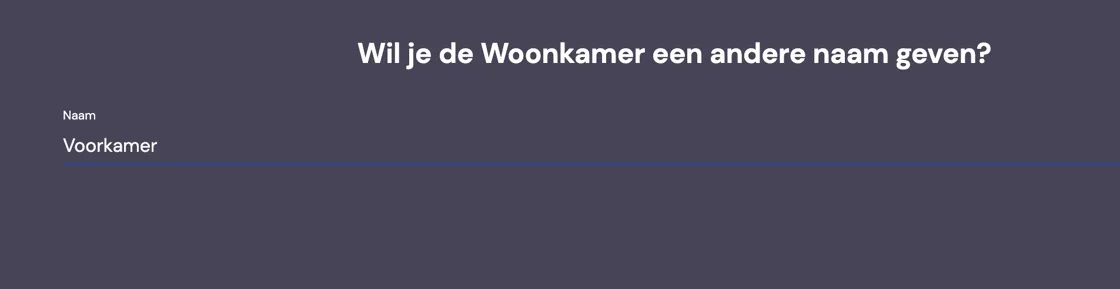
In the next tab, you can adjust the name of the room if you wish. This way, you can distinguish between the daughter's bedroom and the parents' bedroom, for example.
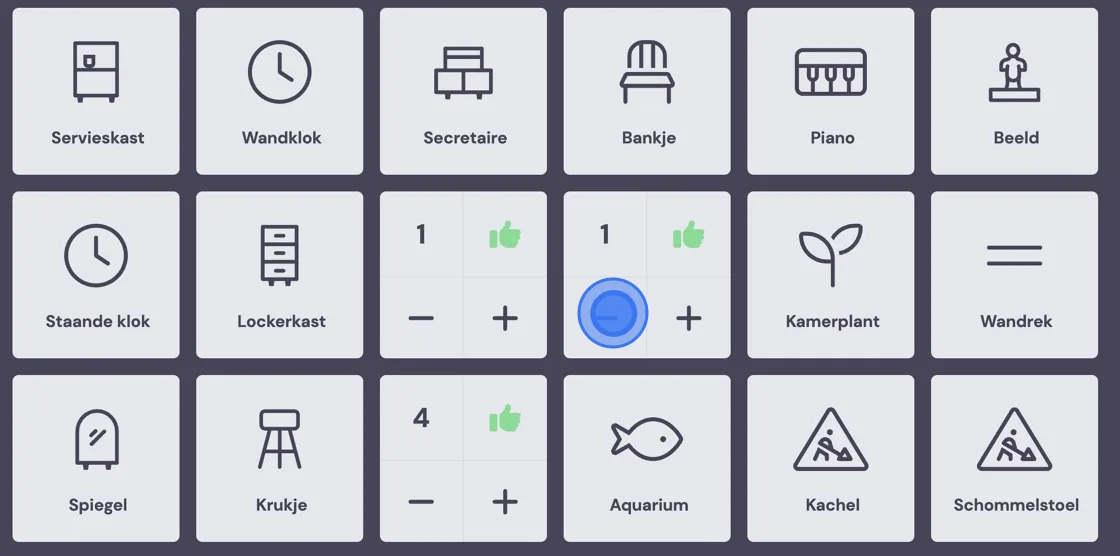
Then you arrive at the furniture list. For more details about the furniture list and entering unique pieces of furniture, we refer you to: Furniture volume list and adjusting manually. Select a piece of furniture you want to add.
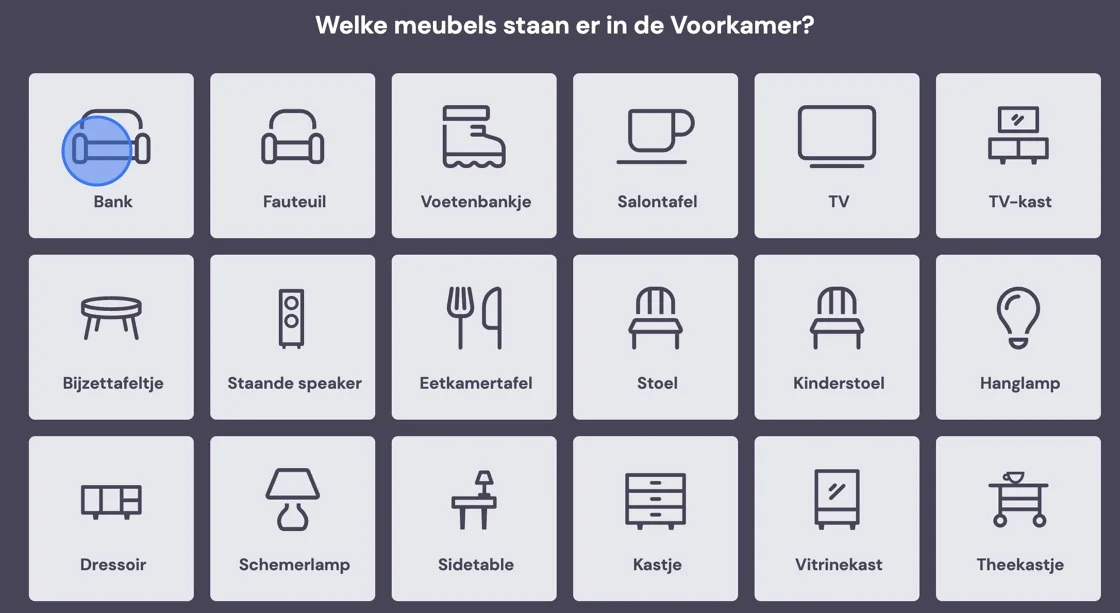
Some pieces of furniture have multiple options.
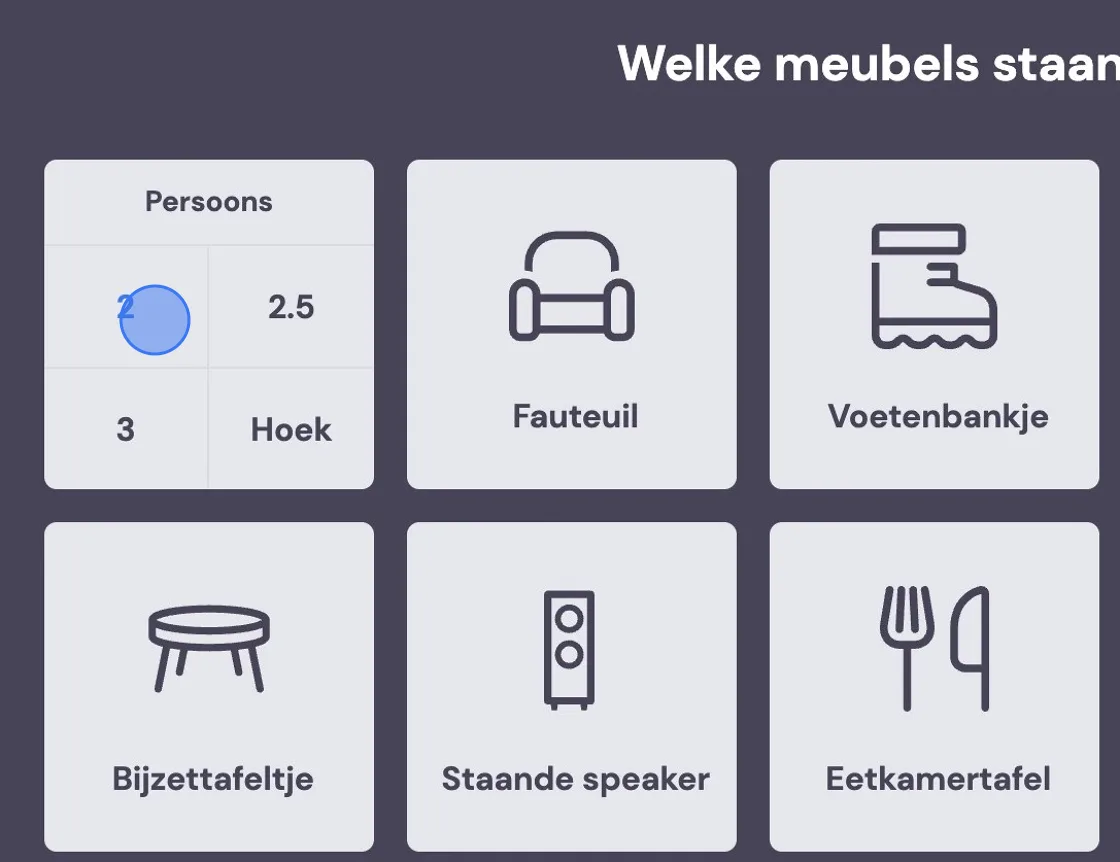
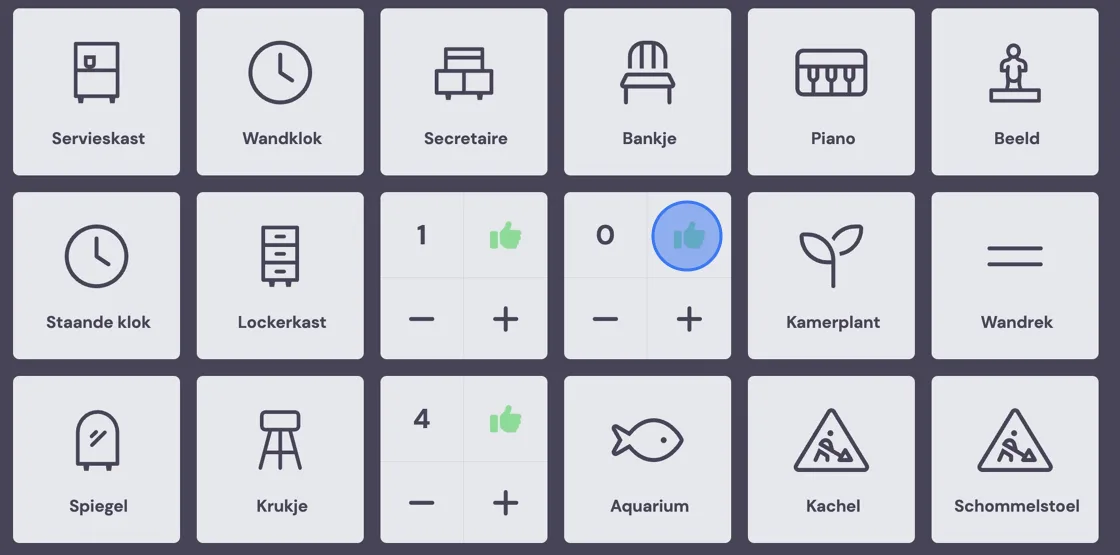
After choosing, you can add it by pressing the thumb icon.
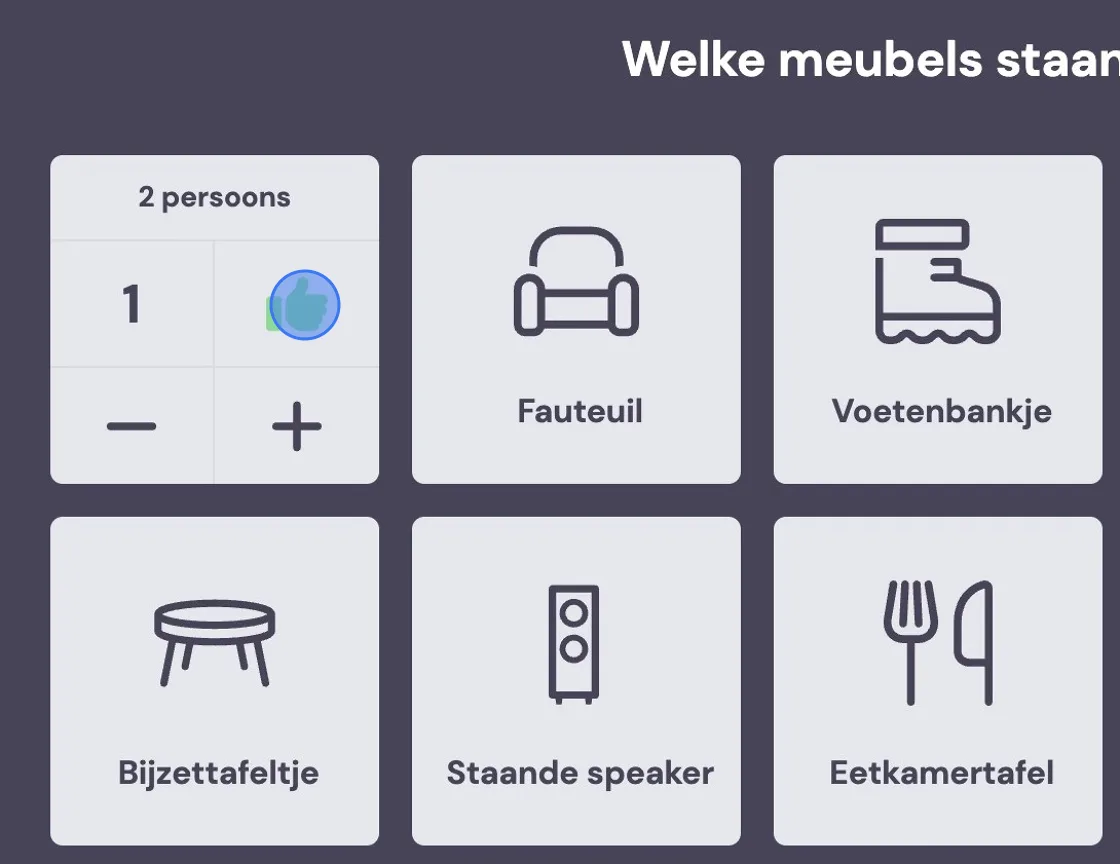
It isn't necessary to press the thumb icon. The advantage of pressing the thumb icon is that you can still see what you've added. Not pressing the thumb icon makes for more speed during the survey.
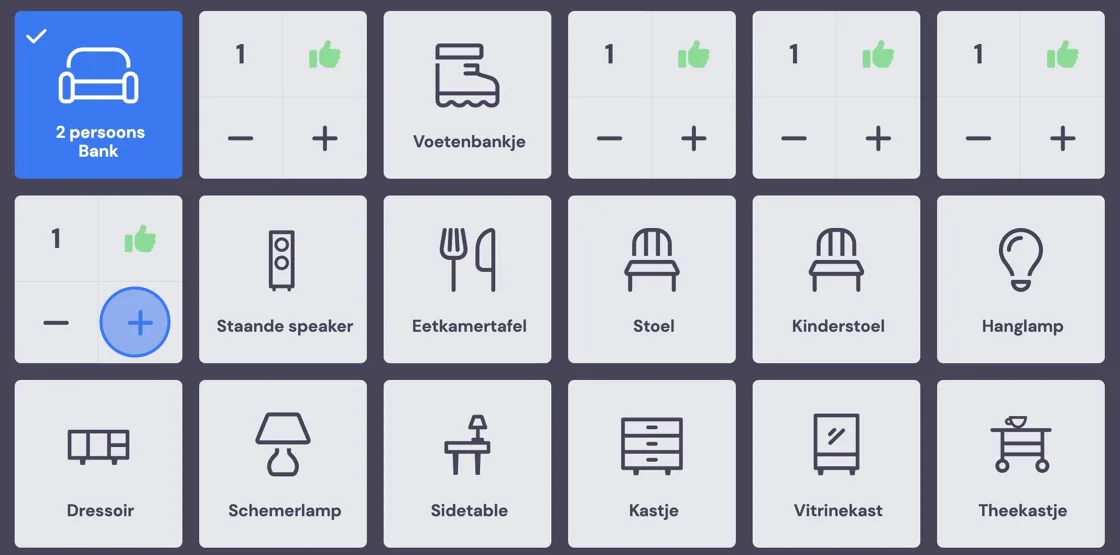
If you've made a mistake, you can easily remove the piece of furniture.
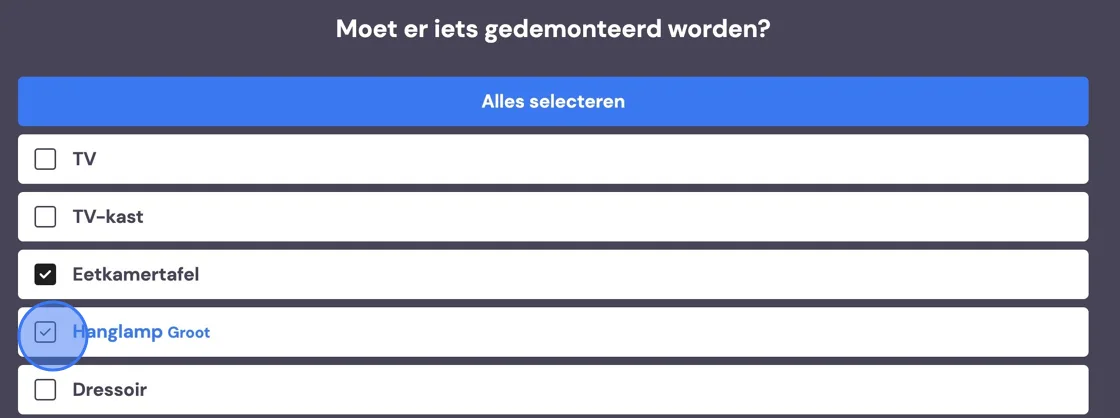
In the next step, you'll be asked what needs to be disassembled. If you didn't tick this option at the start, it won't appear either. You'll then be asked exactly the same about what needs to be reassembled.
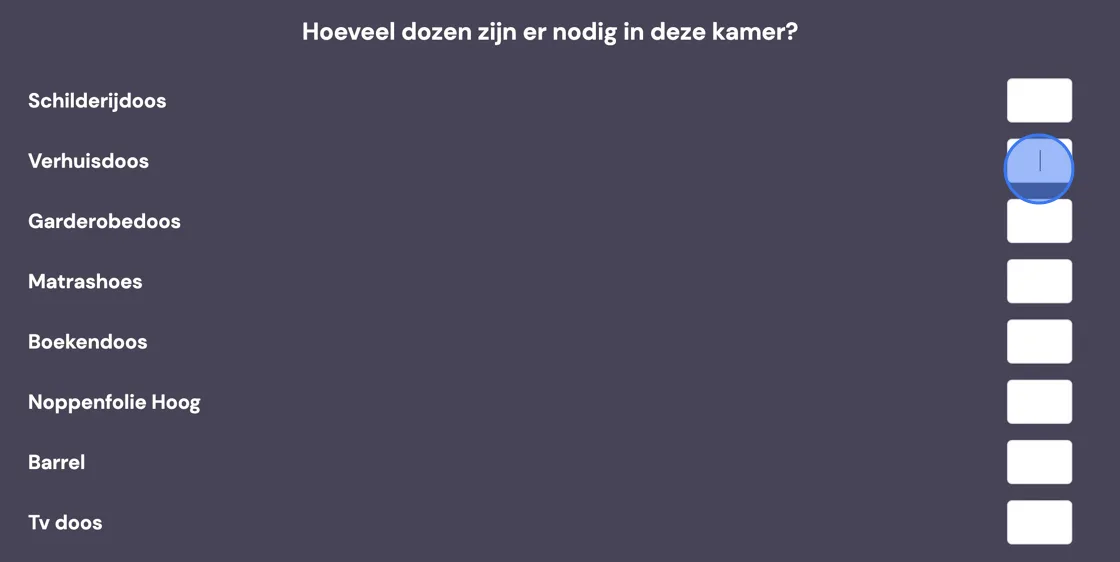
In the step after that, you'll be asked for the number of boxes this room needs.
In the step after that, you can take photos of this room for the removal crew and the office.

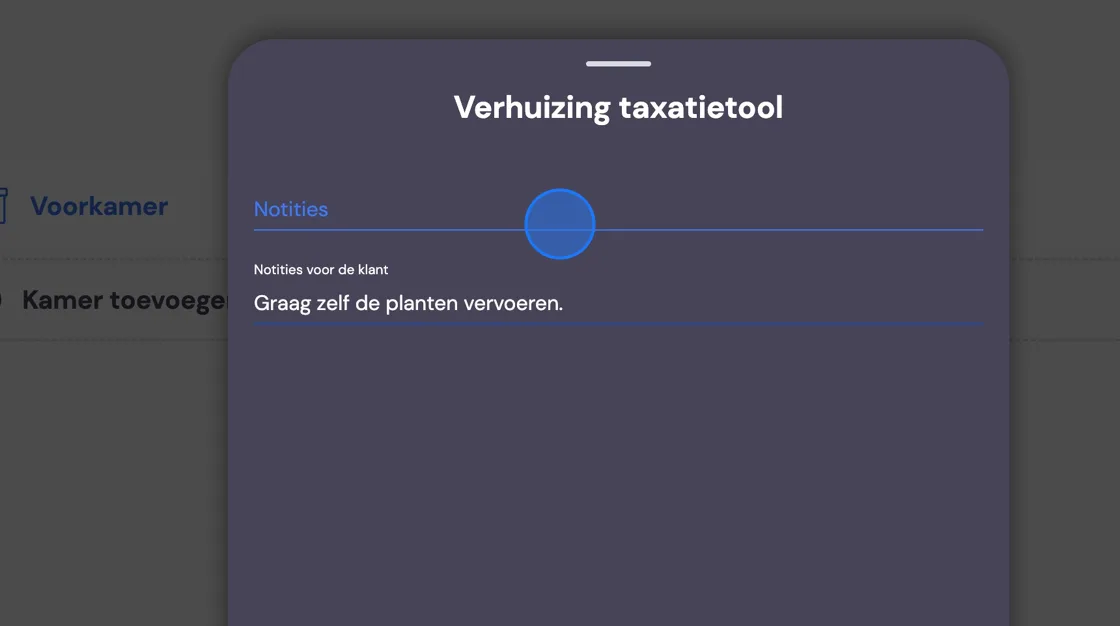
After that, you've finished entering the first room. You return to the menu with the rooms. You can always click at the bottom of the bar on the circles to add any notes. For the removal crew and separately for the customer. Please note, you can't click at the bottom of the bar while you're entering the furniture in a room.
You continue adding rooms like this until you've done a complete move.
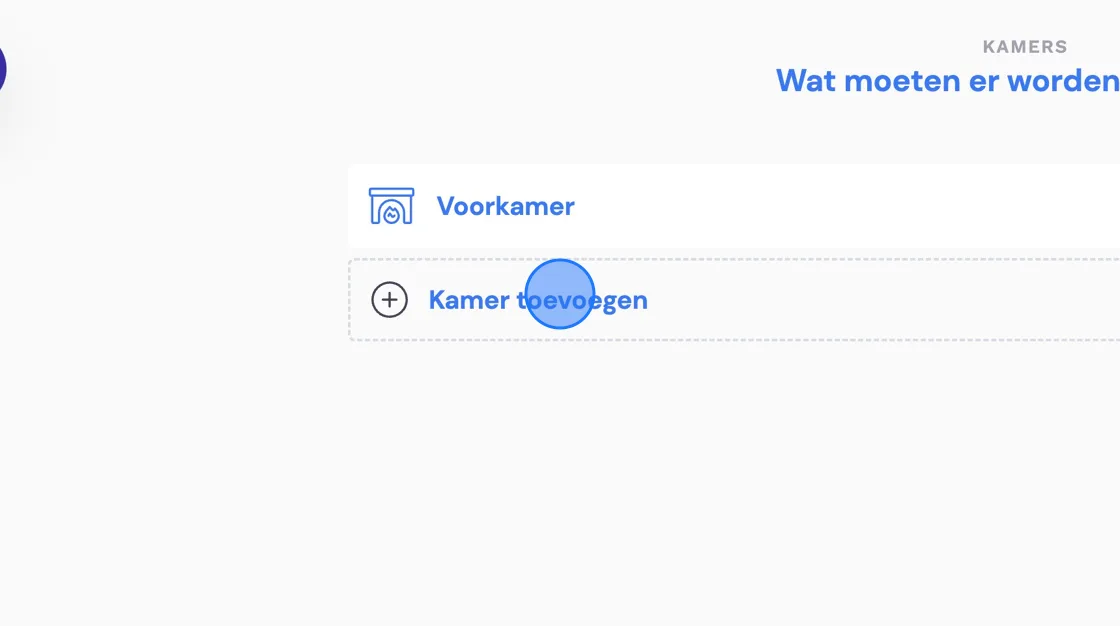
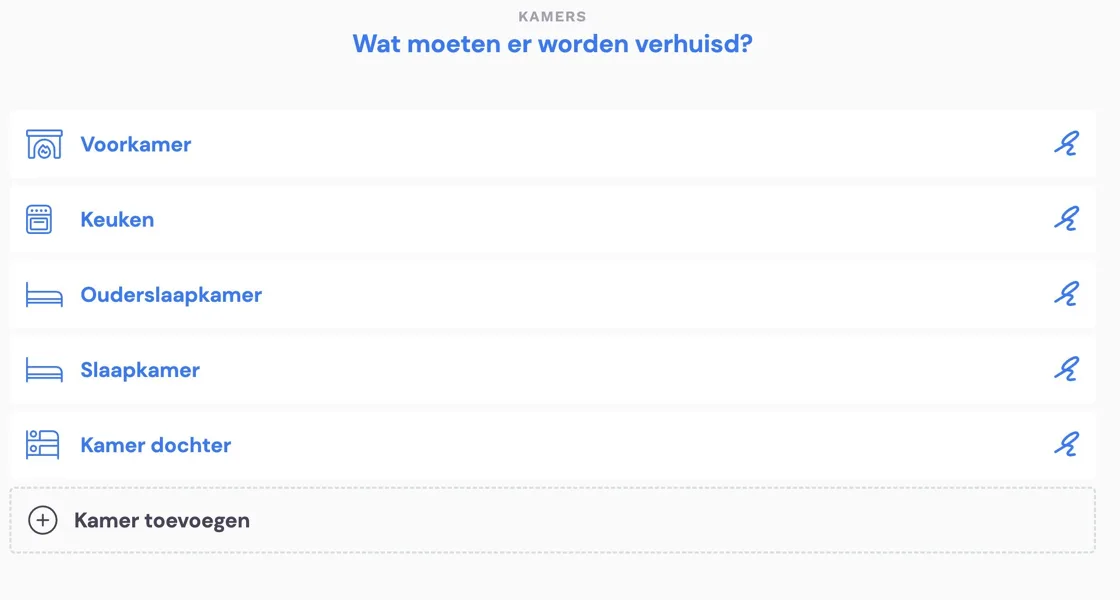
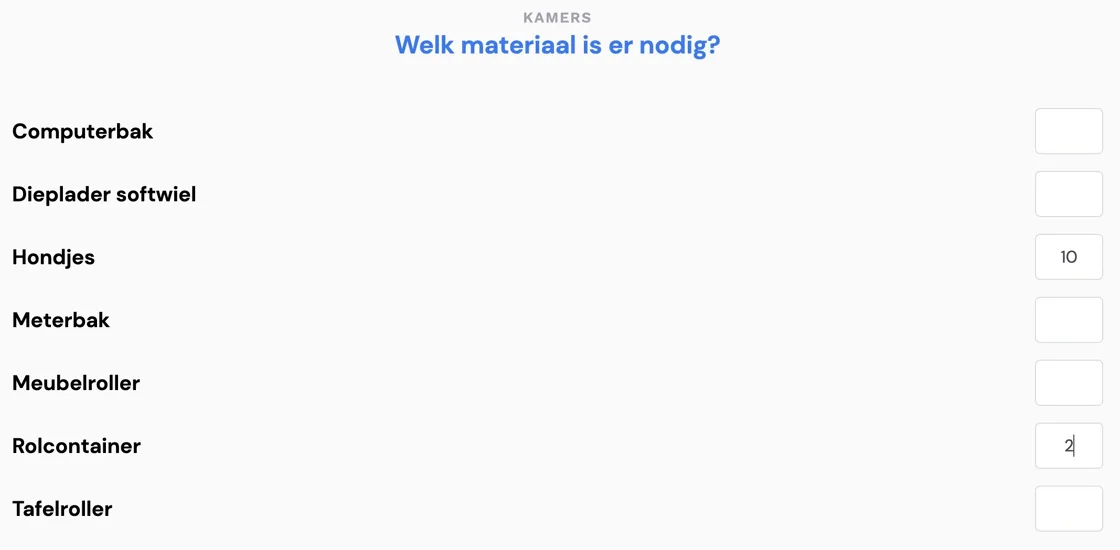
Suppose your customer indicates that a room ultimately won't be included after all; you can click on the room in question and it will disappear from the selection and no longer count in the price calculation. All your data is kept, in case the customer changes their mind after all. Once everything has been surveyed, you pass on to the removal crew which materials you want them to bring.
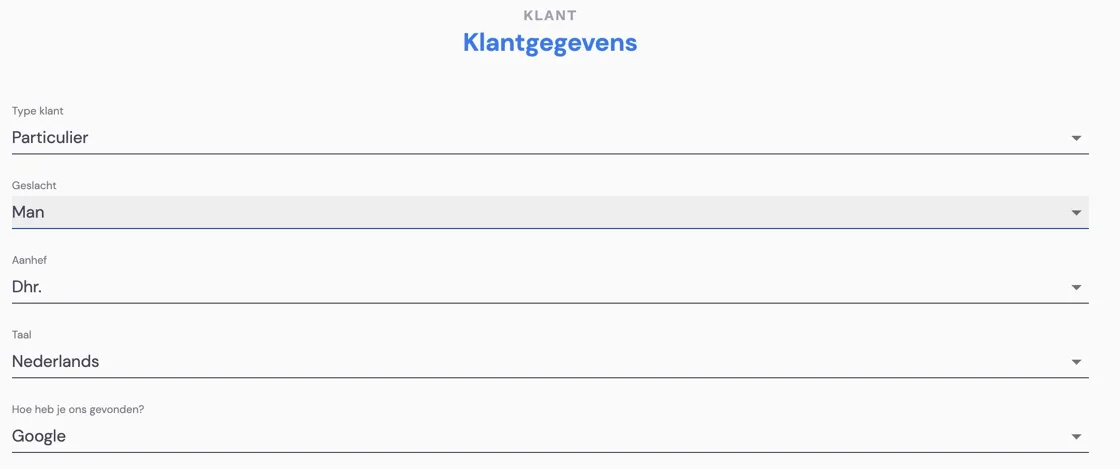
Next, you check the address details with the customer.
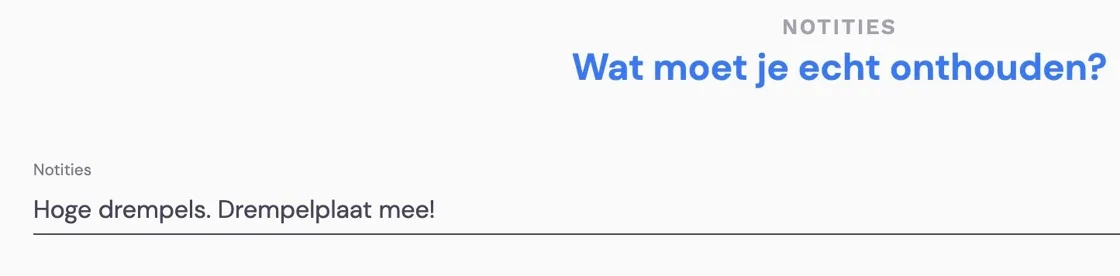
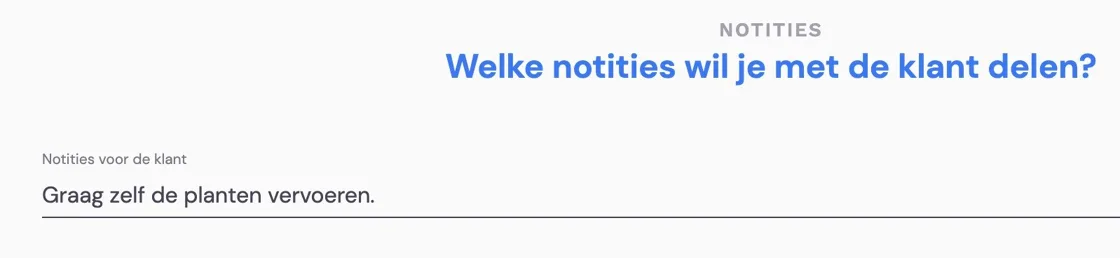
You get another chance to add comments for the removal crew. If you'd already filled something in, it's ready here. Adding to it is no problem.
The same applies to the comments for the customer. However, space for this must have been designated on your quote template.
Here you can add extra addresses if needed.
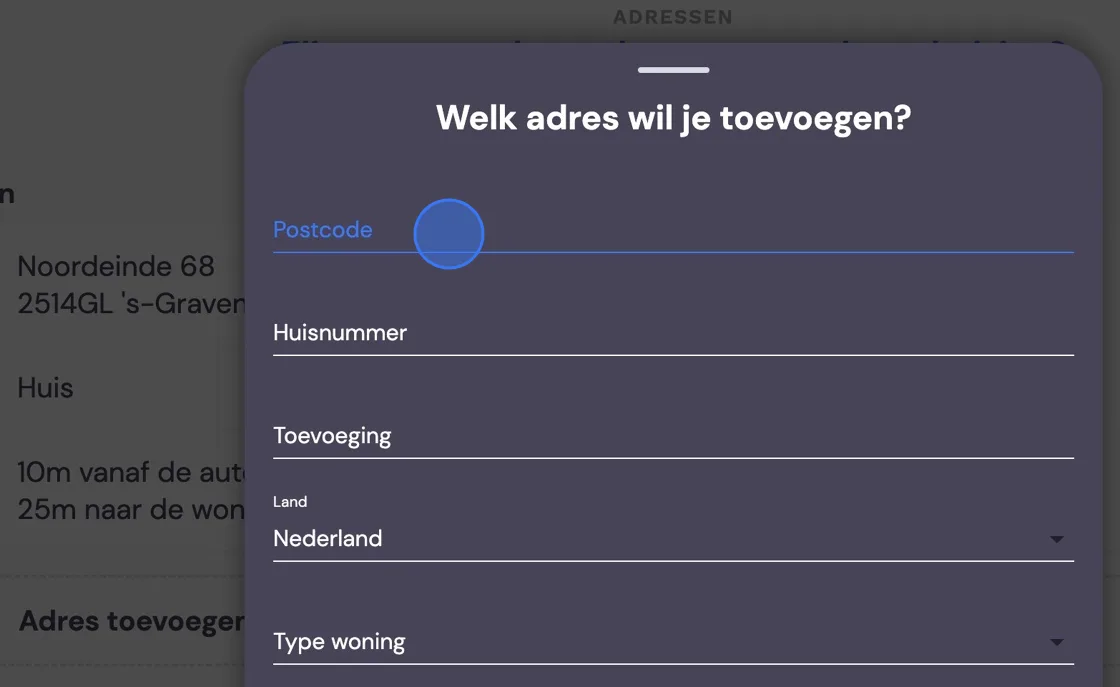
Usually, postcode and house number are sufficient.
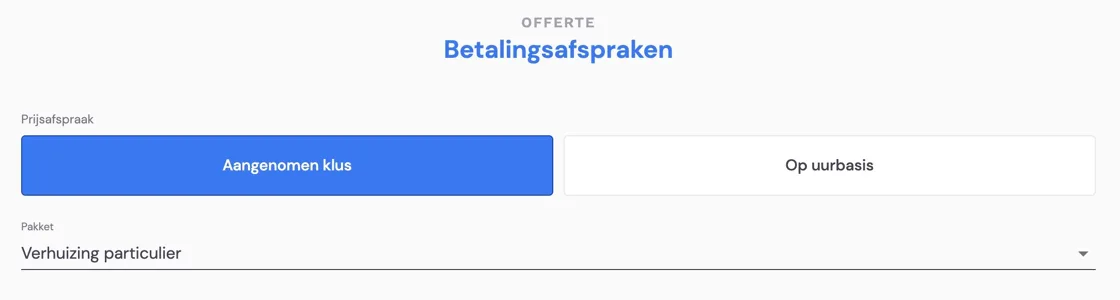
The next step shows the package entered by the back office. You can change it according to the circumstances.
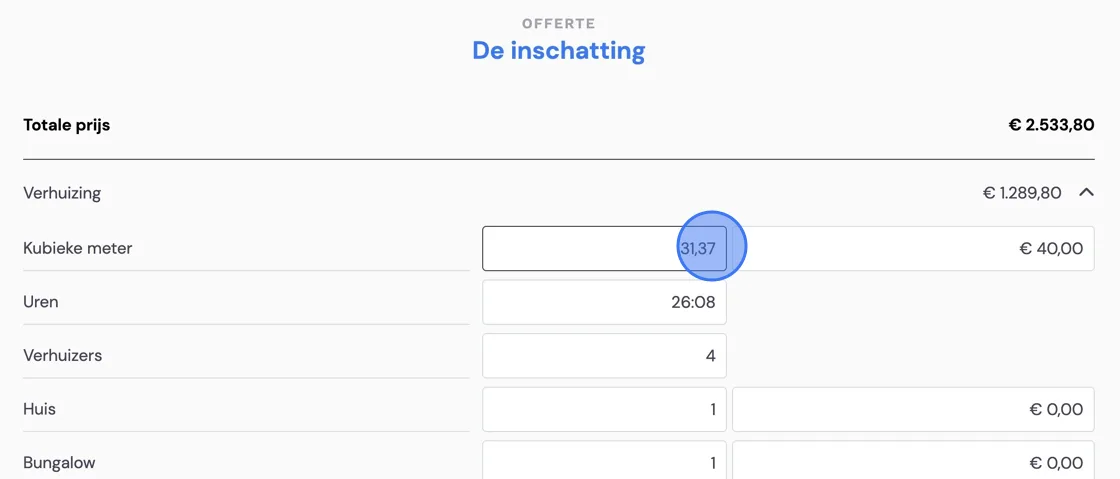
In the next step, calculations have been made with the circumstances you've specified. Please note, the data has not yet been passed on to the back office. You can still adjust the survey data manually here.
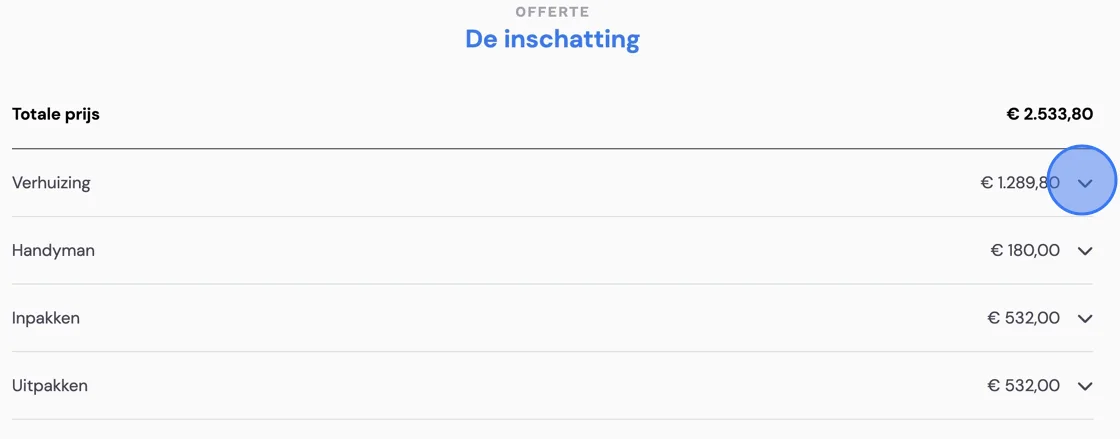
Number of cubic metres, crew members, hours, etcetera. Everything is recalculated for you.
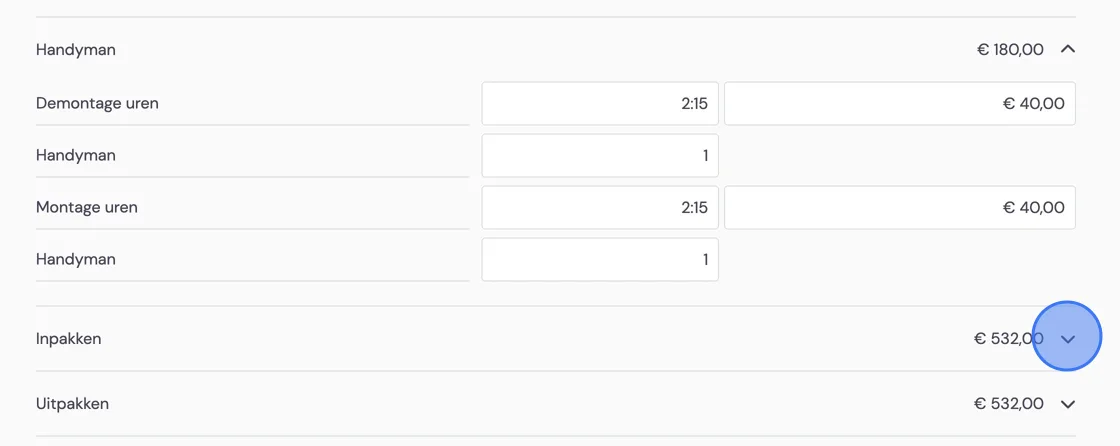
The same for all extra services
After that, in the next step, you prepare the costs for the move.
At this point, if you're doing the survey in the app (phone or tablet), all the data you've recorded has been forwarded to the back office. You can stop the survey here and continue at the office, but it's important for app users to then delete the survey manually in your app when you're done. Otherwise, your app will gradually fill up.
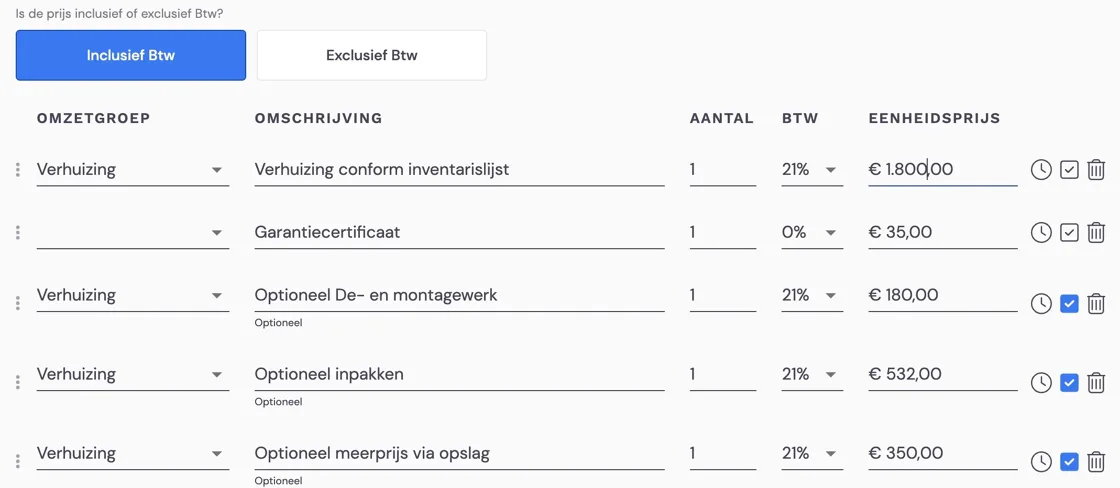
In the price list, you initially get a list that has been configured for this package. You can now adjust it to the customer's wishes. In this example, the customer wants to unpack themselves. And isn't sure yet whether they need to go via storage. The customer also wants to think a bit more about the disassembly work and the packing of the boxes. On the right of the line, you can remove the unpacking.
Good to know: the list of furniture to be moved, and from which room, is on an inventory list that is sent along to the customer. It also shows which furniture will be disassembled and reassembled. Disconnecting and reconnecting white goods falls under disassembly and reassembly.
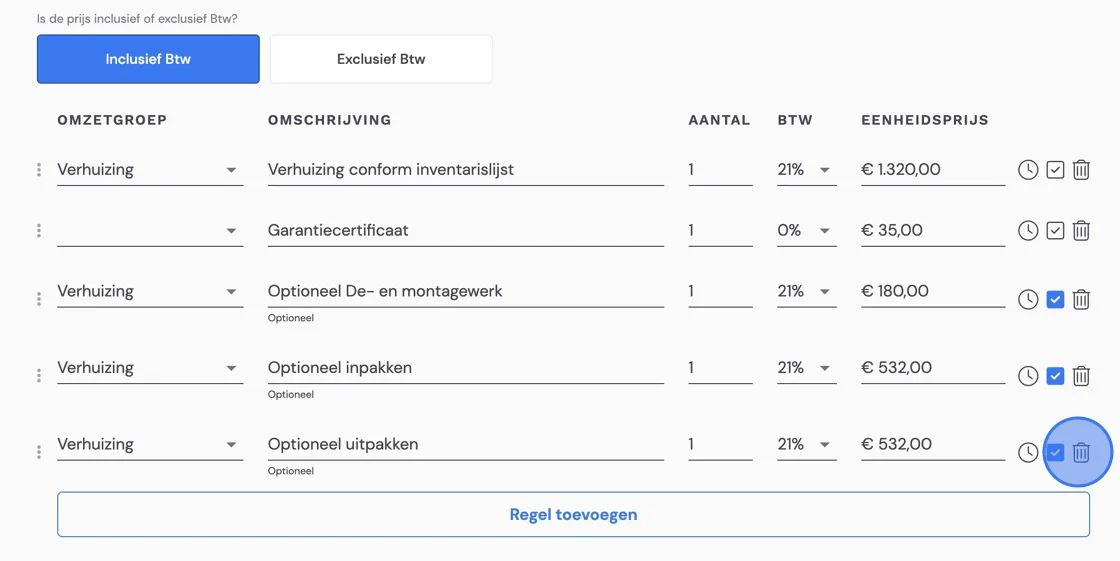
Here you add a line for the other costs you want to specify.
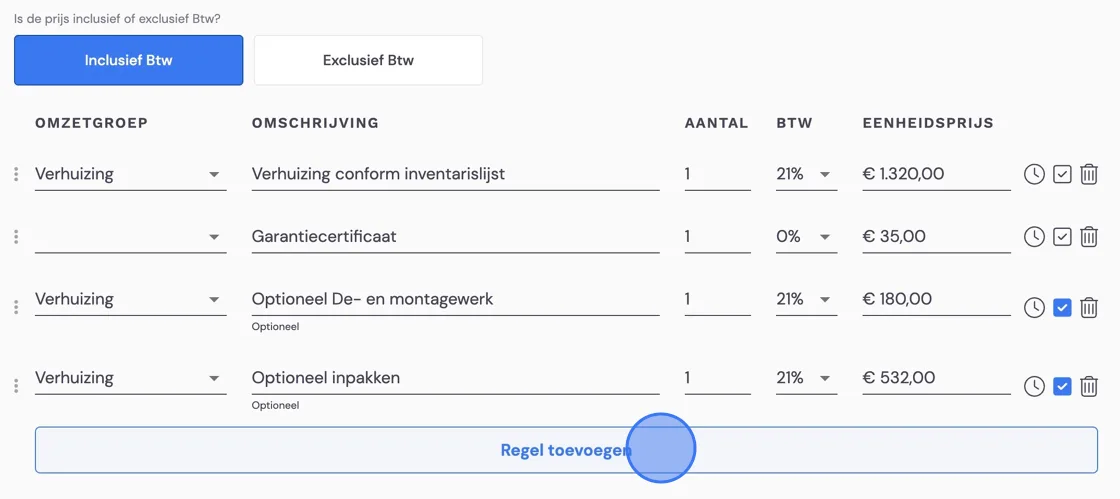
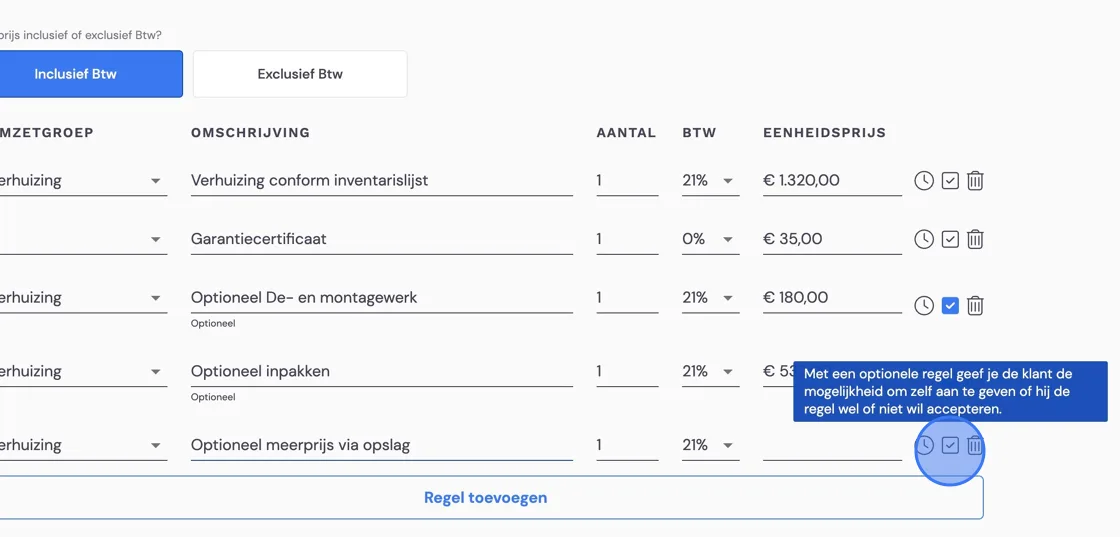
By using the tick box to the right of the price line, you give the customer the choice to indicate at a later stage in their email whether they want to use this service or not.
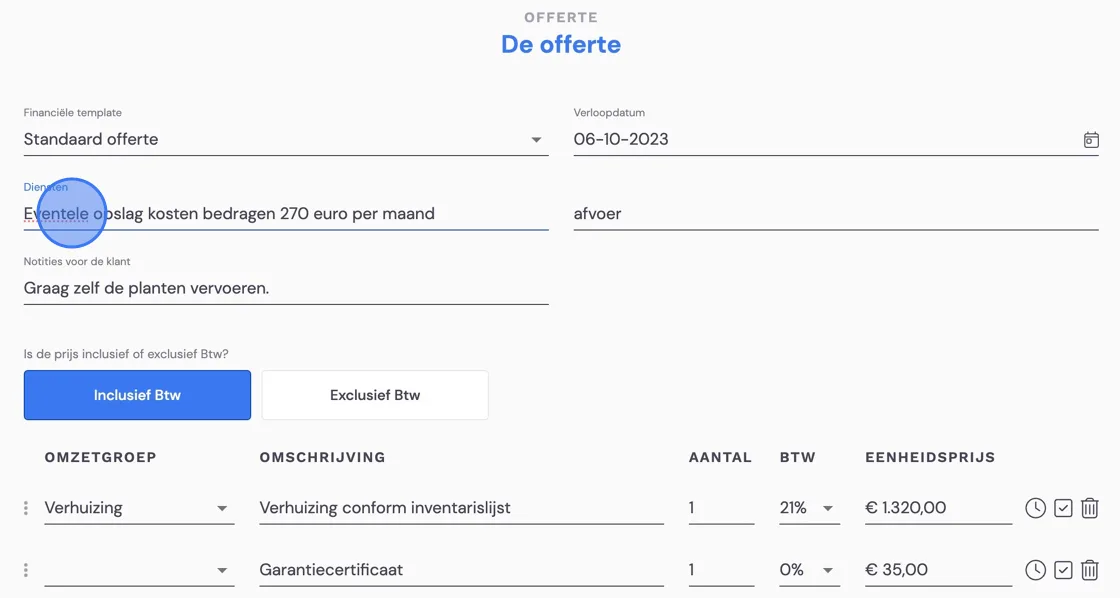
We always recommend displaying storage costs in a separate text field. This is because the invoicing of the storage is separate from the invoicing of the move. More on that in a "survey for a move via storage". You'll have to set up extra text fields yourself in your templates. You can do this as follows:
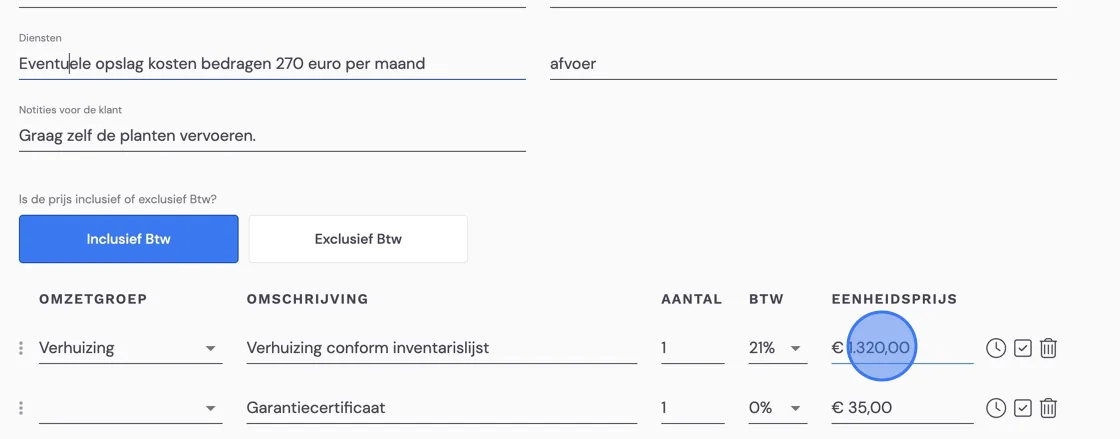
Furthermore, the price that has come up is a suggestion from Bas. You can adjust it at your discretion to what you think you'll need for this move.
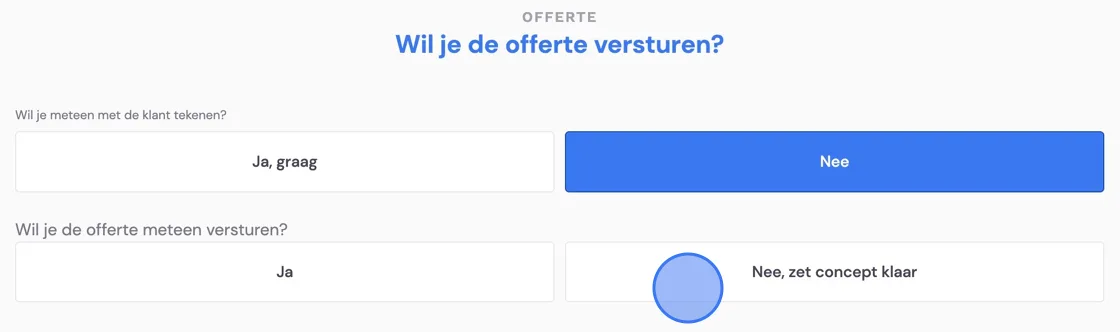
If everything has been properly prepared and you've discussed it with the customer, you can have the customer sign on your device straight away. If the customer wants to think about it, you can send the quote directly to the customer. If you want to think about it yourself and add some changes at the office, prepare the quote as a draft.

If you've carried out the survey via the app on a tablet or phone, you now return to the screen where you can complete the survey and drive back to the business premises. Pass on mileage readings and, if applicable, state how many boxes you've left behind. The survey then turns green in your app and will disappear automatically. If you don't complete the survey, it will remain in your app. Even if you work out and send this survey at the office.