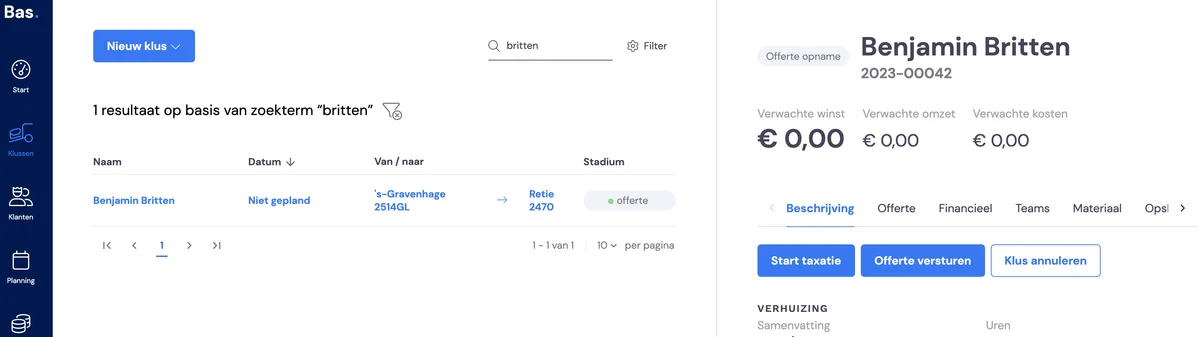
Every move starts with a request by phone, lead or email. Some data can end up in Bas directly, and you only need to schedule an appointment for a survey. If you do have to fill in all the details, follow the steps in this article.
You'll find the buttons below at the top right of the start page. For existing customers, there is a separate Shortcut where the order is different.
If it isn't necessary to do a quote and/or survey, then after entering the details you can choose to skip the quote and the task will go straight to the planner to be processed.
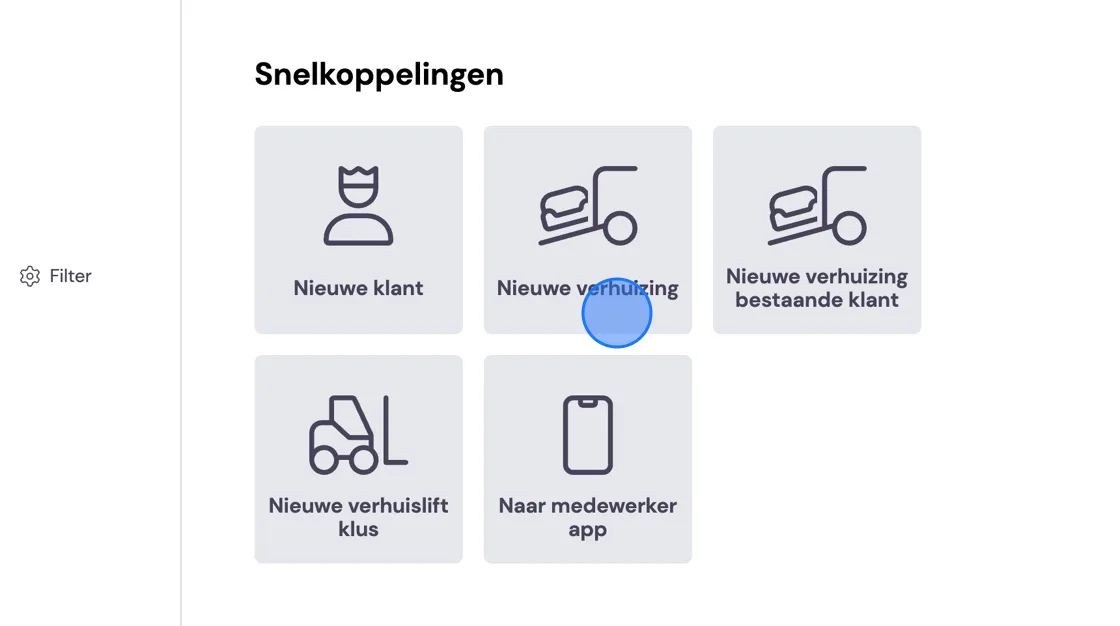
After you've chosen a new move, you'll see the calendar below. This does depend on the settings you've configured in Bas. You can, in fact, choose to start with the survey appointment. With this option, you'll first have to go through all the steps before you can make an appointment.
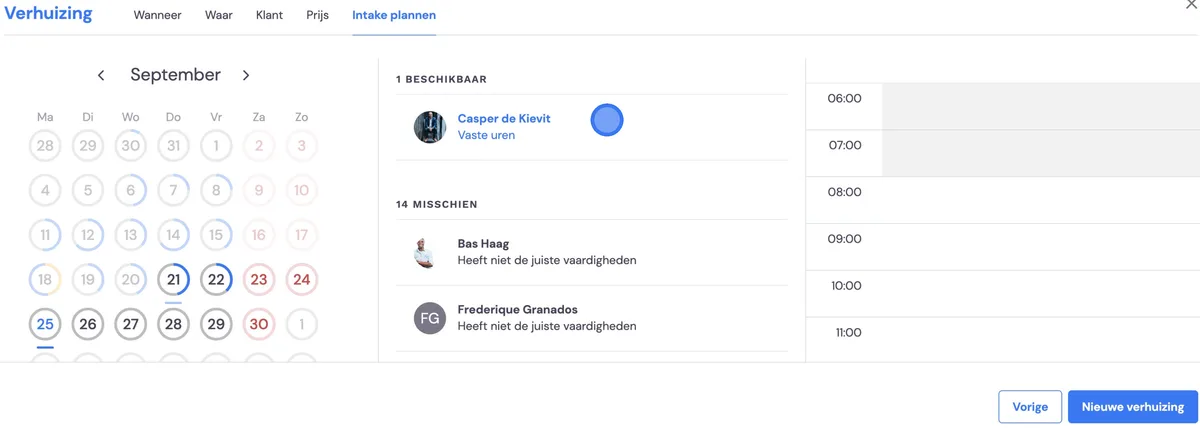
In the calendar, there are circles around the date. These indicate how many people you still have available on this day and whether you're still able to do a move. Blue is occupied, grey available, yellow is for the planner to still approve hours.
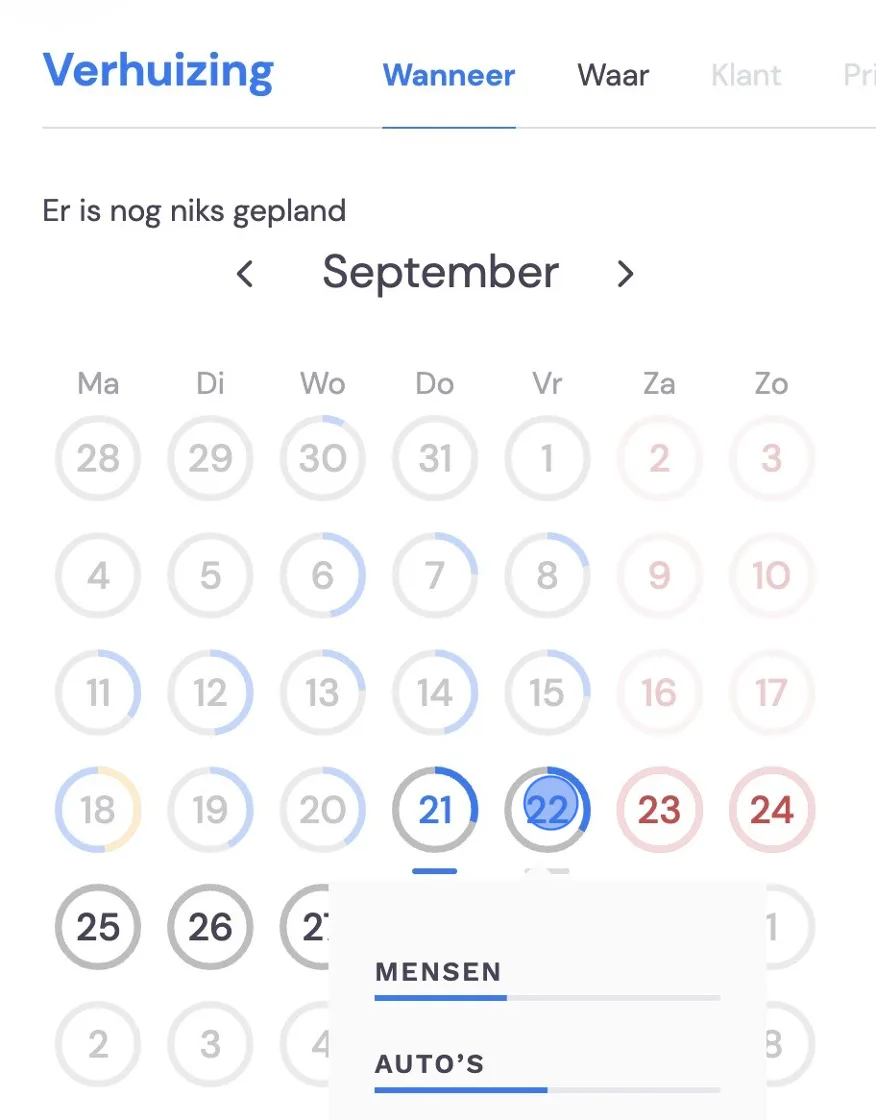
If the customer doesn't know a date yet, you can skip this step by pressing Next.
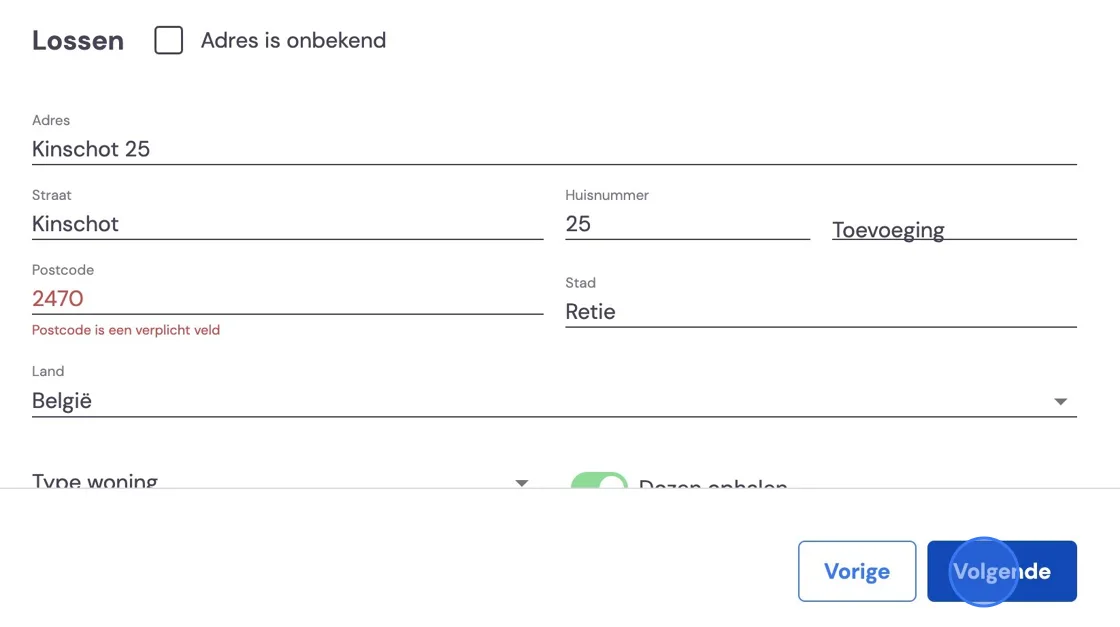
Next, you need address details for the loading. In Bas, entering the postcode and house number is generally sufficient. If the address is too new, you'll unfortunately have to enter it by hand.
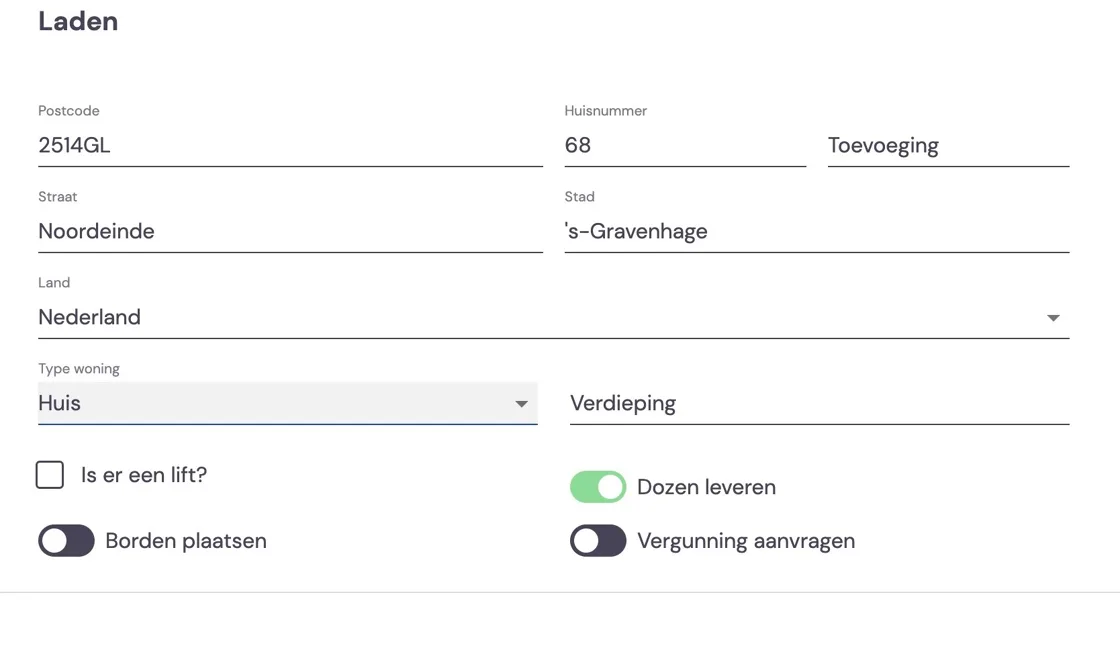
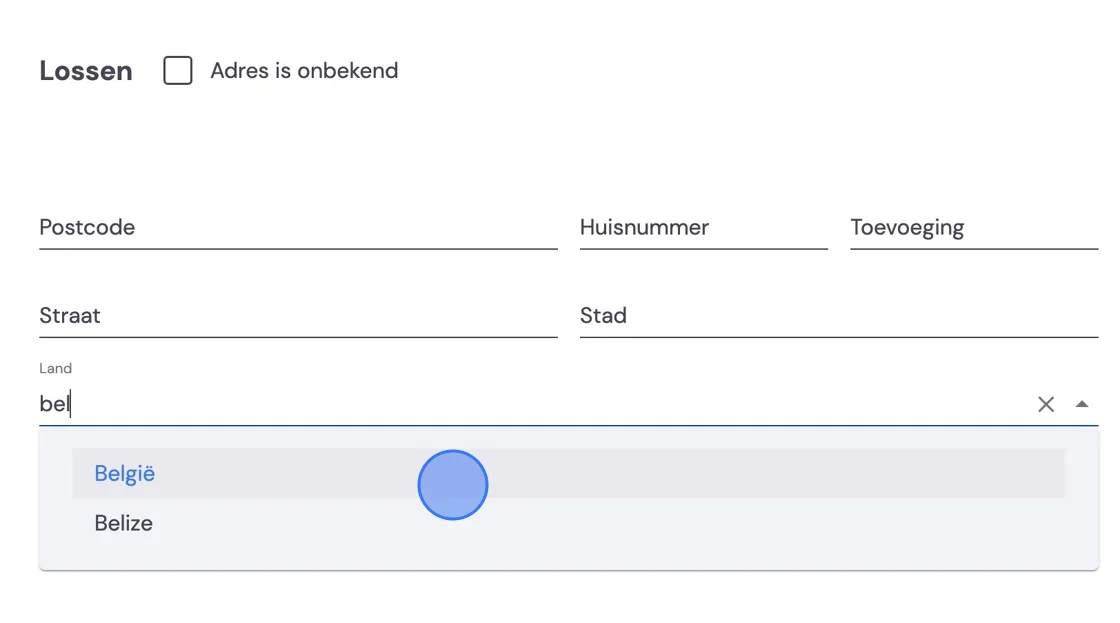
To enter an address abroad, choose the relevant country here.
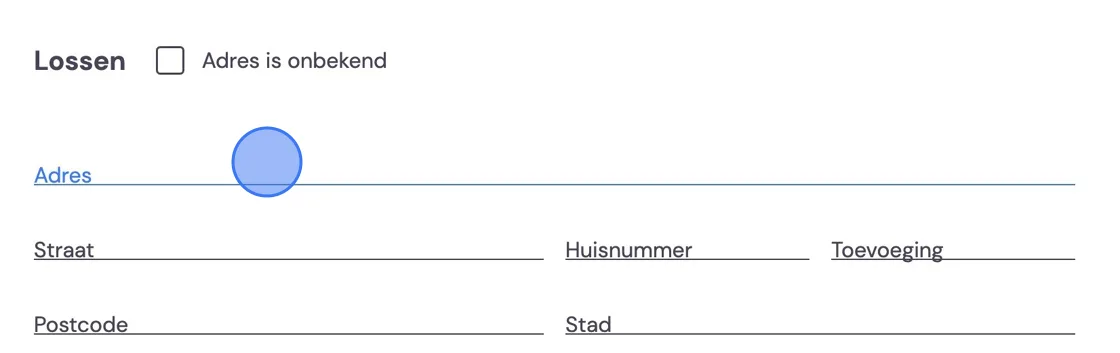
And then you can start typing the address in the first line.
Bas will give suggestions for the addresses. You can also start with the house number. In some cases, that can work faster.
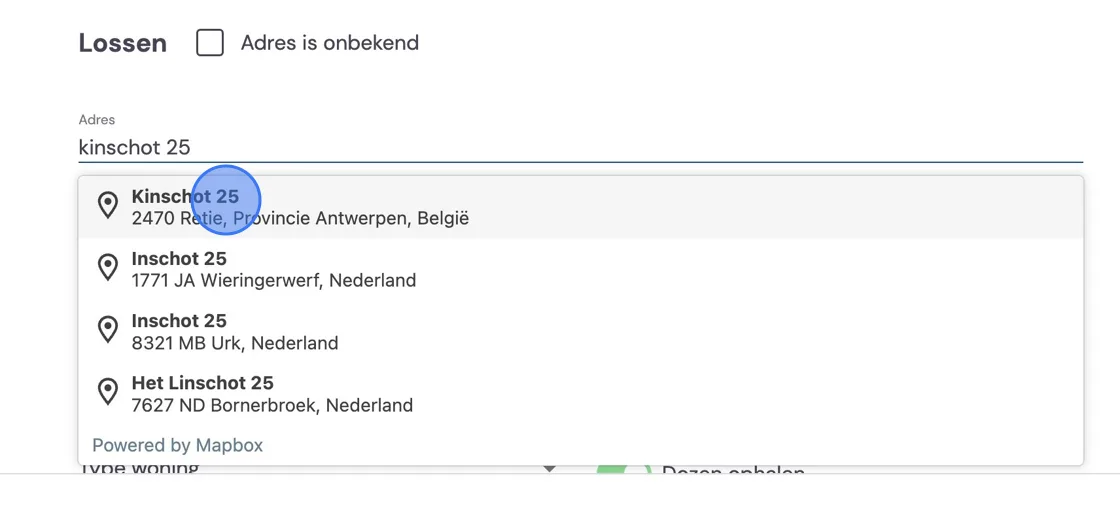
Bas fills in everything else for you.
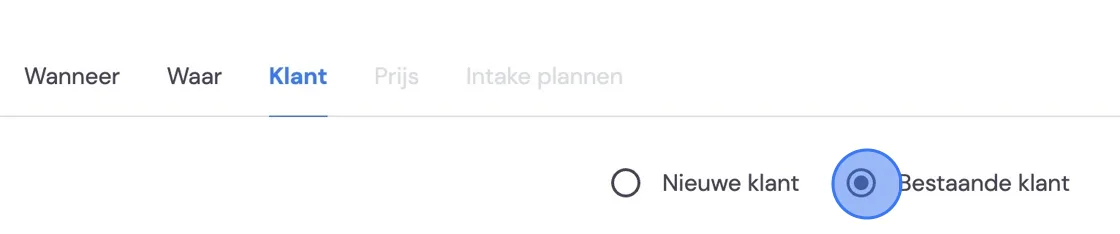
In the next step, you can still choose an existing customer. If you had chosen a move for an existing customer in the start menu, this step would have come first and you could then choose from the existing addresses belonging to this customer.
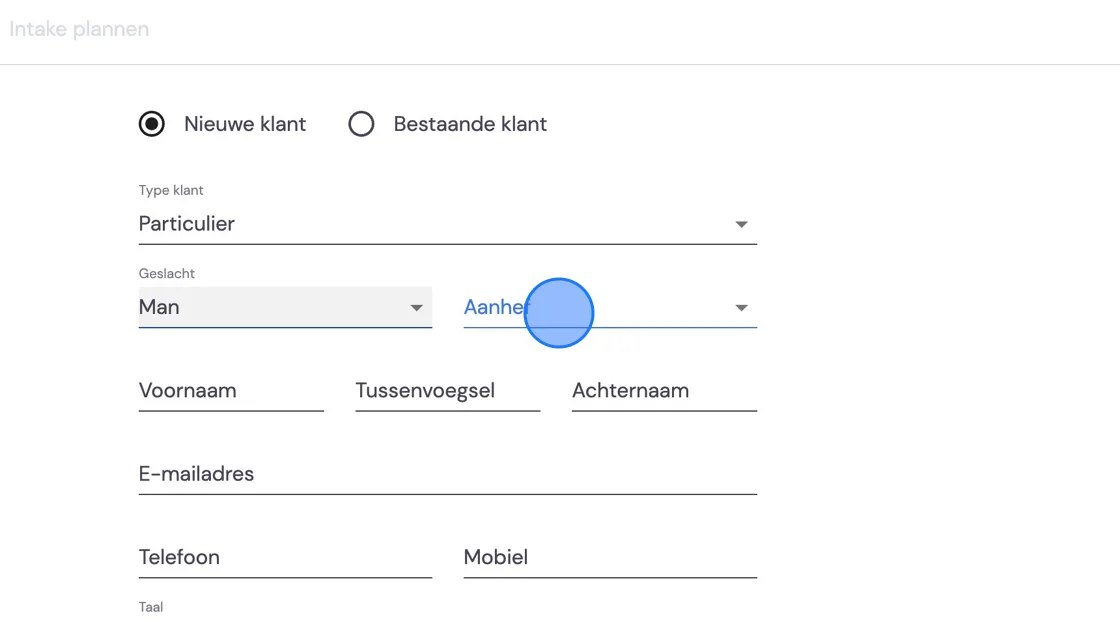
For a new customer, you fill in all the details that are needed. Salutation, if you've chosen that in your templates, you fill in here.
You choose the language here. With this, you determine for this customer whether the Dutch or the English versions of your templates are used in all phases of the move. Quotes, invoices and automatic customer messaging.
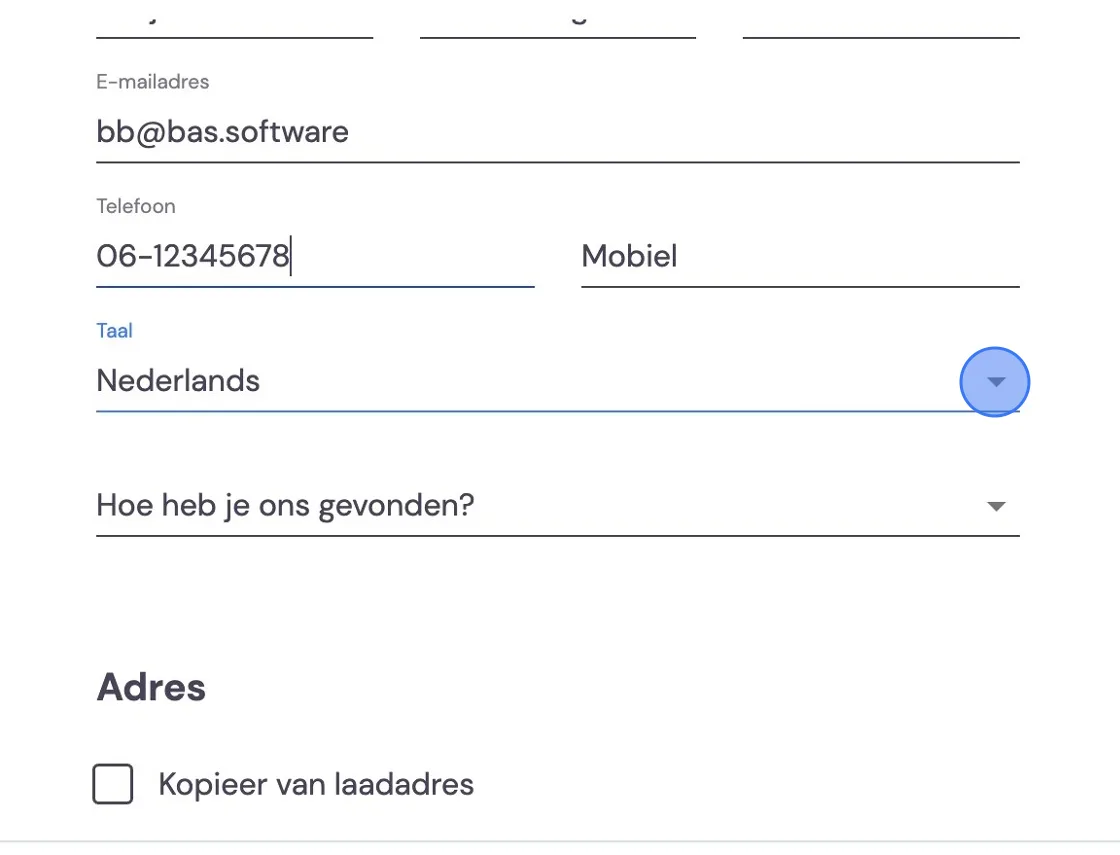
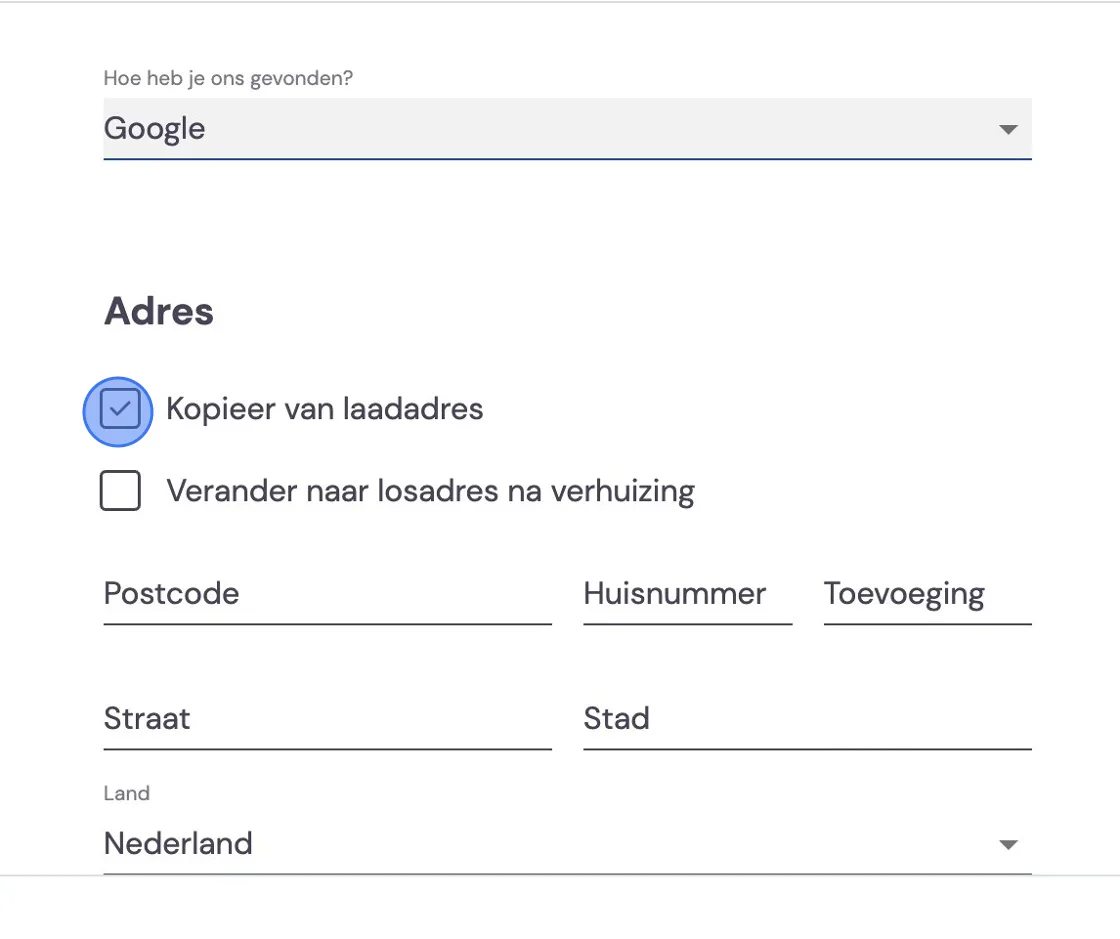
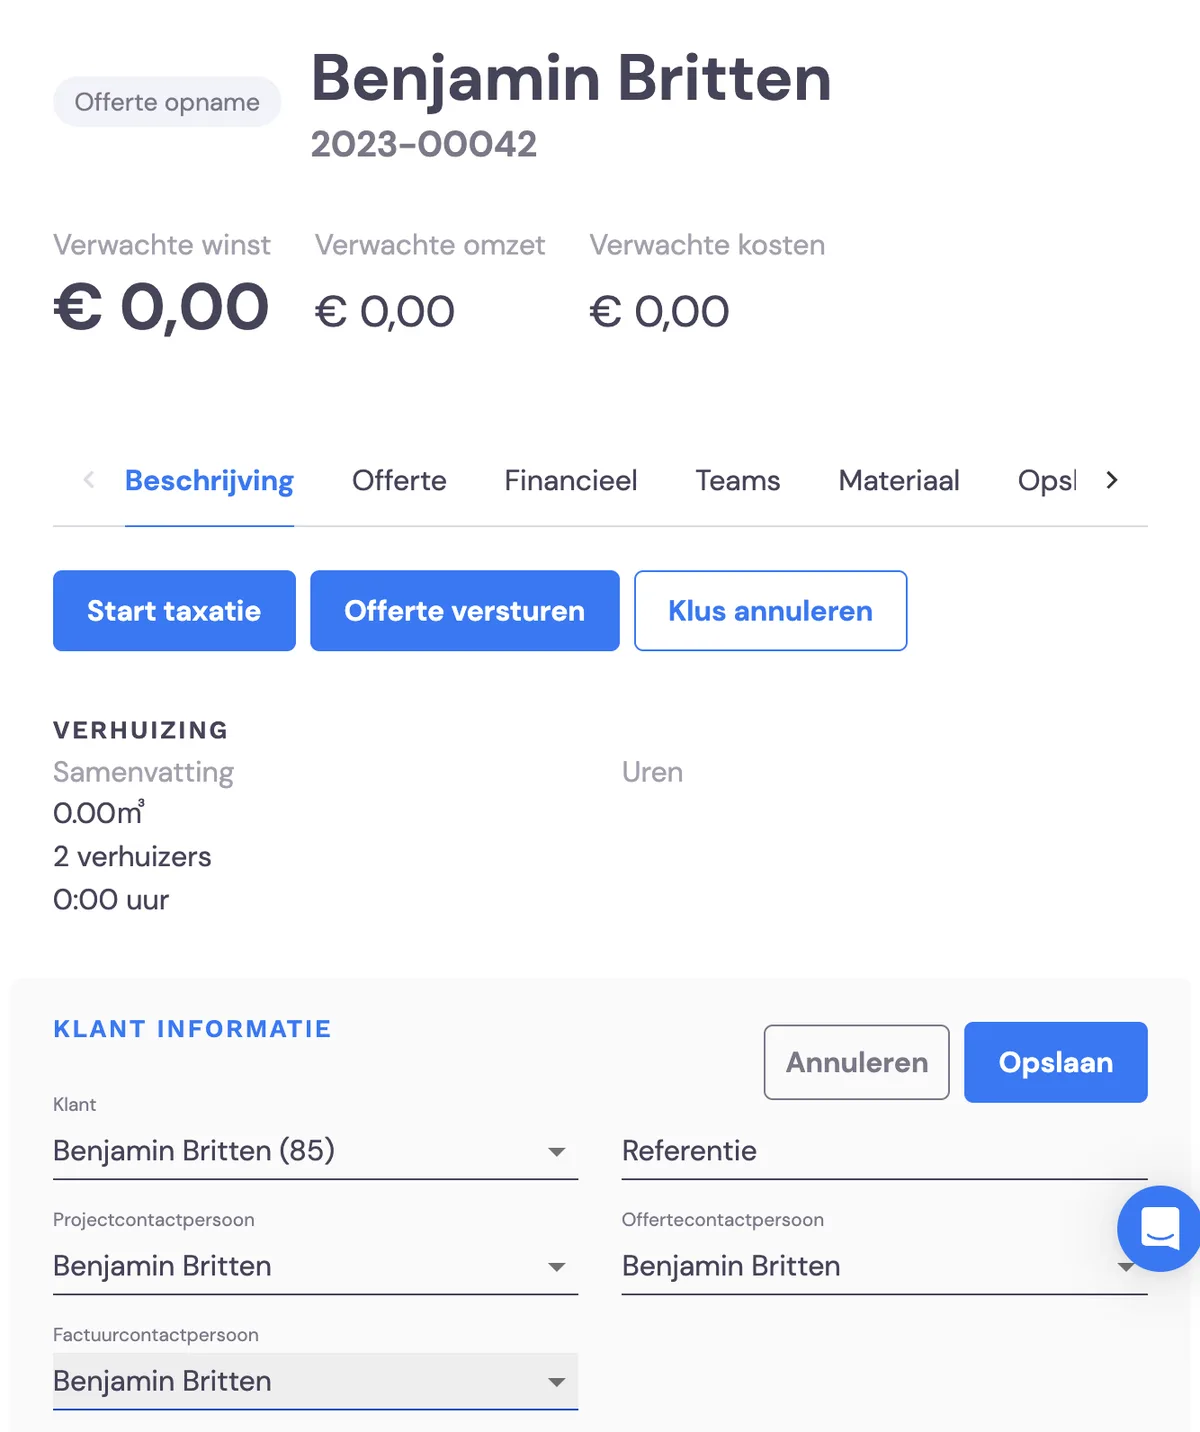
Under address, you fill in the contact/invoice address. Suppose you have a father arranging a move for his daughter, or family organising grandma's move; then you fill in a different address here. Later, you can make further adjustments in the job and Customer details. For people moving themselves, you can automatically copy the details here and, if desired, also have them move along to the new address after the move.
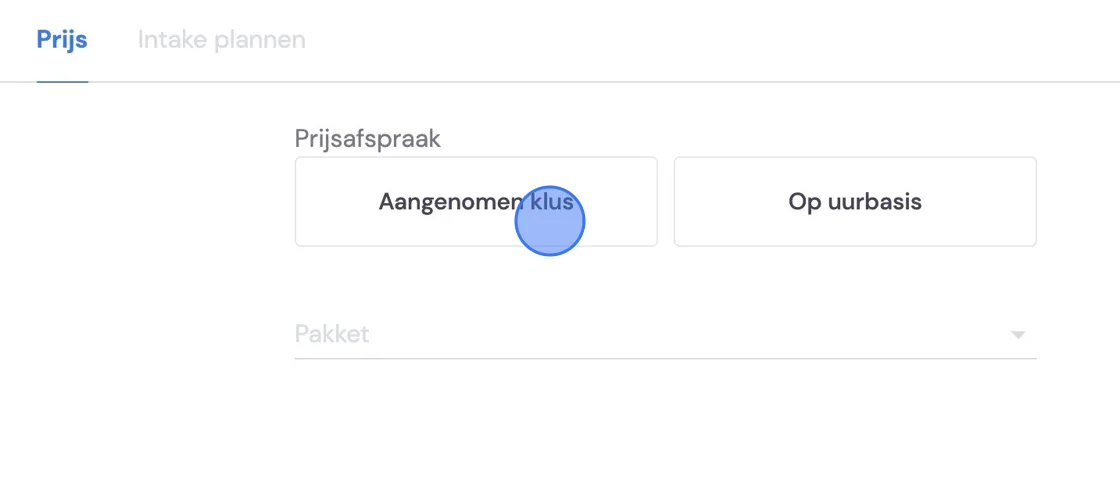
In the next step, you choose what kind of move it will be. Here you have a choice from the packages you've put together. Even if you're not sure whether the customer is moving directly or via storage, you'll have to make a choice here. For creating packages, I refer you, among others, to:
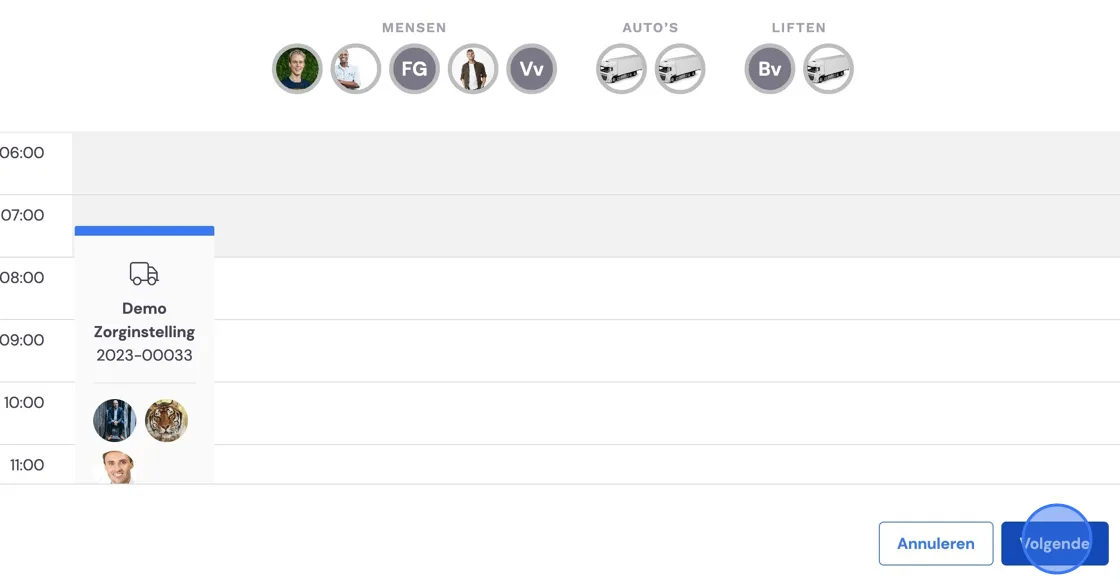
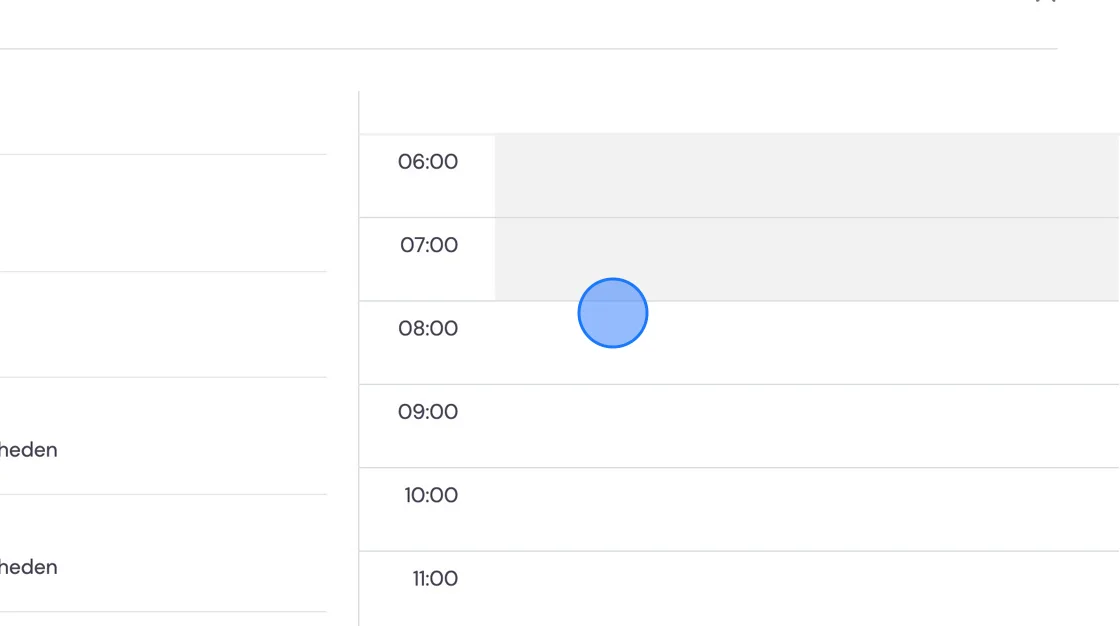
In the next step, you first choose a surveyor in the middle. On the left, you see the days with availability, and on the right, you can see at hour level everything that's happening on the selected day.
Select the agreed moment
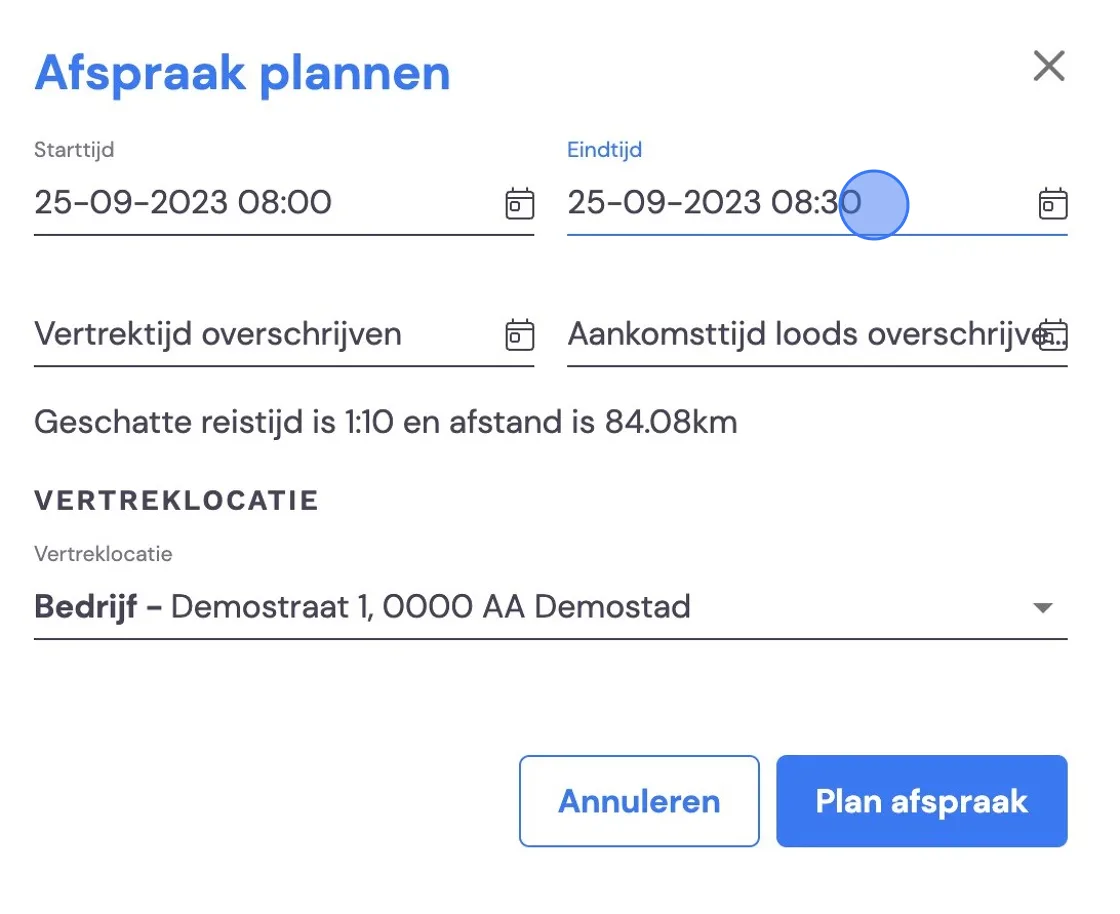
By default, an appointment is half an hour. You can adjust this here. You'll immediately see an estimate of the travel time from the warehouse. Suppose you have several surveys (or a move) scheduled on one day; those addresses will then come up under departure location. The travel time will then also be adjusted to those two addresses.
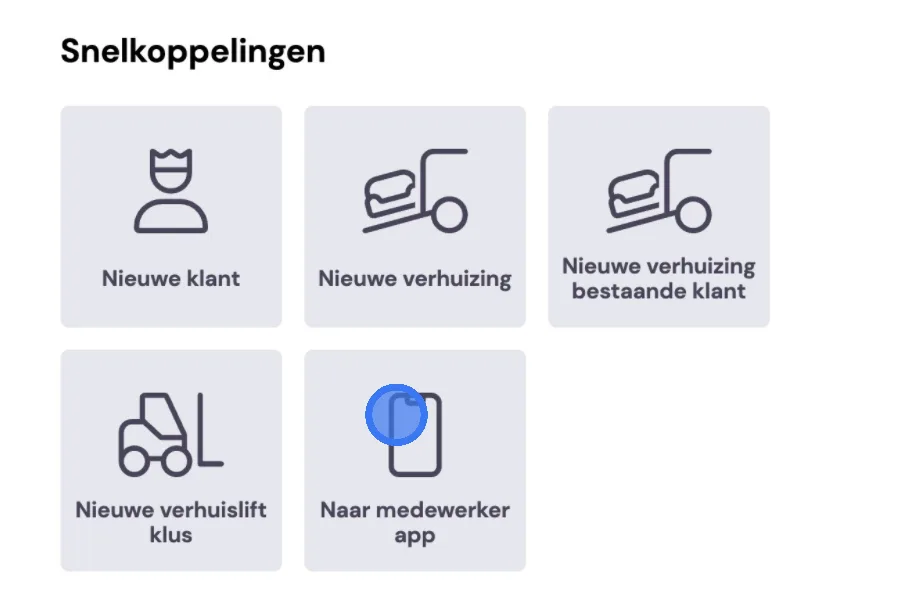
When you save the appointment, it's ready for the surveyor. If you're the surveyor yourself, you can go to the employee app via the Shortcuts to see the task. If you're in administration and you have to fill in the survey for the surveyor, go to the last step.
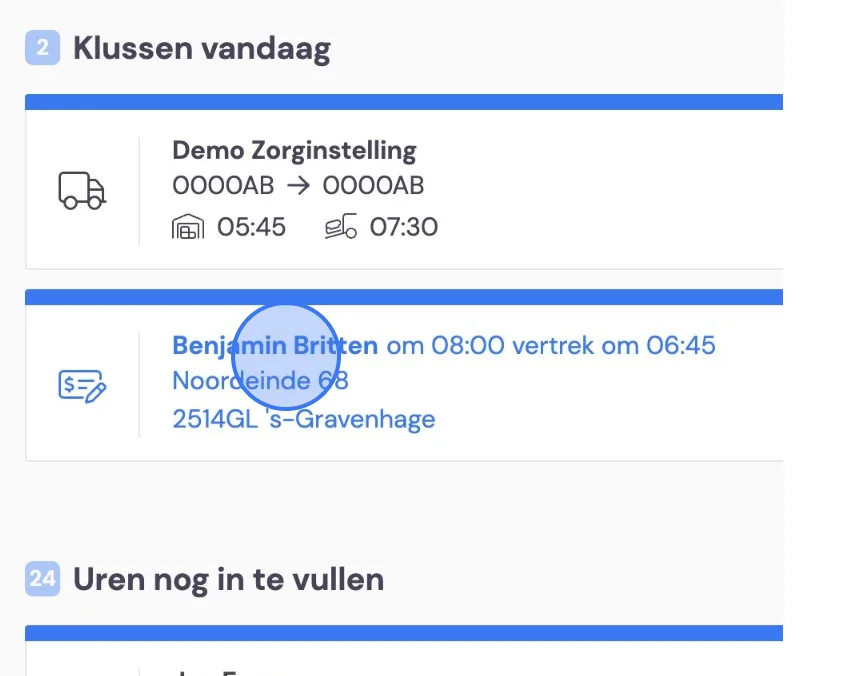
The surveyor will see this in his app. Start time, departure time and address.
Suppose you're somewhere as a surveyor and you want to start a new survey that isn't in there yet. Then you can start one yourself via the New survey button. You'll just have to enter all the details yourself that are normally entered by the back office.
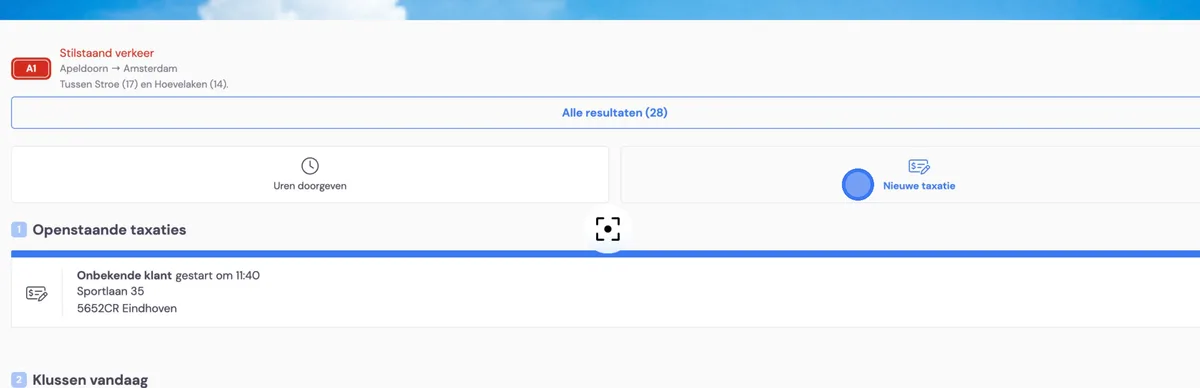
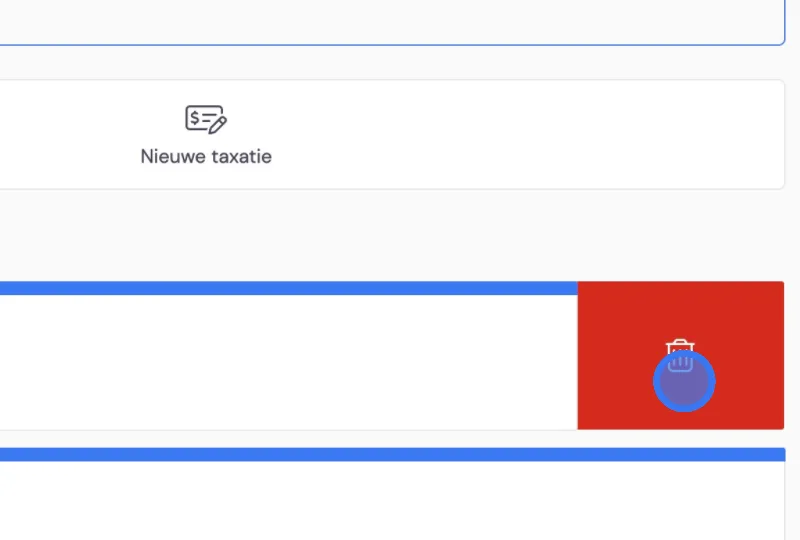
Any new surveys started by mistake can be deleted by swiping them to the left and then deleting them here.
In the back office, you can also start a survey by going to the job and clicking start survey there. We explain how to carry out a survey in another article.