1. Here you put together a move the way it's expected to proceed. Before you start this step, you should already have arranged a number of things.
Have it clear for yourself how the specific move proceeds, with all the steps it needs to go through.
Have created a matching invoice and quote template.
Have created the matching revenue groups.
If you have everything ready, we'll take you through the first phase of this process. You can save your package at any time and adjust it later. If you change an existing package that's already in use, the changes will only affect new moves, not moves already in progress.
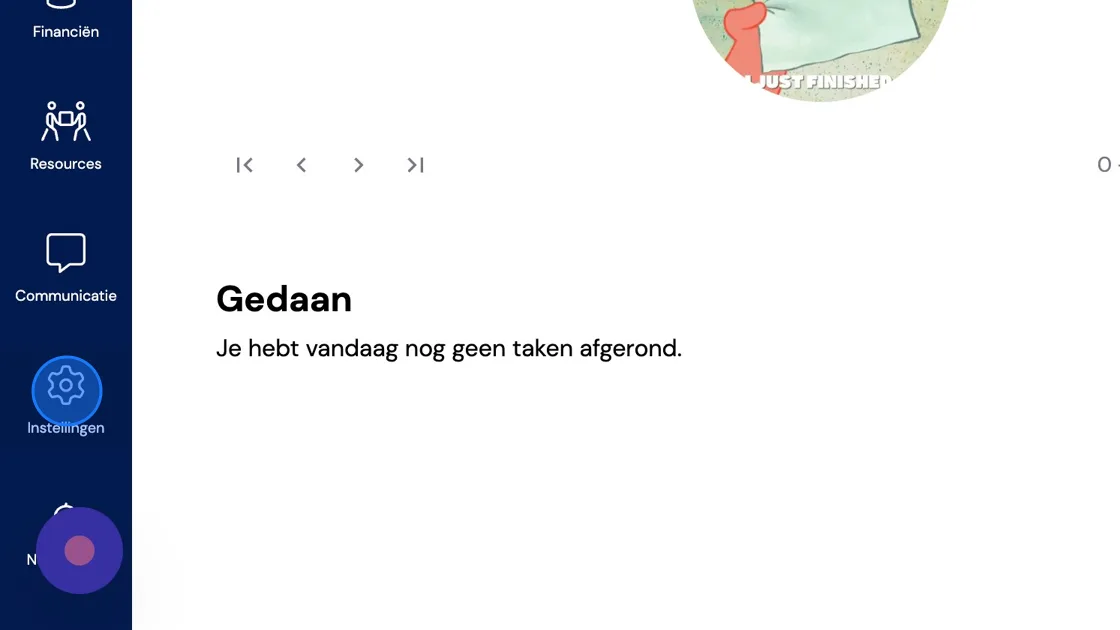
2. Go to settings.
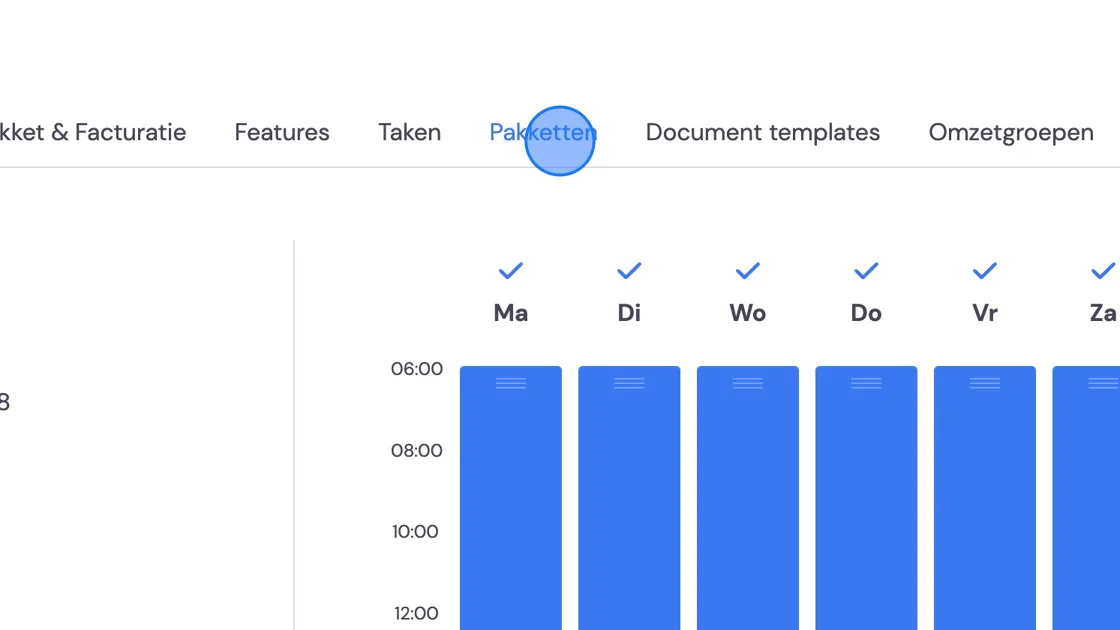
3. Click on "Packages"
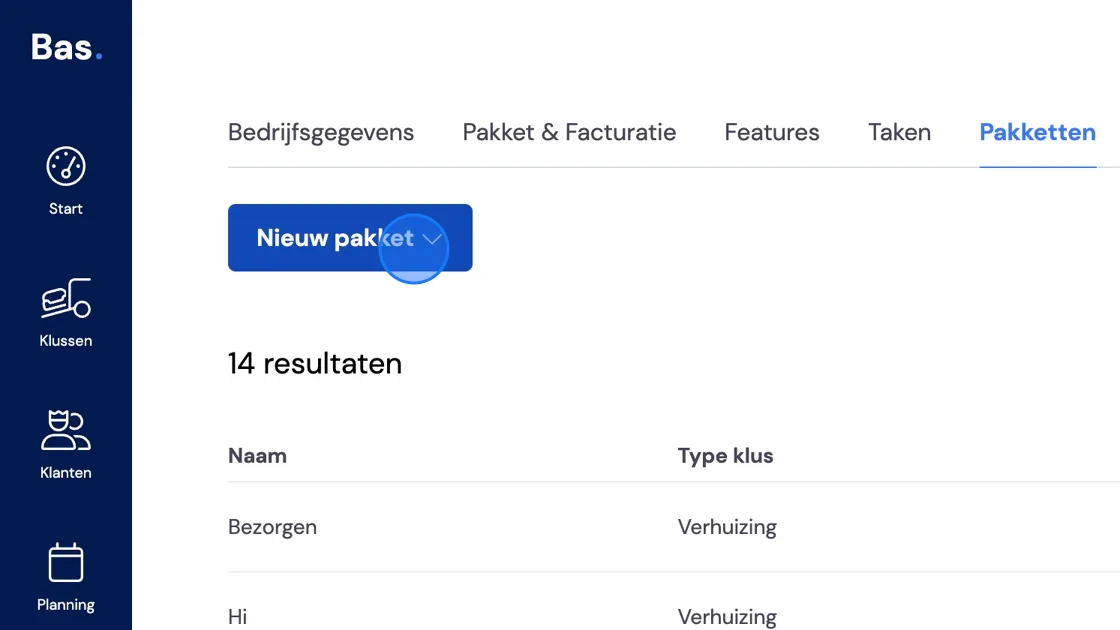
4. We're now going to create a new package, but here you can also open and adjust your saved package.
5. You now choose a package with Job. This means a business or private move. Without job is for example for hiring out vehicles or selling moving boxes, for which no work orders need to be created. In this guide we'll continue with creating a standard private move. A guide for further working out a package without a job can also be found in our help list.
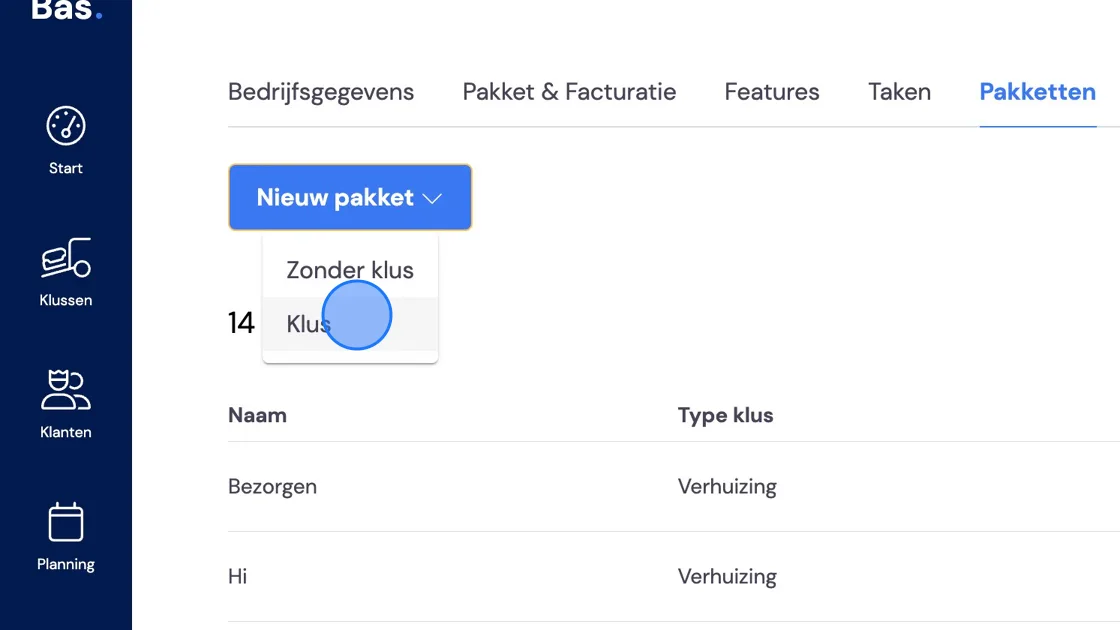
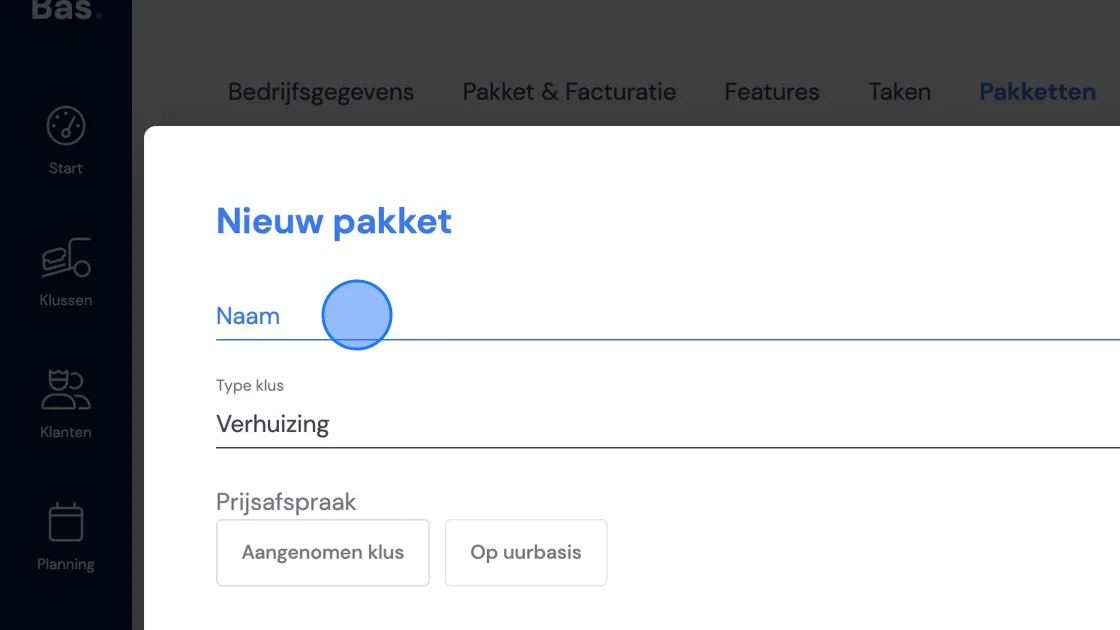
6. Give your package a recognisable name. On the second line you can choose which job type you want to specify.
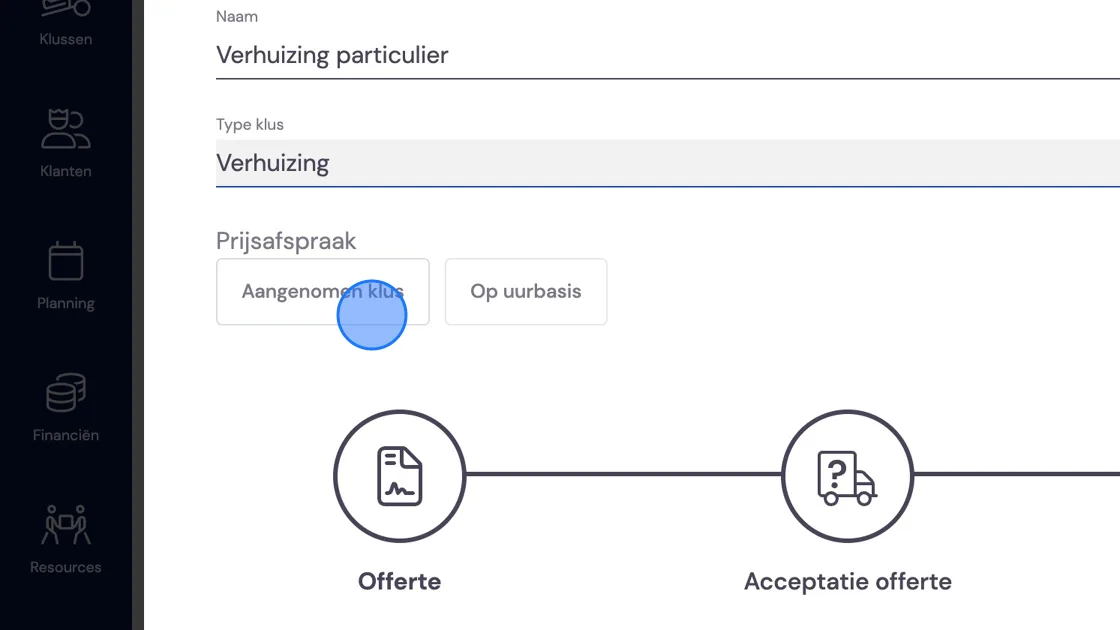
7. Here you can choose whether you offer this package at a fixed price or whether you want to do it on an hourly basis. We'll now continue with a fixed-price job. For a package on an hourly basis, we refer you to creating a business move package.
8. First we'll specify the quote further.
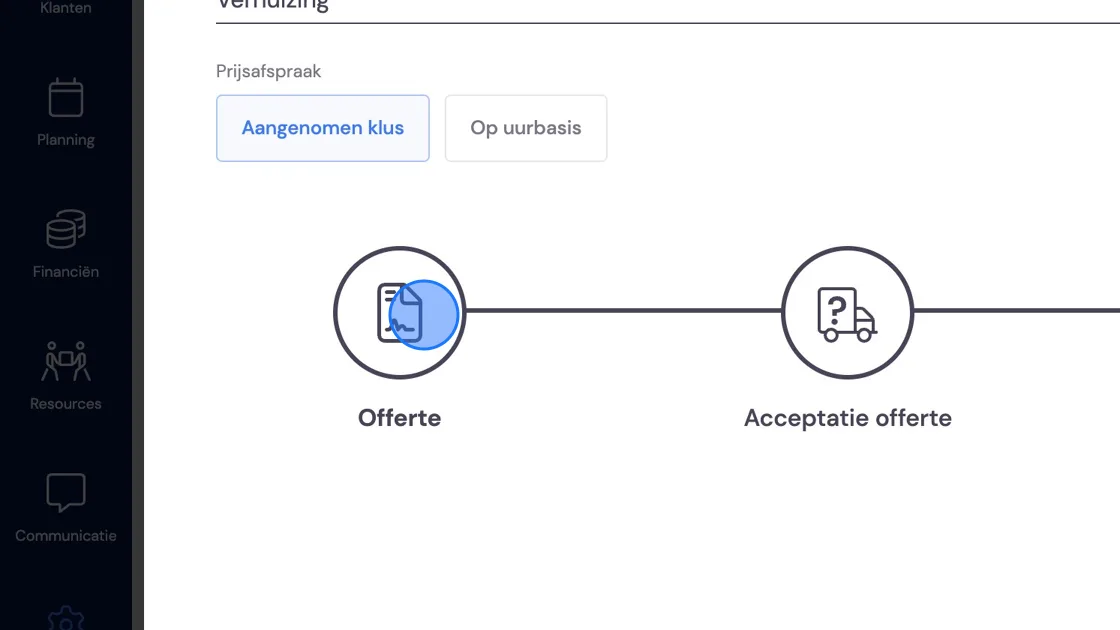
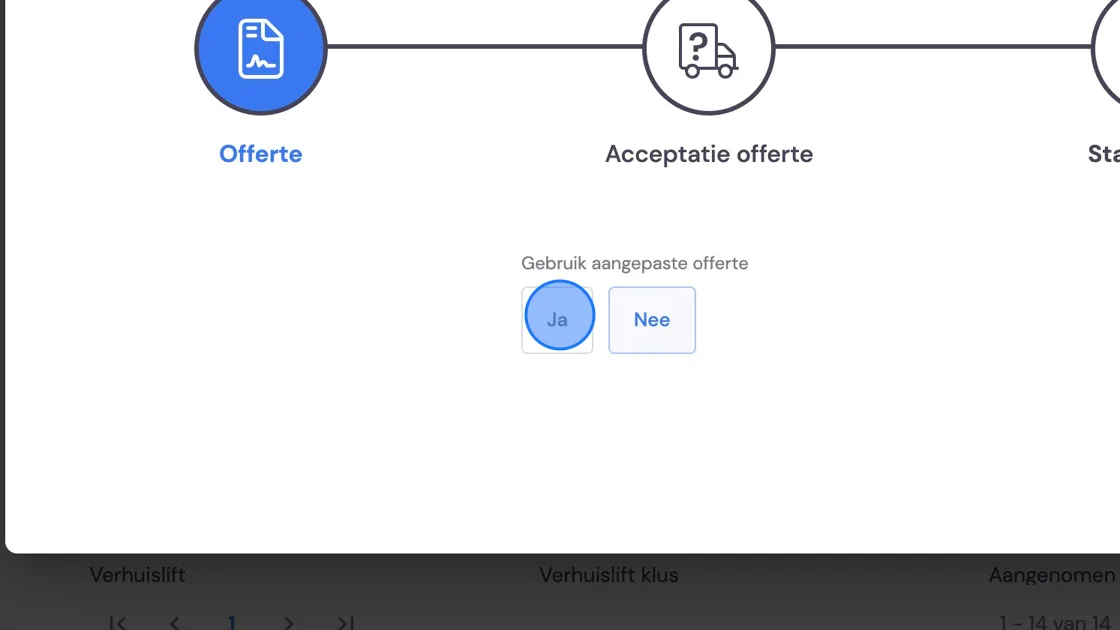
9. If you click no here, BAS will bring together all the data the surveyor has collected and propose an overall price. We recommend continuing here and giving your customer a bit more clarity about their quote. With the "yes" option we'll specify the quote lines, for example with packing on a separate line.
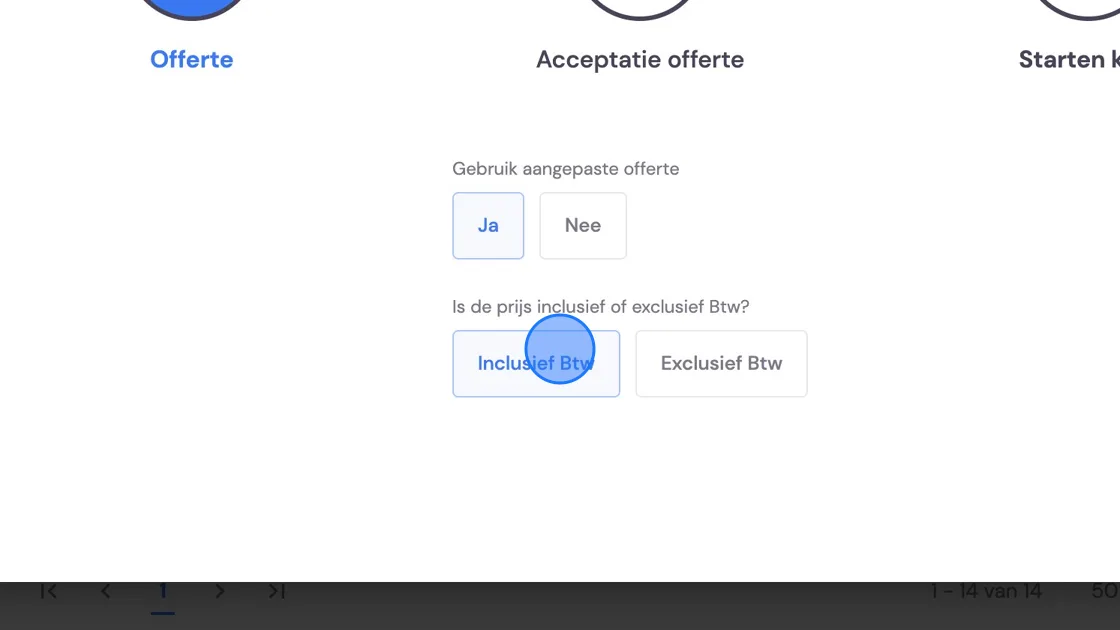
10. Determine here whether you want the price at the bottom of your quote "Including VAT" or "Excluding VAT".
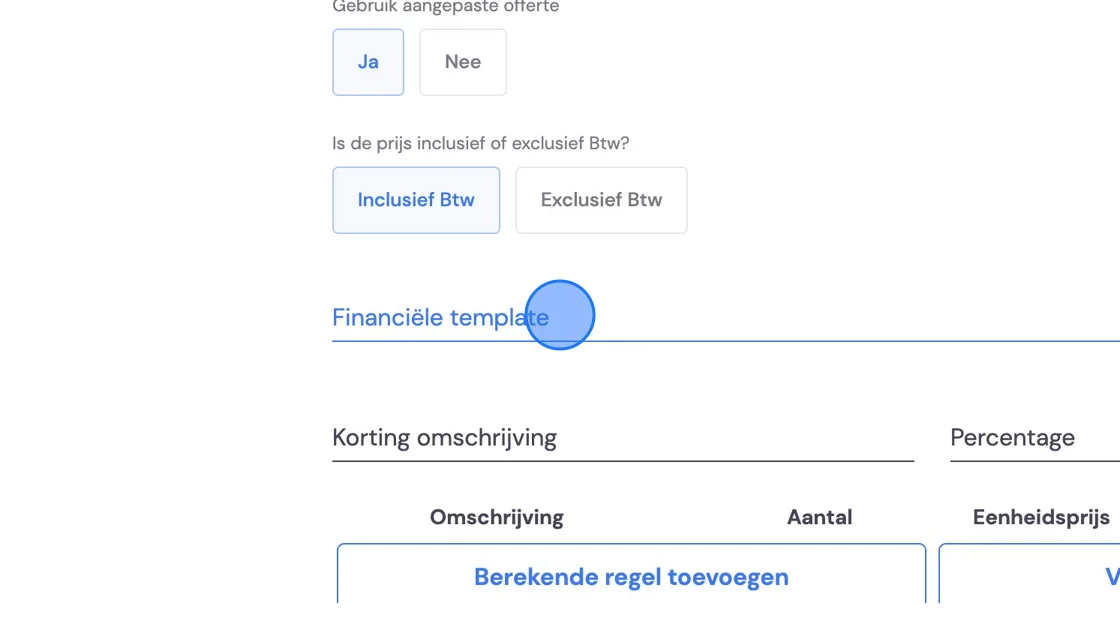
11. Choose the pre-set quote here.
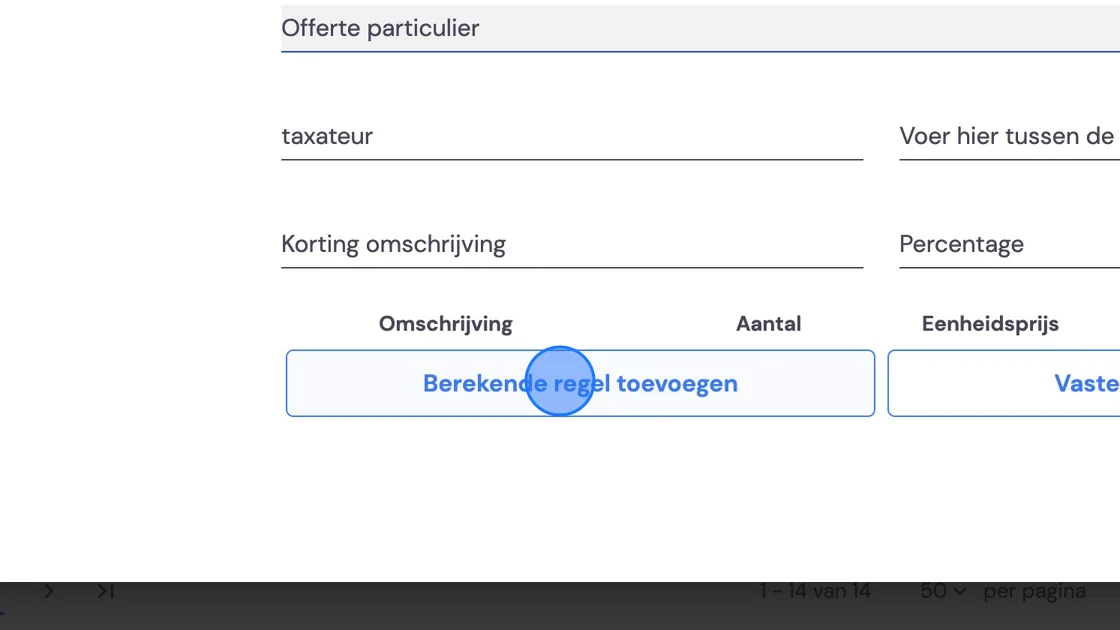
12. You can add your standard discount lines here, if applicable. After that we'll continue with defining the price quotation. Click on "add calculated line".
13. In the field that has now appeared, you can choose which costs belong to a component.
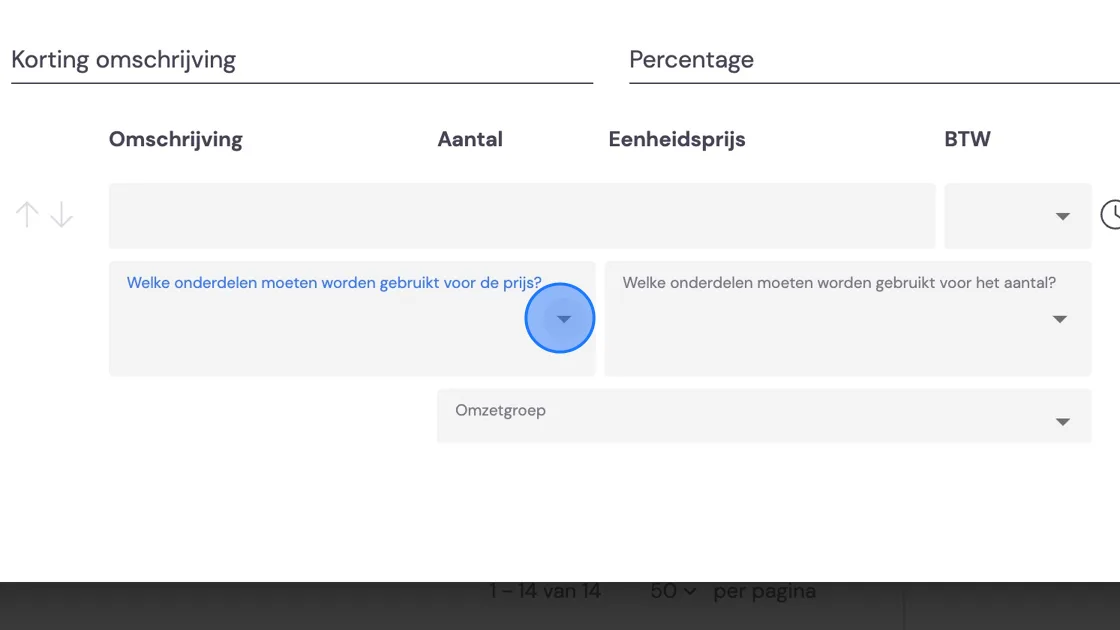
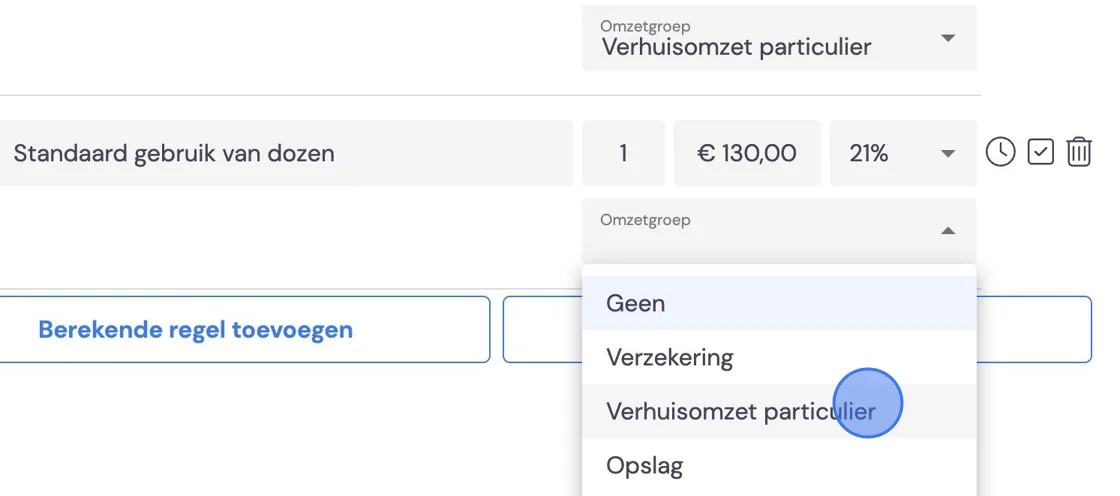
14. Once you're happy with the selection, you continue by giving a name that will appear on the quote (e.g. "removal costs"), choosing the VAT rate, and the revenue group you've created.
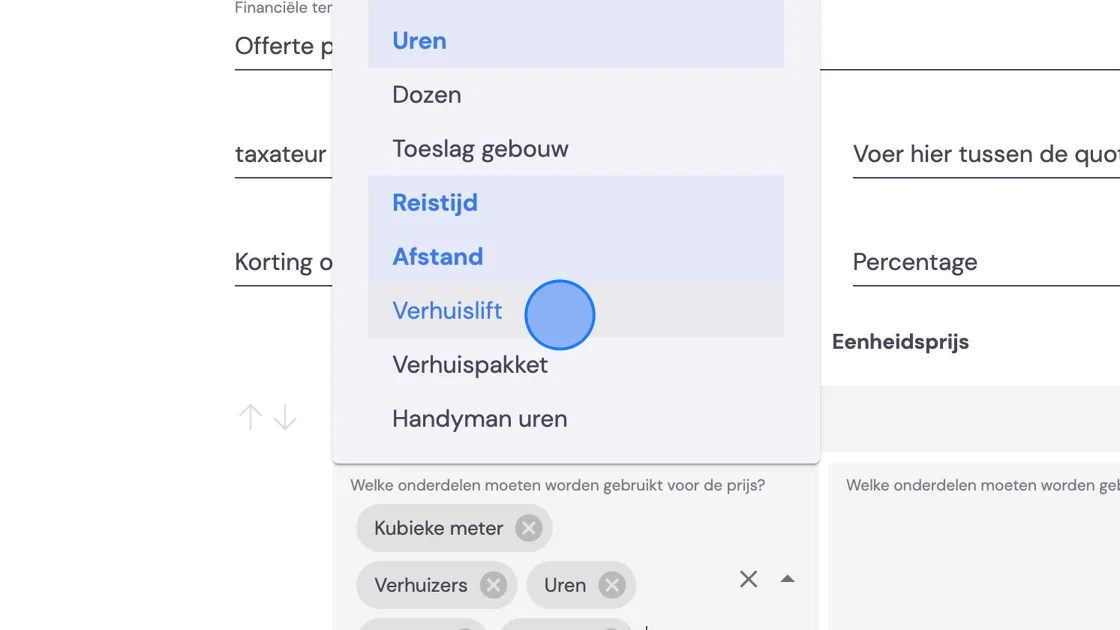
15. Add as many lines as needed.
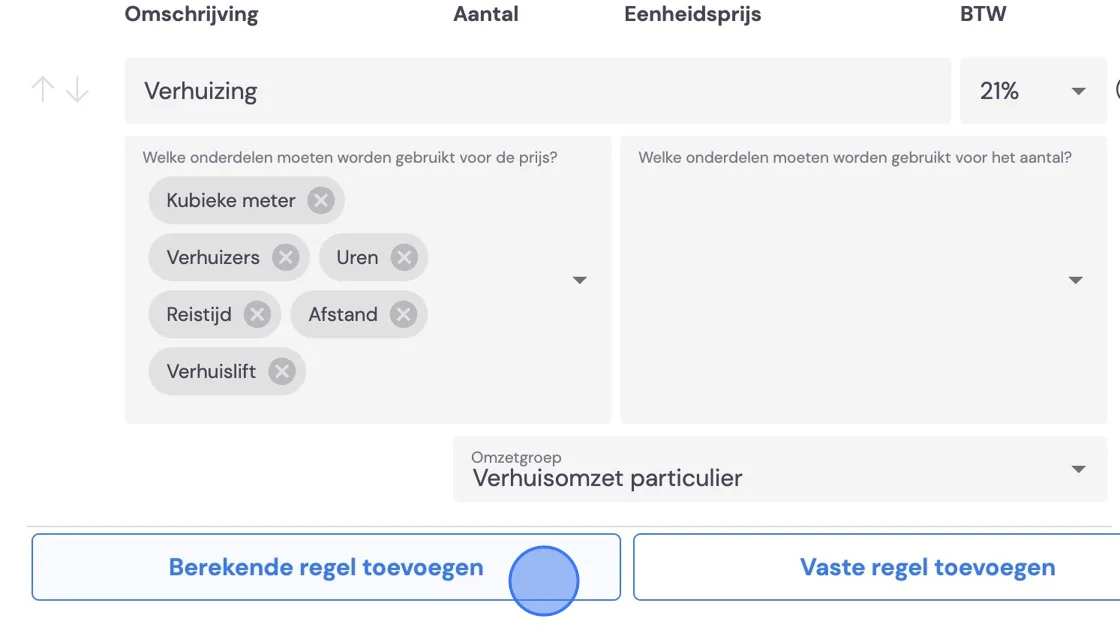
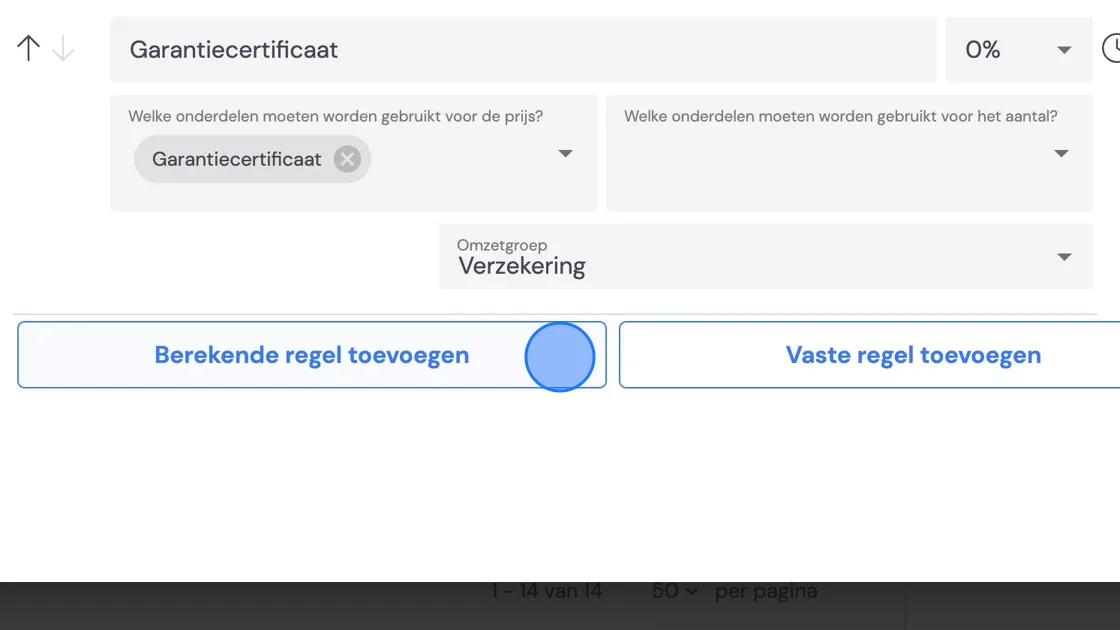
16. Add items such as, for example, the "Warranty certificate"
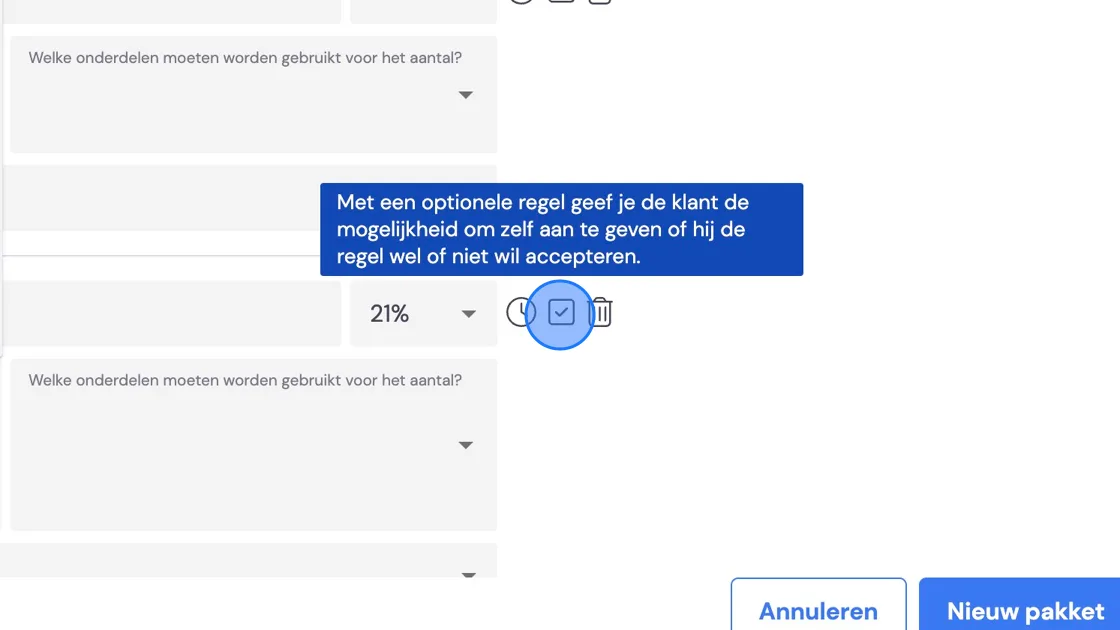
17. Behind each line you can tick this box to make the field optional for the surveyor during the survey. For example, optional disassembly and reassembly of furniture, or packing and unpacking of the moving boxes.
18. You also have the option to "Add a fixed line". Here you can bring forward costs that aren't pre-calculated.
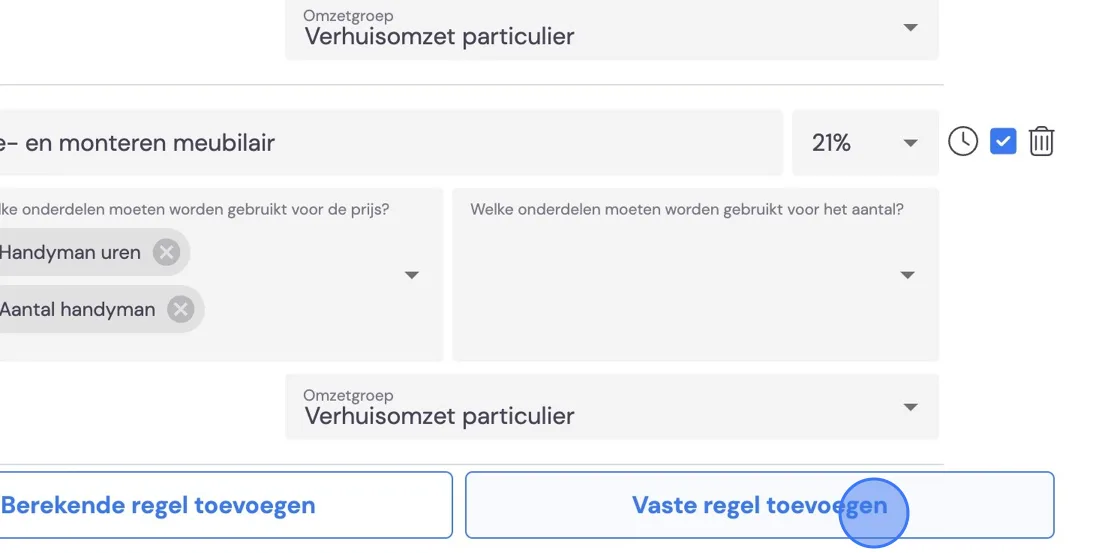
19. On this line, if you want, you can put fixed costs for a move, for example.
That's it for part 1 of setting up a move package. Grab a cup of coffee, and then we'll cheerfully continue in part 2, where we'll set up the invoice moments.