
New transport job
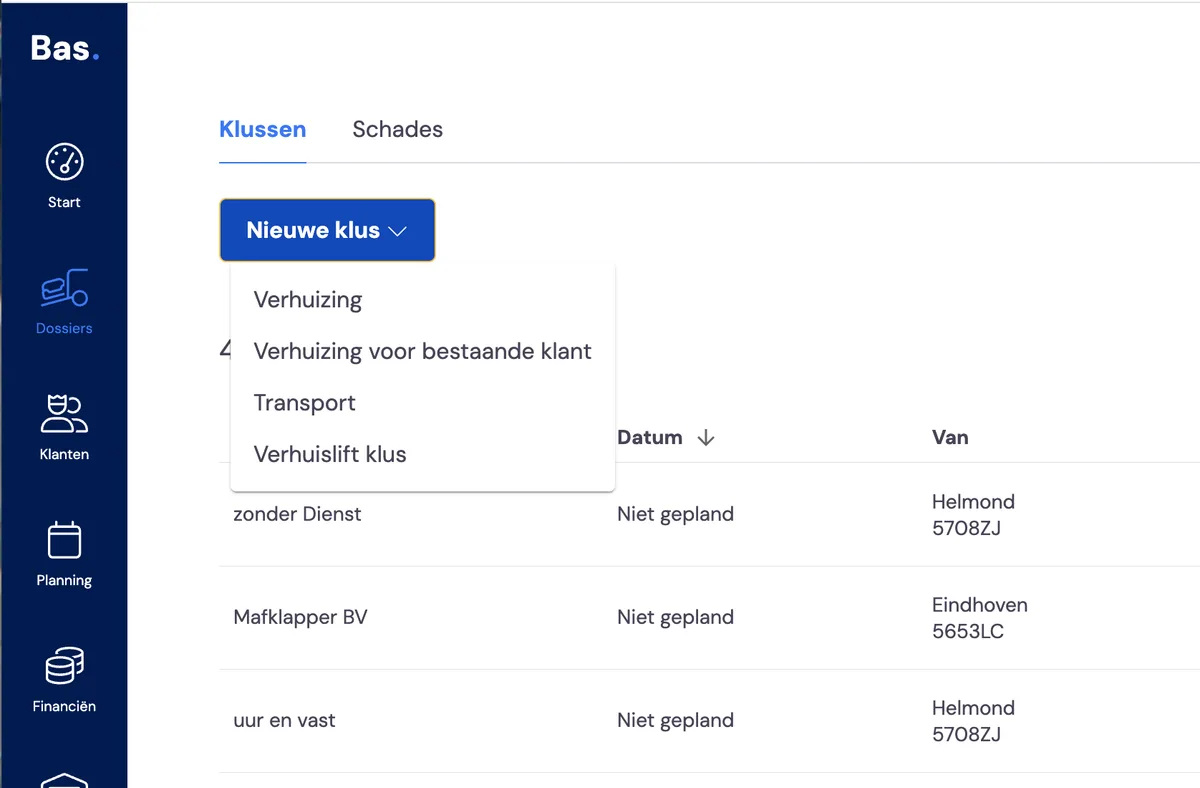
You can create a new transport job via 'New job' and then choosing the type 'Transport'.
Entering a new transport job
In the wizard, you enter all the relevant details for the transport job.
Customer and delivery
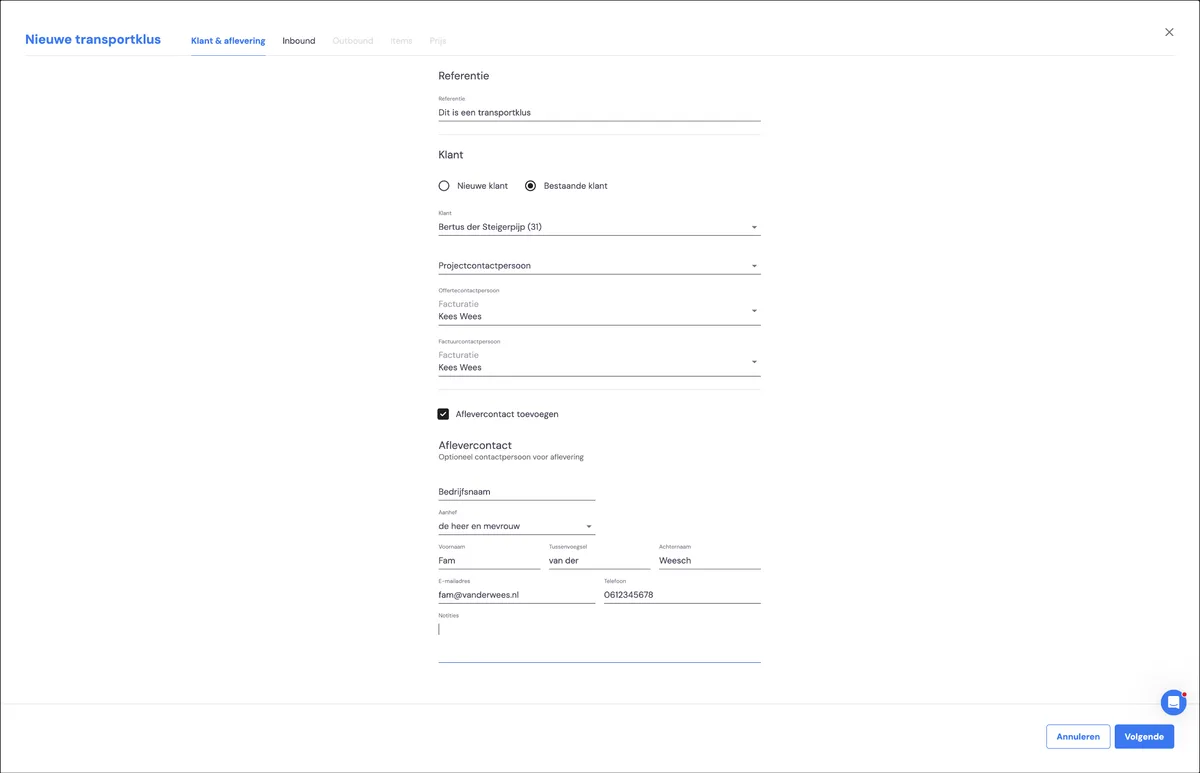
The first step is selecting the customer (or creating a new customer) and entering the delivery contact (the end customer; the recipient of the items to be delivered).
Inbound (receipt of items to be transported)
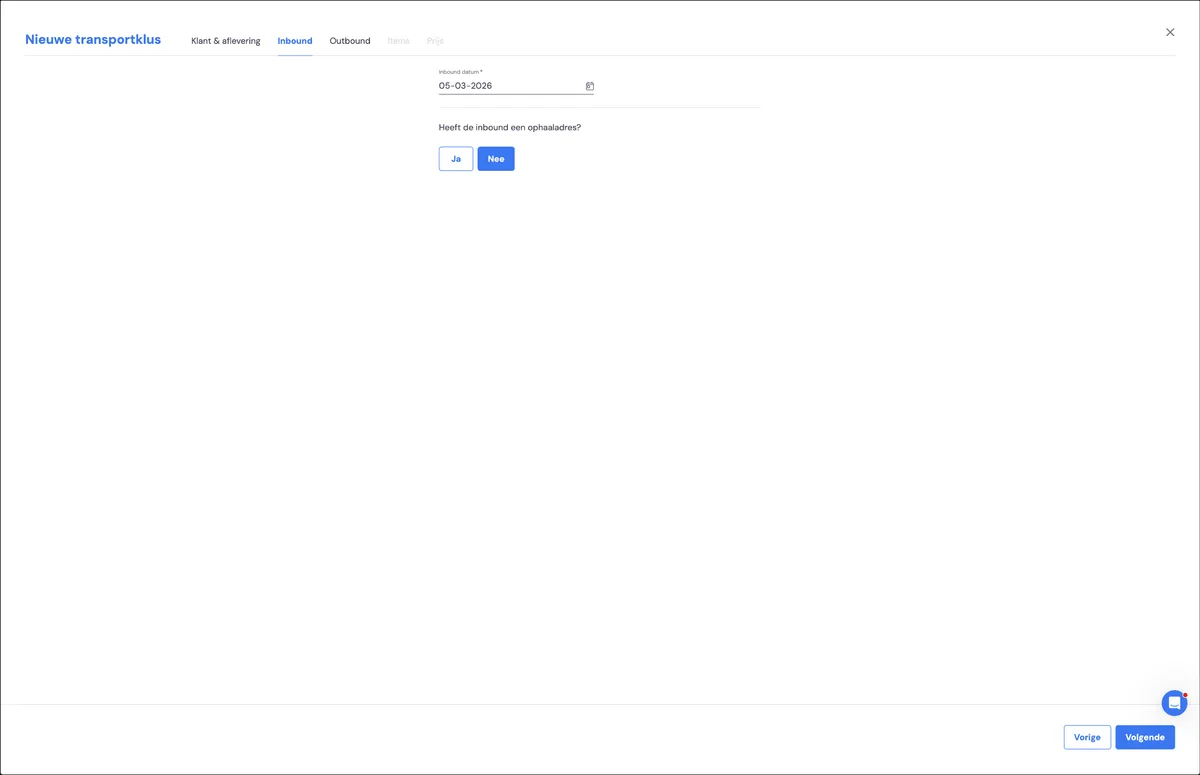
Here you enter the date on which the items to be delivered are expected. This ensures an appointment is created for the warehouse employee, so they can register receipt of the items.
Outbound (delivering items to the end customer)
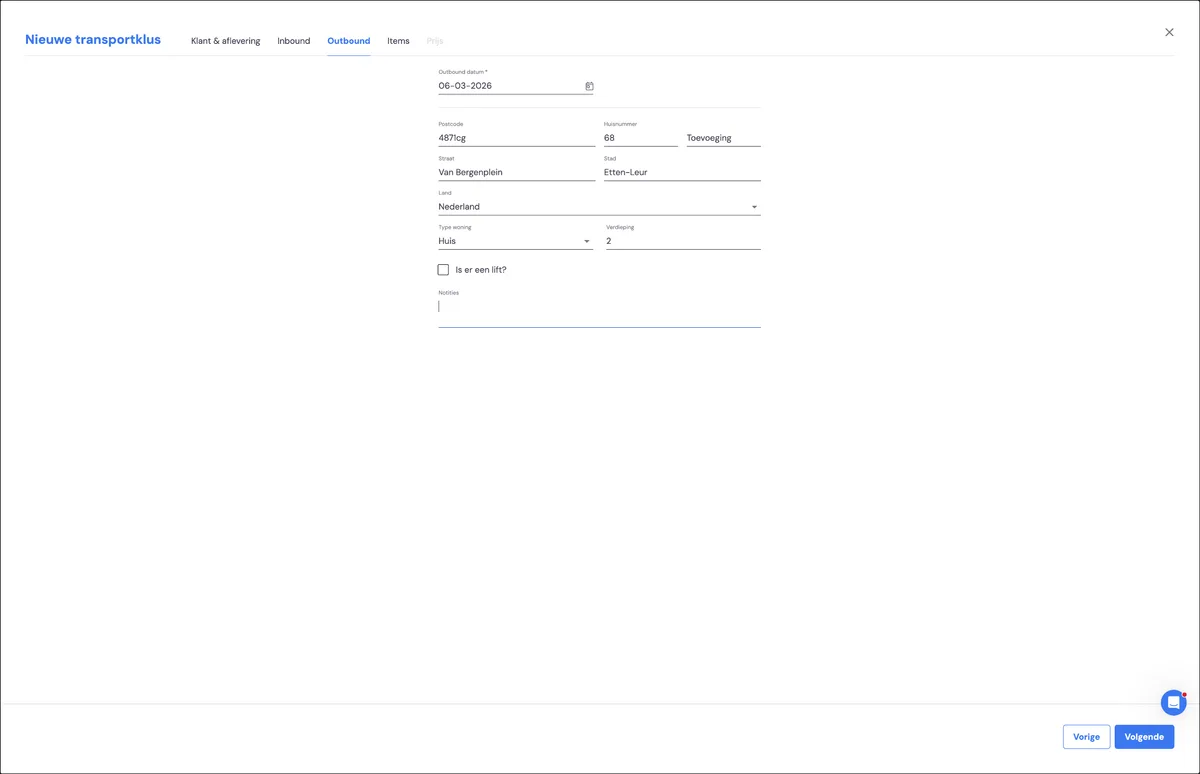
In this step, you enter the delivery date and the address where the items will be delivered. This also creates a provisional appointment in the schedule. You can confirm this appointment later.
Items
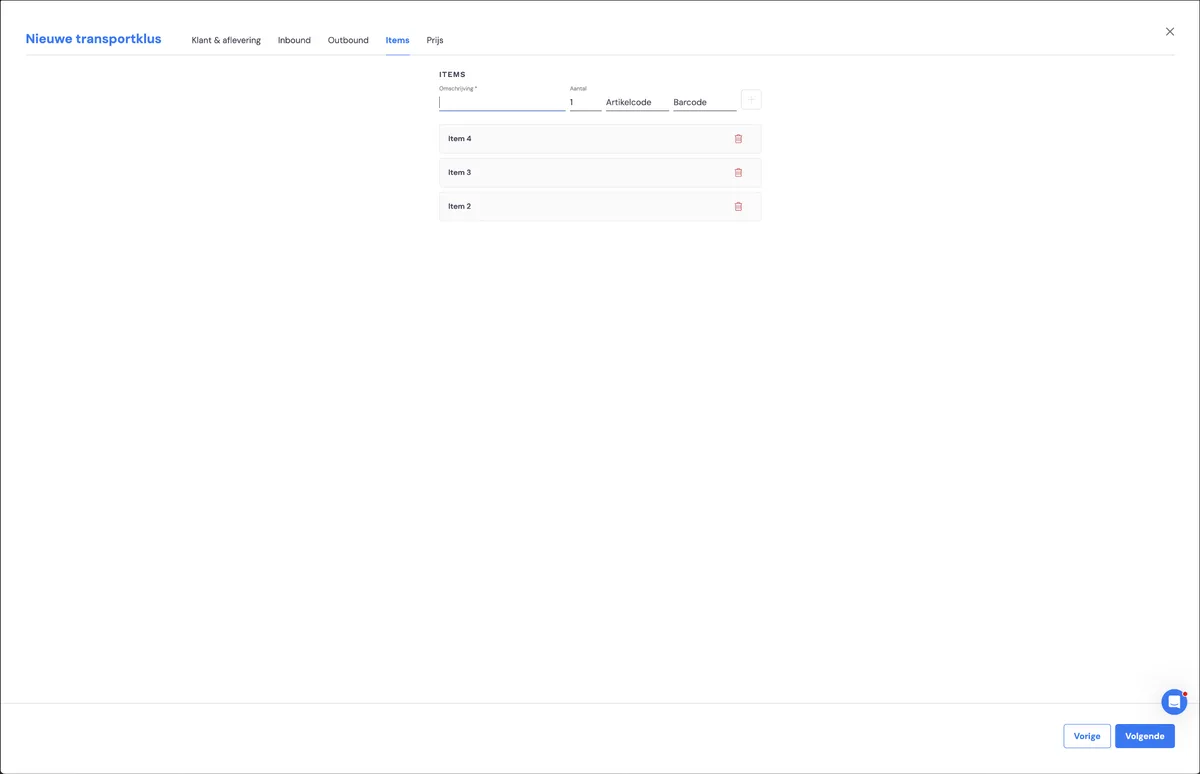
In this step, you enter the items that will be delivered by the suppliers. These items can later be received by the warehouse employee, placed onto handling units, and ultimately delivered to the end customer.
Package
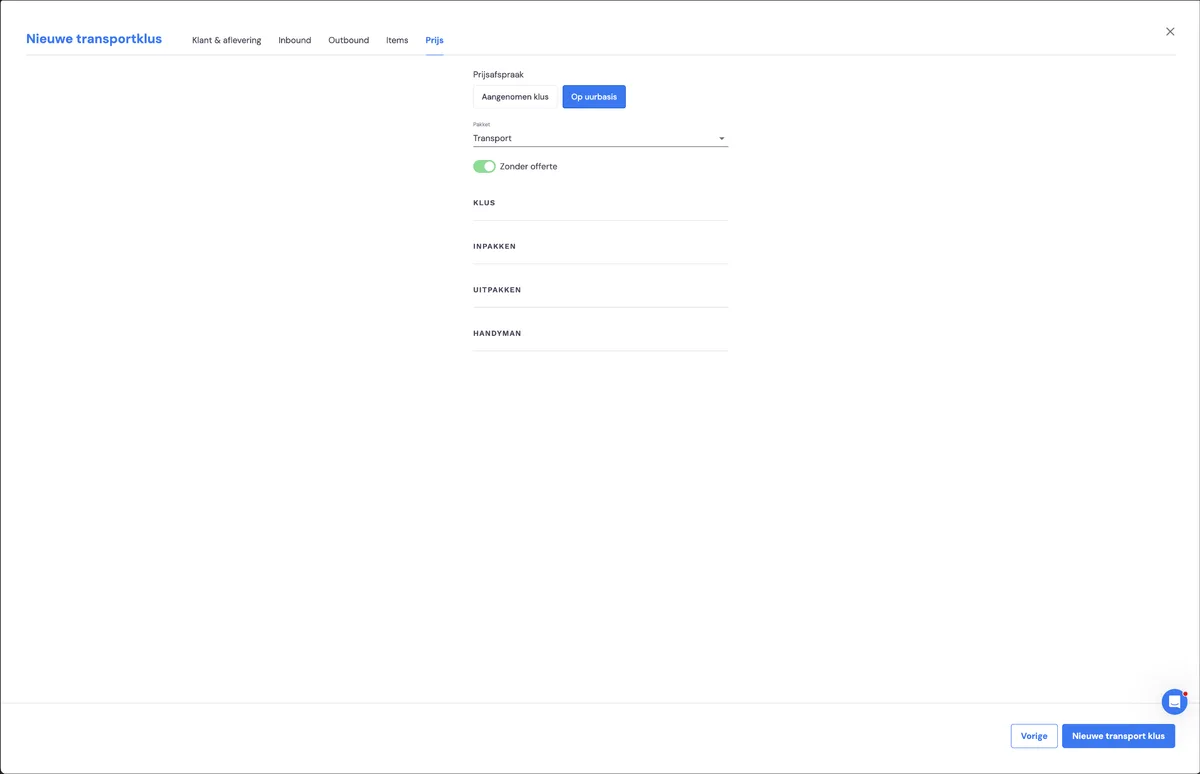
In this step, you choose the package you want to use for this case file.
Overview of the new transport job
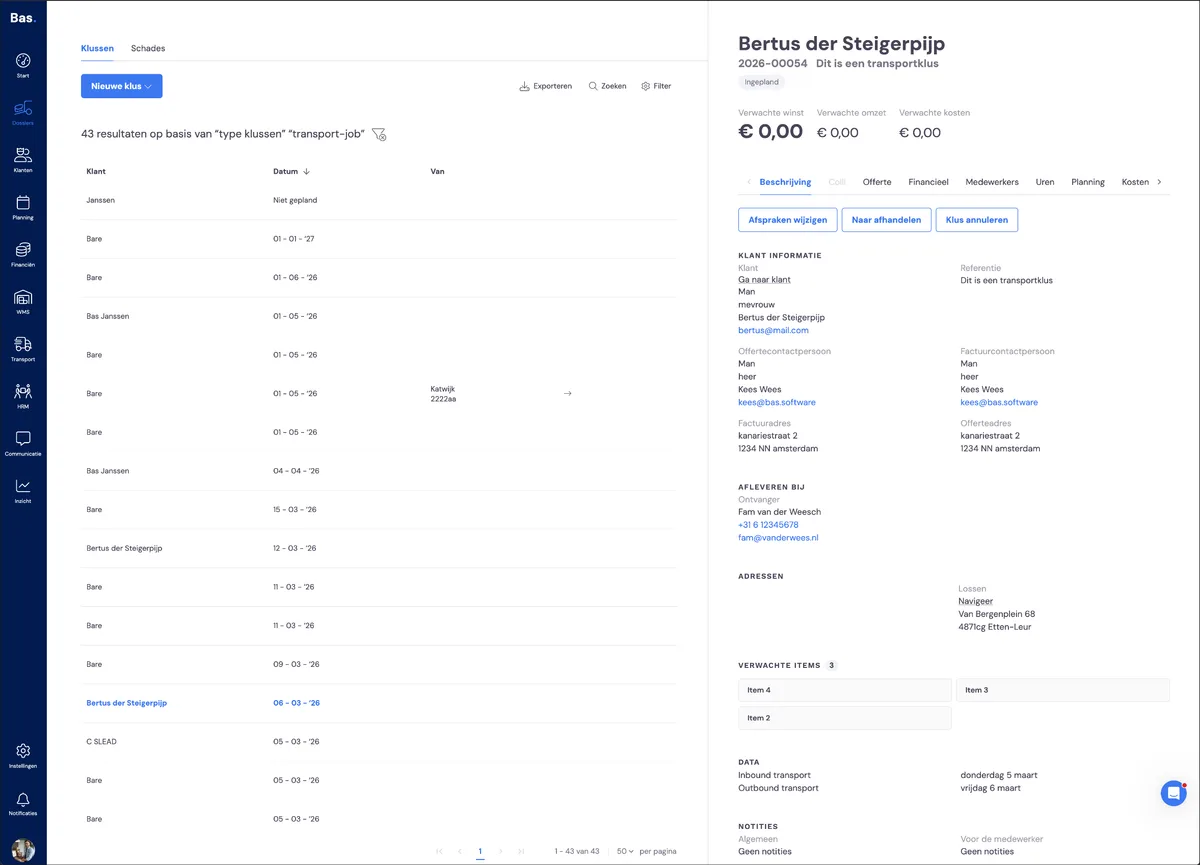
After creating the case file, you'll see the overview with all options and all relevant information, including:
link to change appointments
details of the customer and the end customer
overview of items to be received
Warehouse employee
Jobs that have been created are received and processed by the warehouse employee