
The back office takes care of registering all transport jobs. After that, the warehouse employee takes over: they handle the process of registering receipt of the handling units through to preparing them for dispatch.
This always follows these steps:
Receiving handling units:
Dispatching handling units:
Preparing handling units for dispatch
After that, the driver takes over. They scan the handling units when loading and when delivering to the customer.
All delivery appointments for the warehouse employee
Appointments are made for all deliveries by the planner in the back office. The items to be delivered are entered against these appointments.
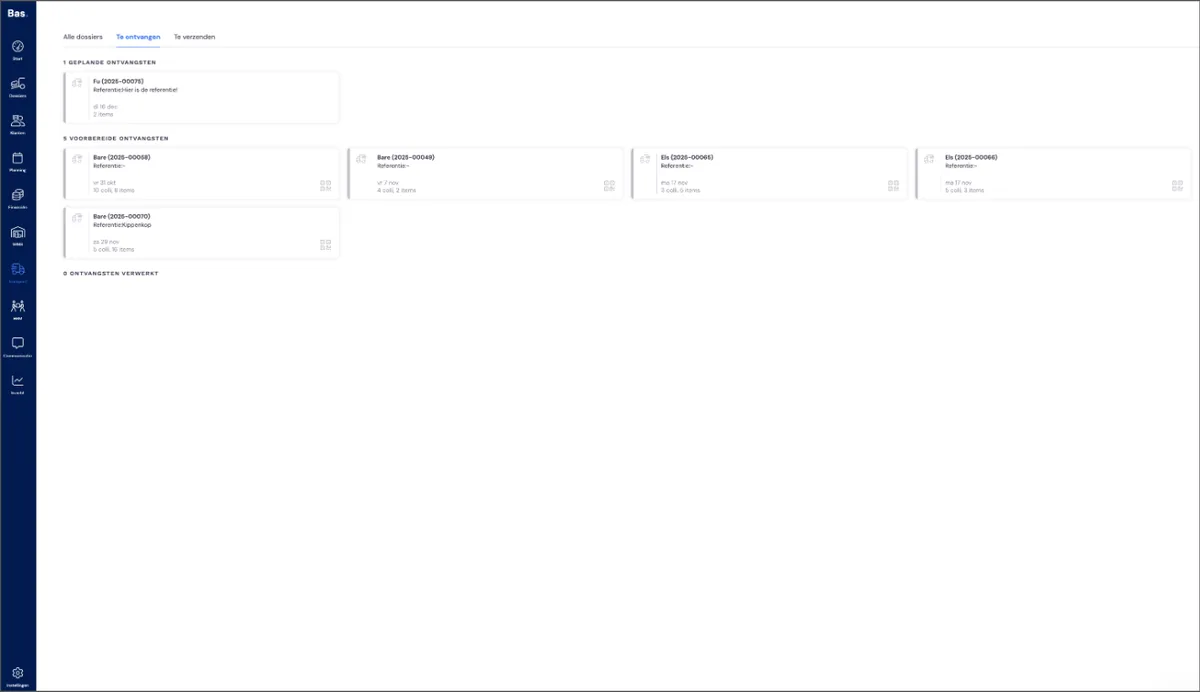
To view all scheduled appointments where a receipt has been planned, go to transport > to be received in the back office.
Here you'll see various cards containing:
Scheduled receipts
These are appointments that have been scheduled, but for which stickers with QR codes haven't yet been created
Prepared receipts
These are appointments for which stickers with QR codes have already been created; the appointment for the delivery has thereby been prepared
Processed receipts
These are receipts that have been fully completed, the QR codes have been scanned and items have been linked to handling units
Step 1. Printing stickers with QR codes
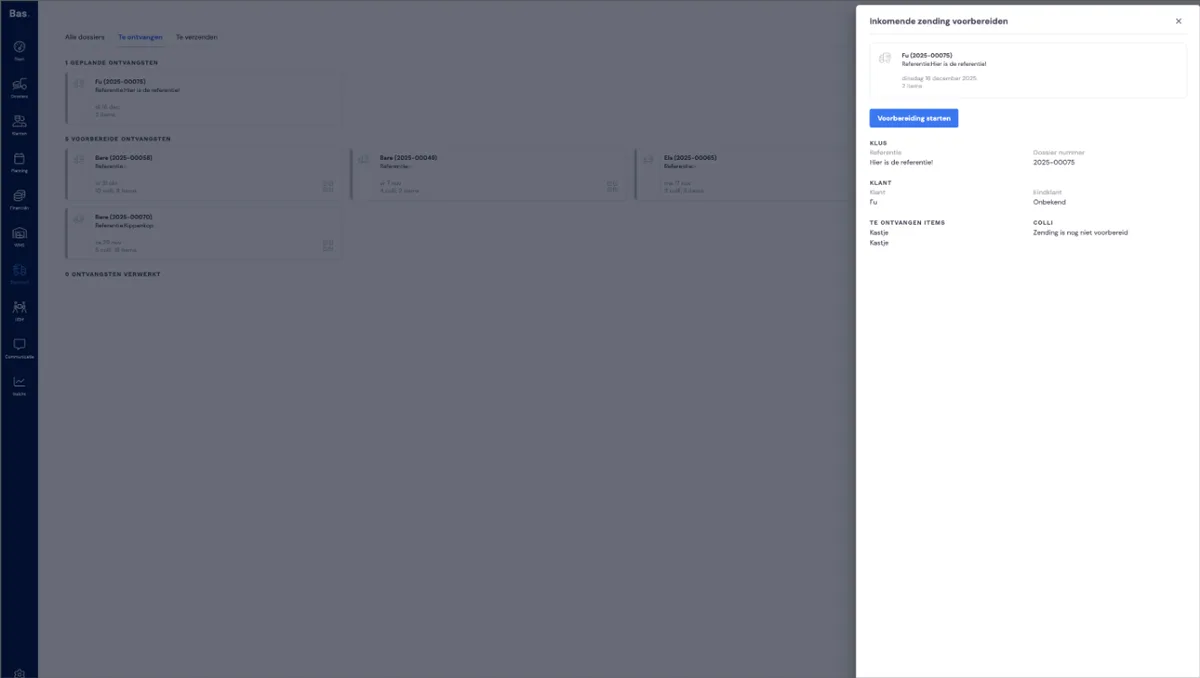
Click on one of the appointments that need to be prepared. You'll see the option 'Prepare receipt' on the right. Click this button, after which a pop-up appears.
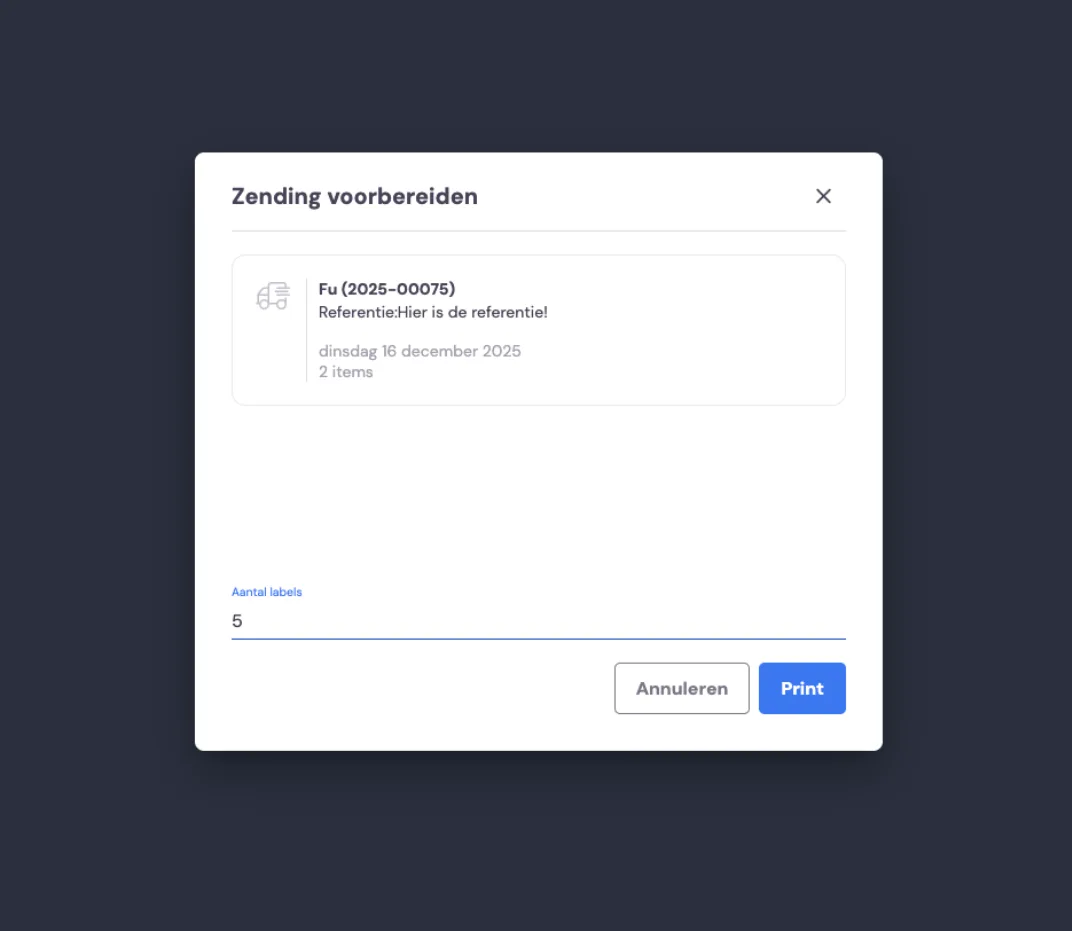
In the pop-up, choose the number of stickers you want to print. Choose a number that ensures you have a sticker for every handling unit, so you have them ready when the handling units are delivered. Then click 'print'.
Sticking on the stickers
You now have the stickers ready for when the items are delivered. As the handling units are delivered, you stick a sticker on each one. You can then scan these to register receipt.
Next step
Receiving the handling units and linking them to items is the next step >