
In this phase you're going to carry out your first survey. You do this based on the job you set up in the previous step.
The job you created has the status 'quote survey'. You've scheduled a survey and linked it to an employee with the 'surveyor' skill. The employee can carry out the survey in the app.
In this example we carry out the survey via the desktop version, which matches the steps in the app 100%. You can carry out this survey at any time. Once you've carried out a survey, the quote for the customer is prepared for sending based on that information.
Carrying out the survey
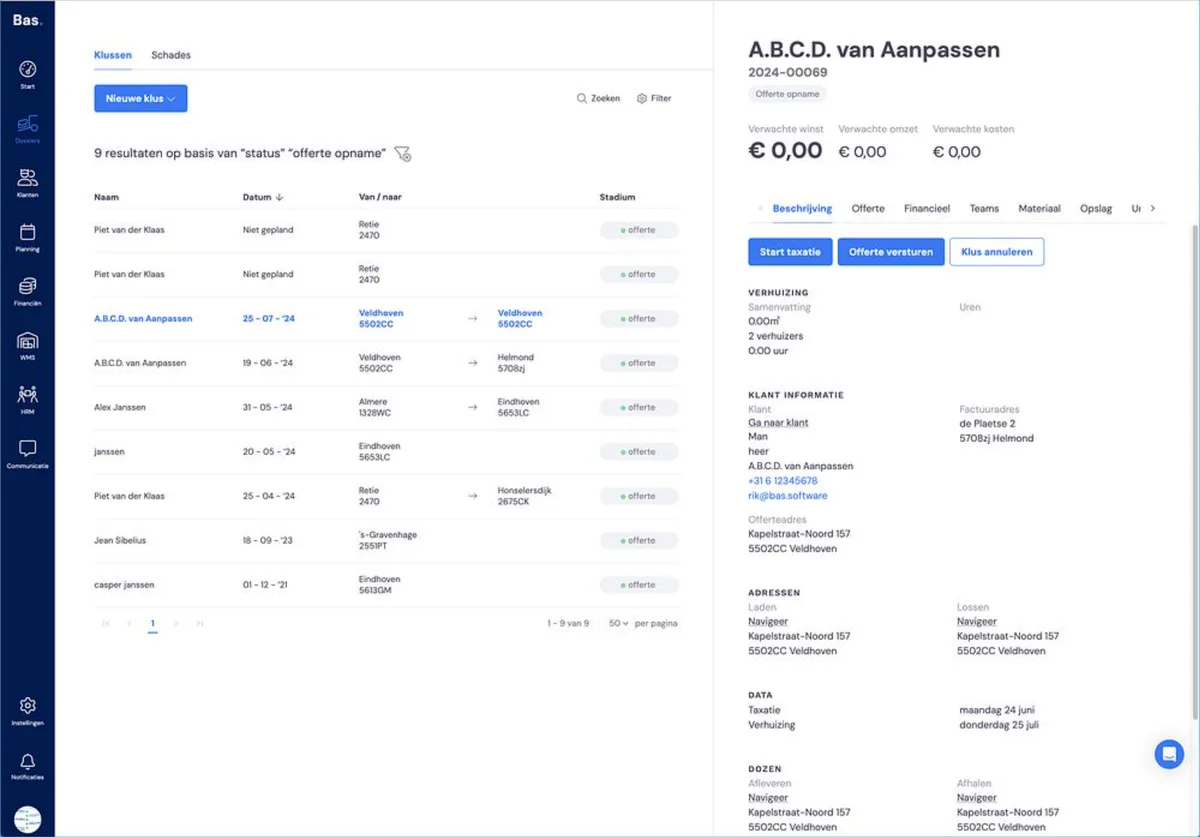
Click 'Start survey'. You'll then be guided through a wizard that lets you carry out the survey. Not all the steps are listed below, but the points to note are.
Step 1 - Addresses and location details
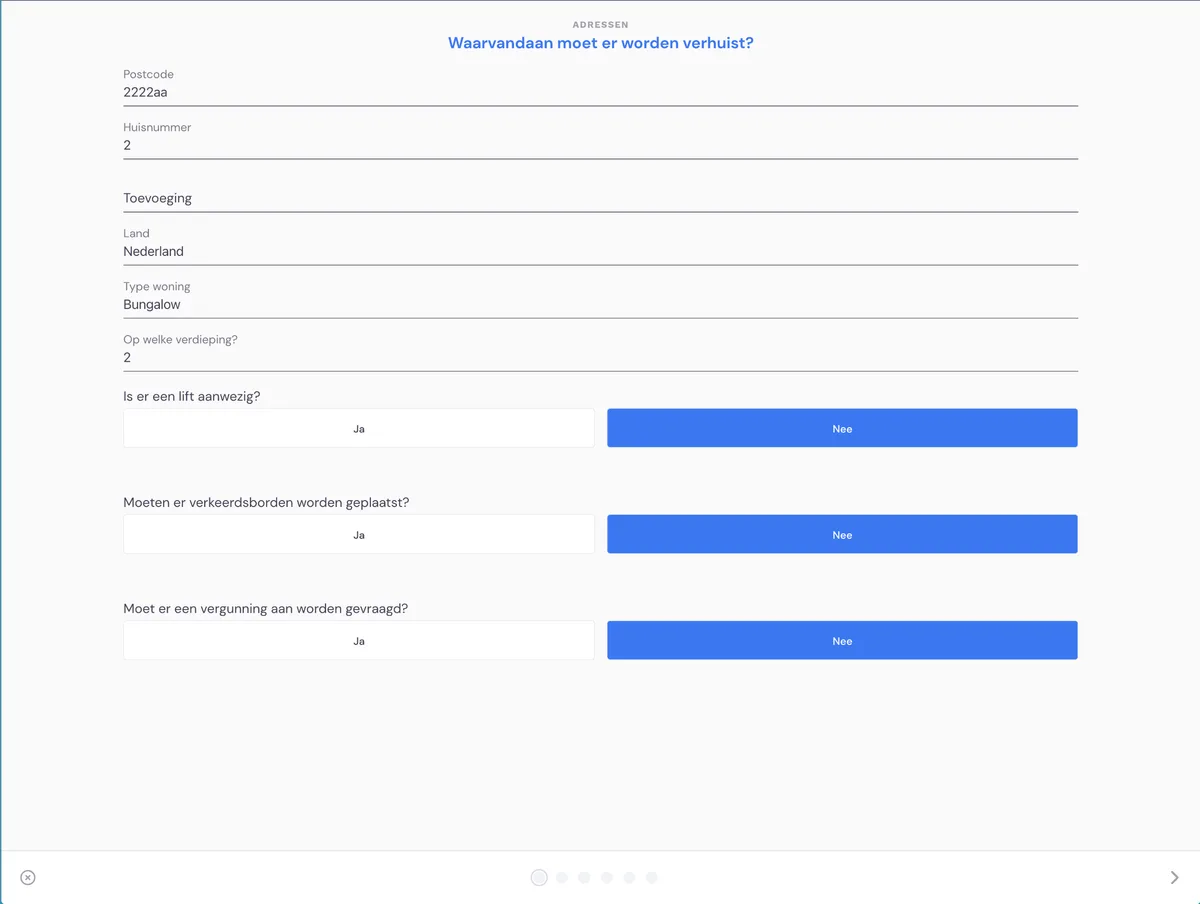
The previously entered details are included in the survey. In the first step - addresses and location details - you only need to check that this information is correct.
Step 2 - services
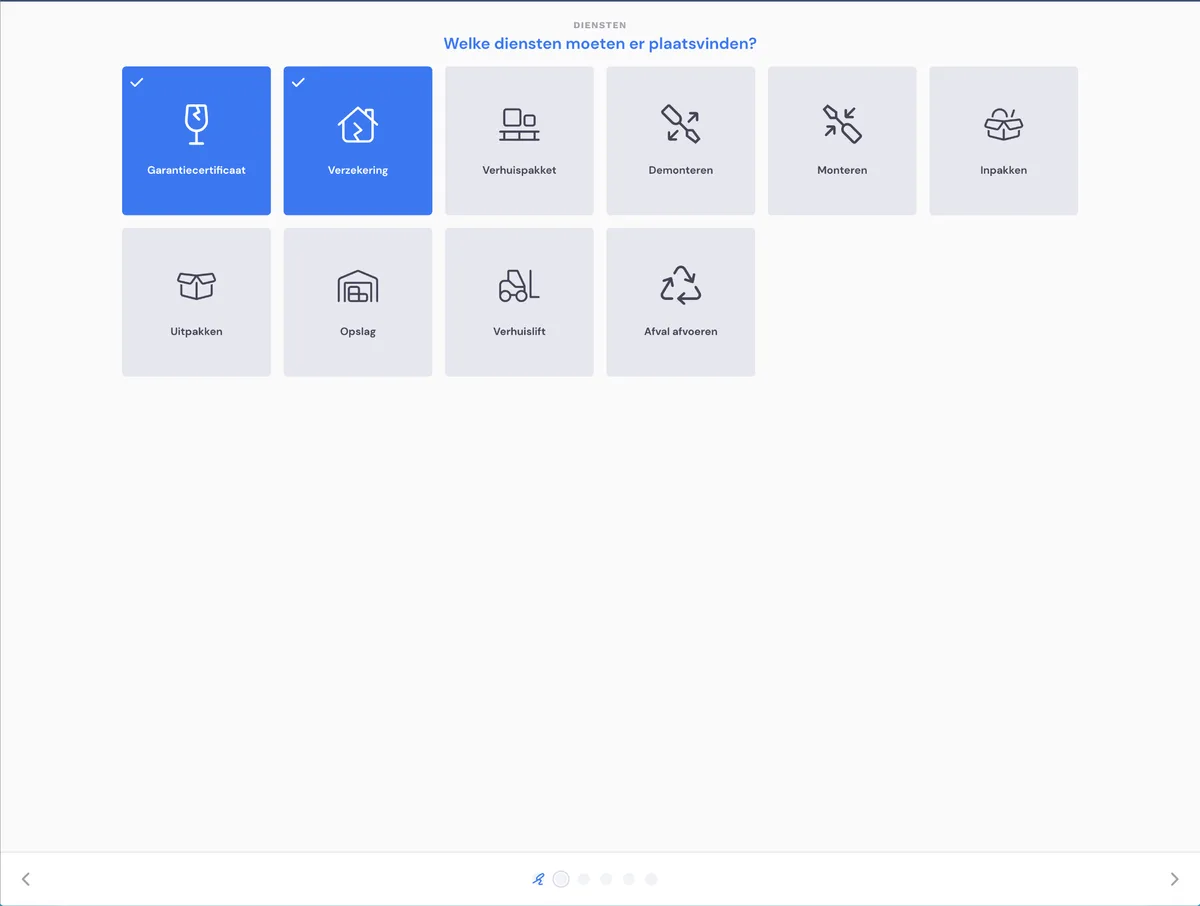
In this step you choose the services you want to add to the job:
Some services can simply be added, such as a warranty certificate, insurance, or a removal package. These are included in the quote as a cost item.
For other services such as reassembly, disassembly, packing, unpacking and storage, the survey asks which items of furniture you want to offer this for.
Step 3 - recording rooms
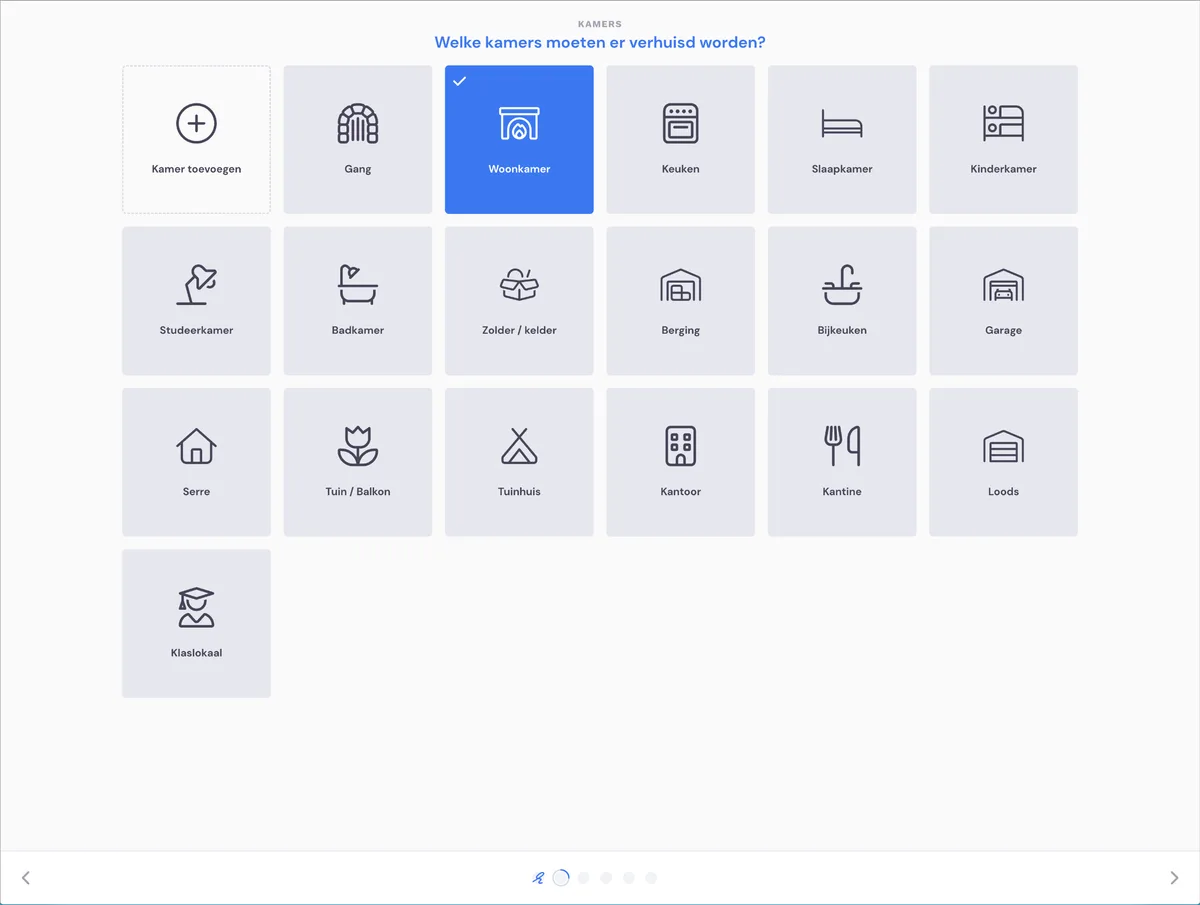
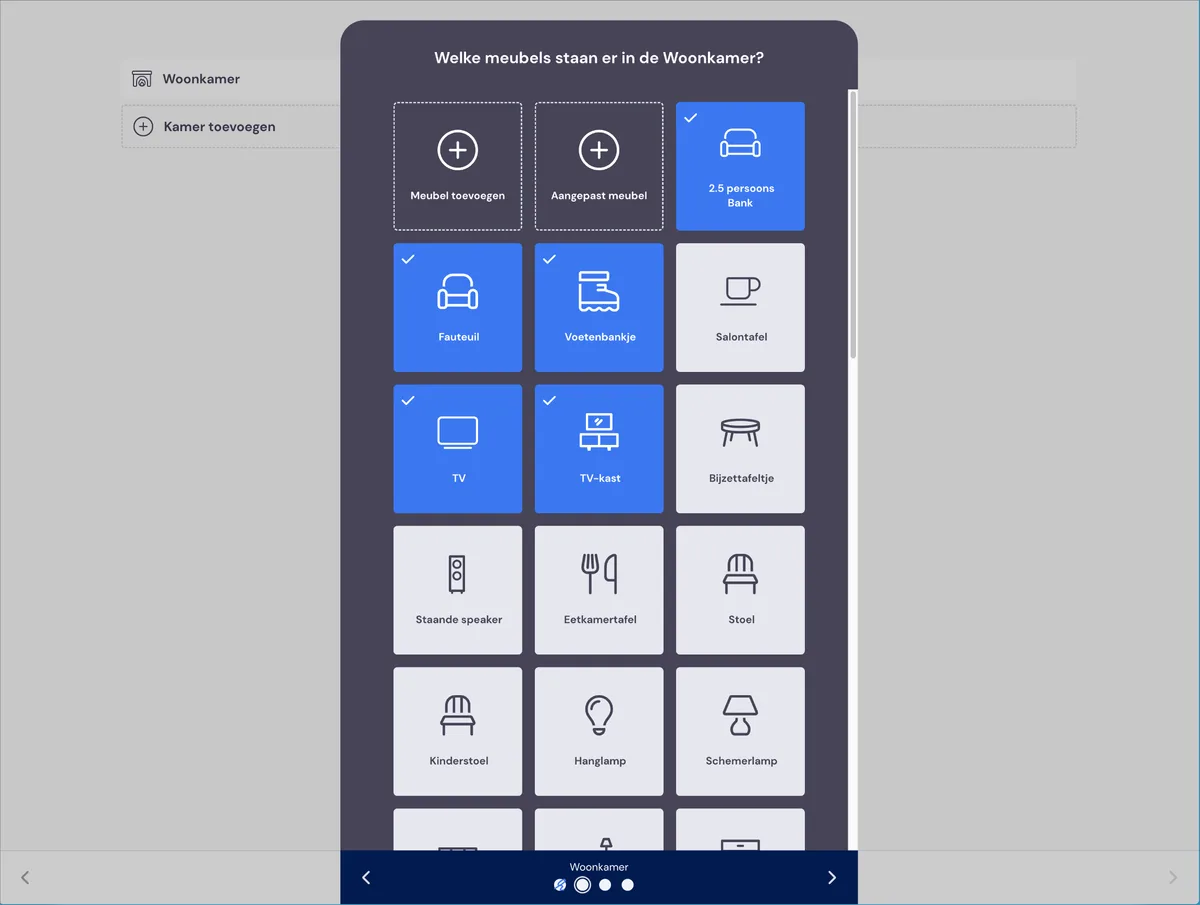
First choose the rooms containing the items that need to be moved. In the next step, choose per room which items of furniture need to be moved.
Step 4 - materials
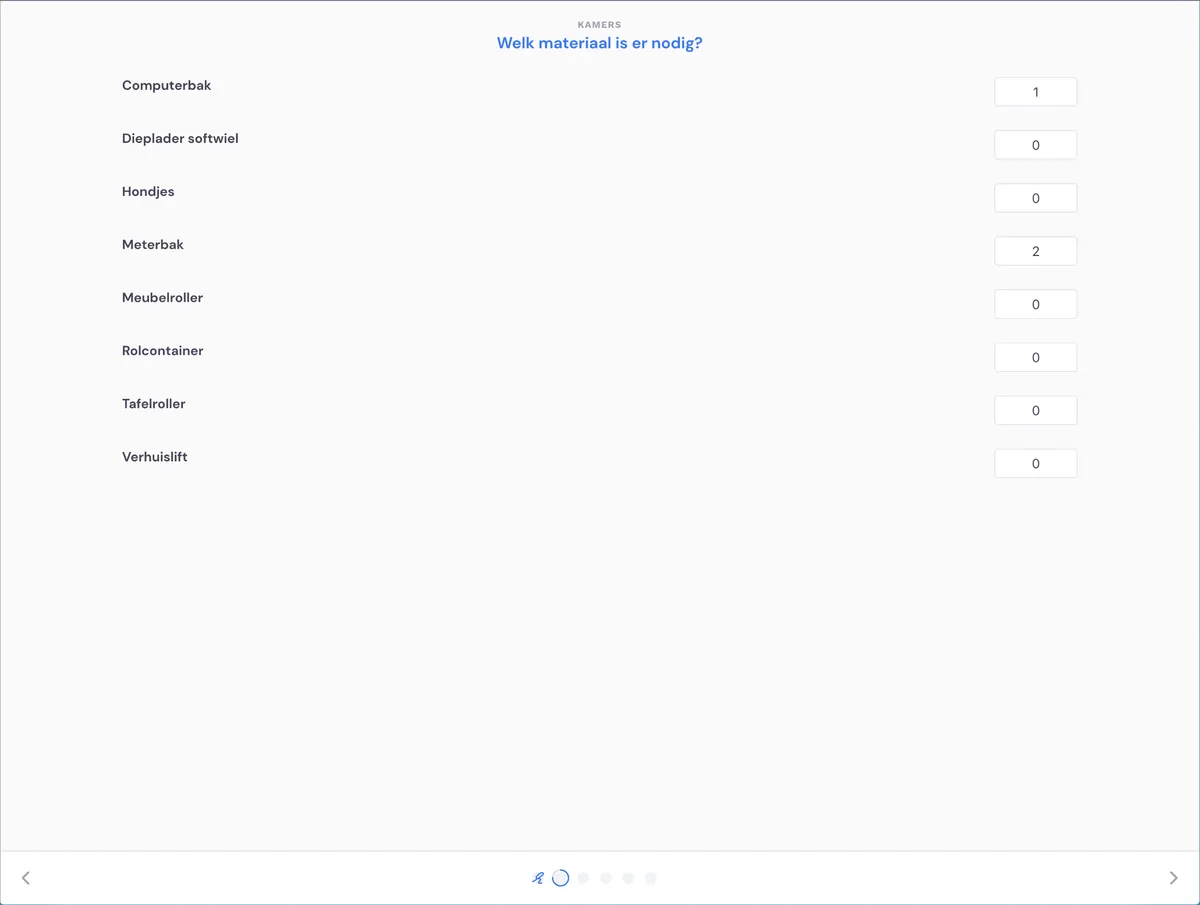
Under materials, choose which materials should be used for this job. This list is added to the job, so that the removal crew ultimately knows which materials to bring with them when they carry out the move.
Step 5 - notes
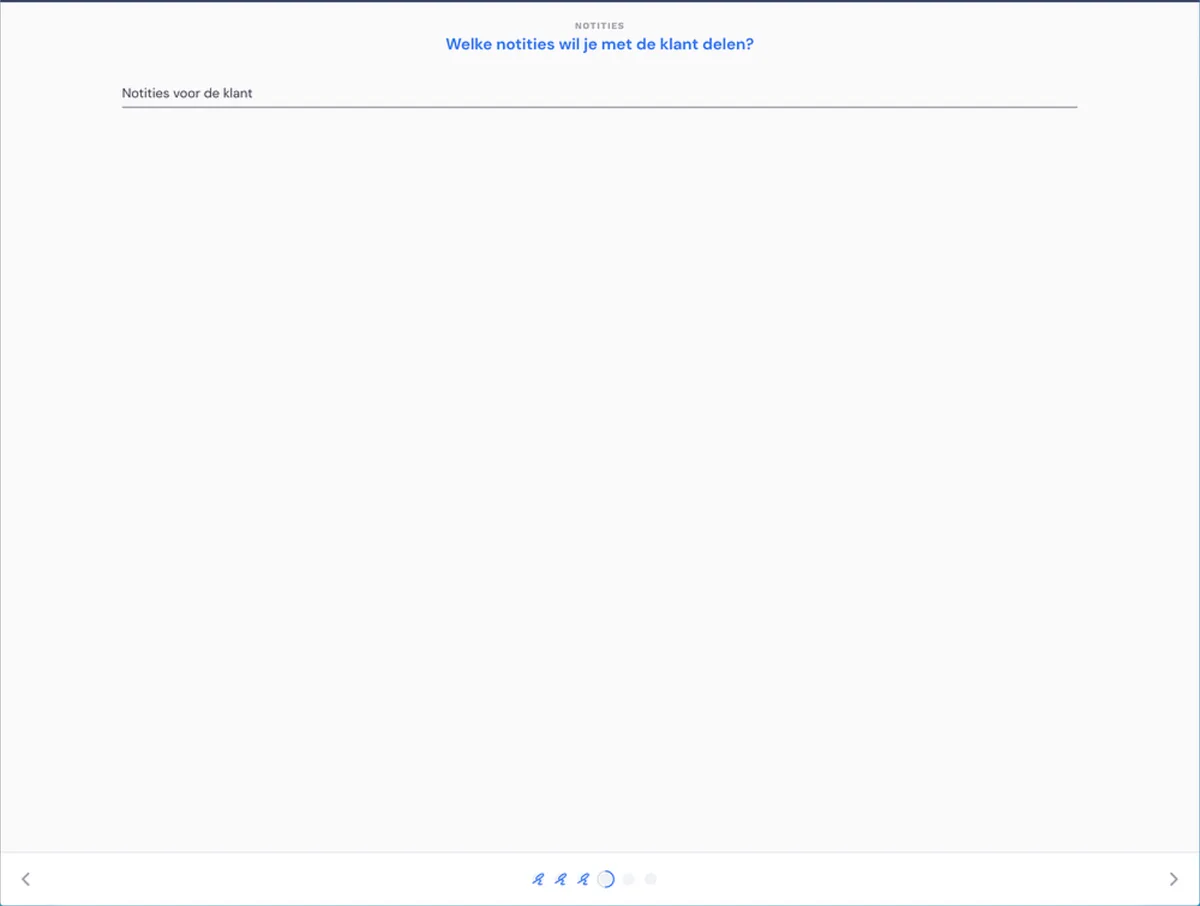
Add notes in this step. You can add notes for internal use, or notes for the customer. The latter are included in the quote.
Step 6 - payment agreements
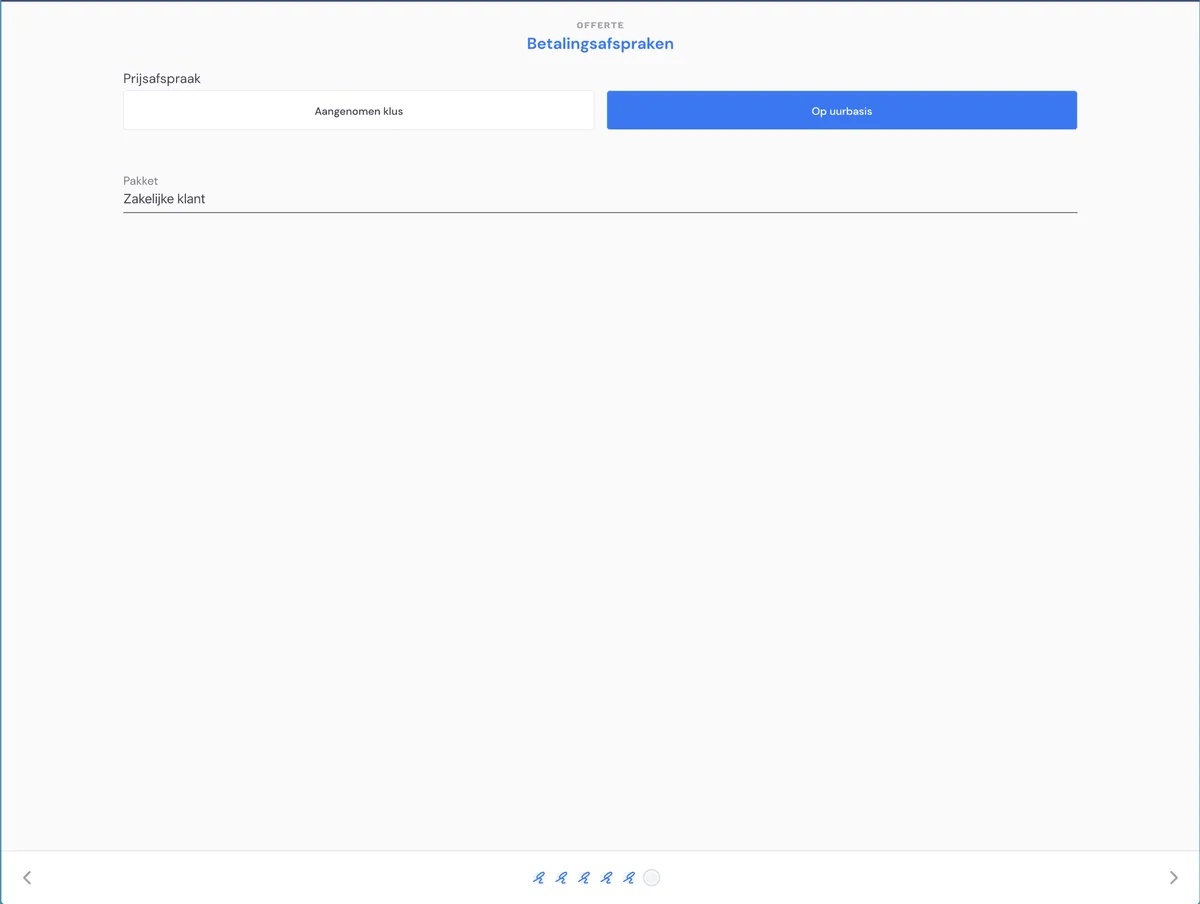
In this step, choose the pricing agreement (fixed-price job or hourly basis, i.e. actual-hours invoicing). Then choose the package (this determines the document templates, invoicing moments, customer messages, etc.).
Step 7 - estimate
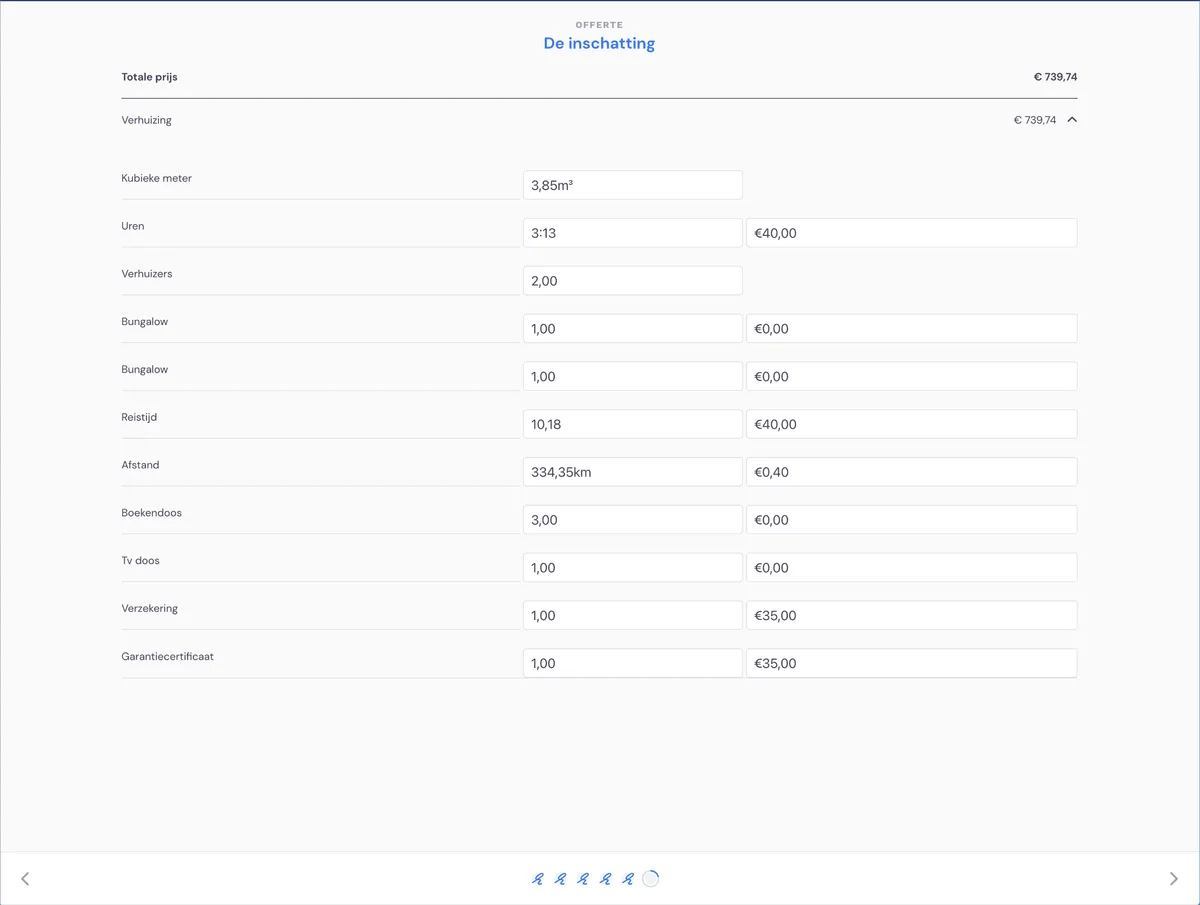
In the estimate you see the cubic metres and costs estimated based on the survey. You can adjust these if you want, so you always stay in control of the content of the quote.
Step 8 - the quote
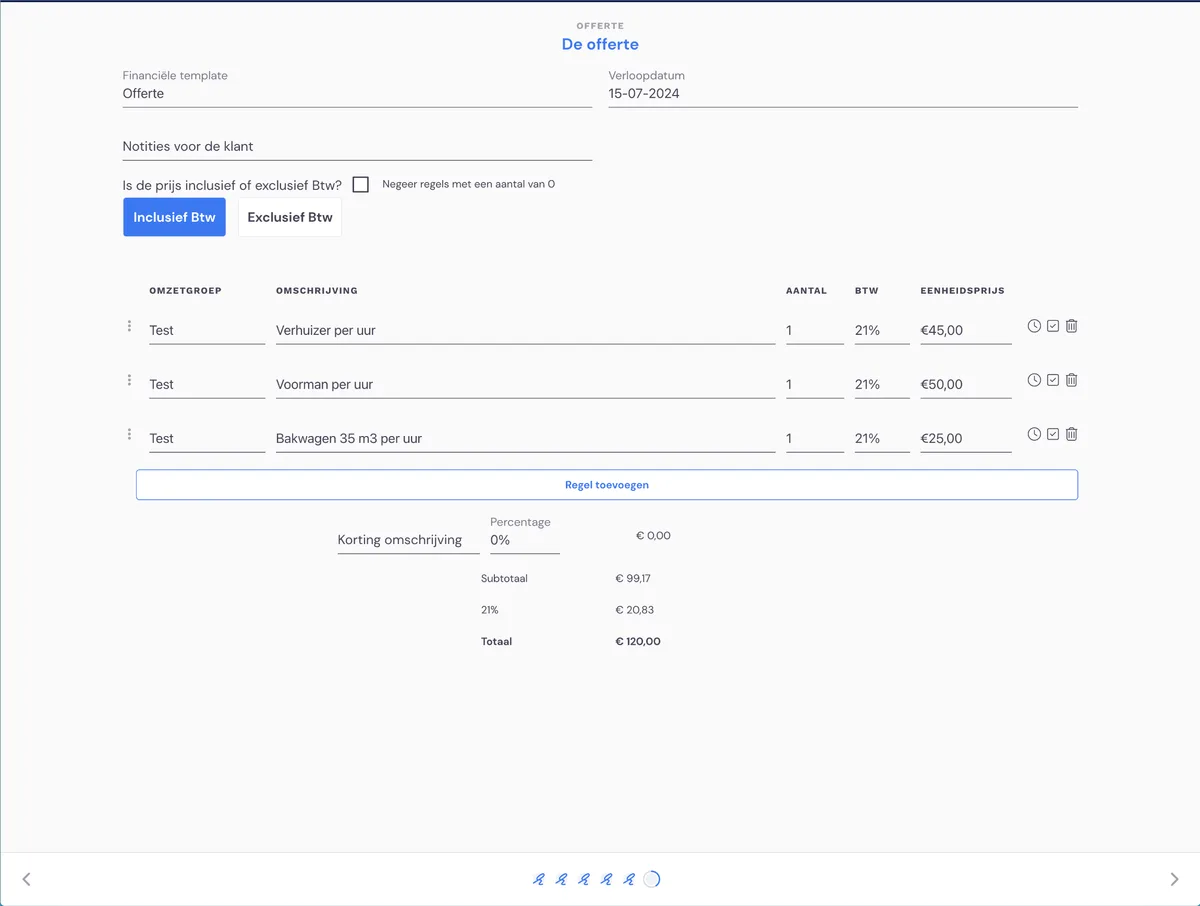
After checking the estimate, the costs are listed as lines. These can be adjusted, and you can also add lines. Here you can also give the customer a discount.
Step 9 - sending
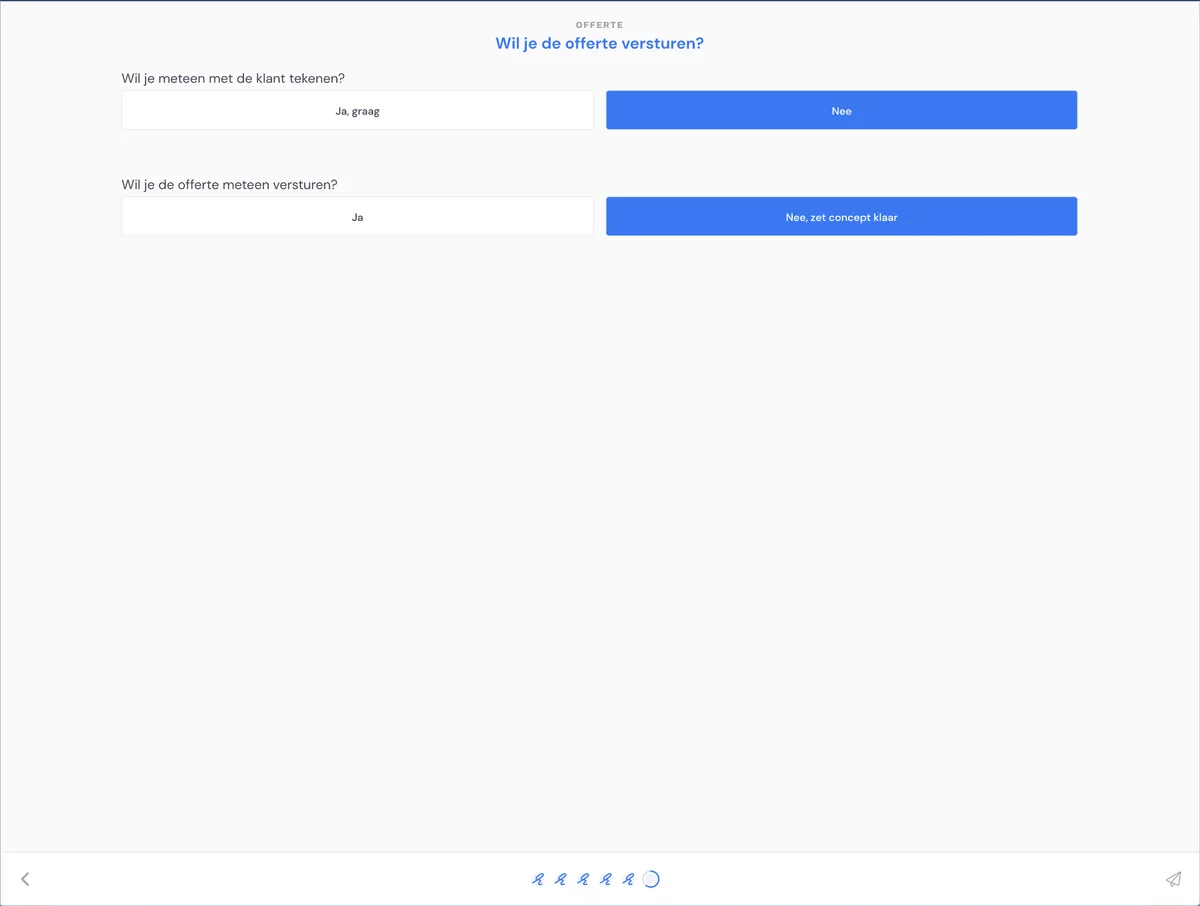
In the last step you choose how the quote is handled. You can:
have the customer sign immediately (this is only possible with the app)
send the quote immediately (to the customer's email address)
save the quote as a draft (so you can check it and send it later)
In this step, save the quote as a draft.
The survey is complete!
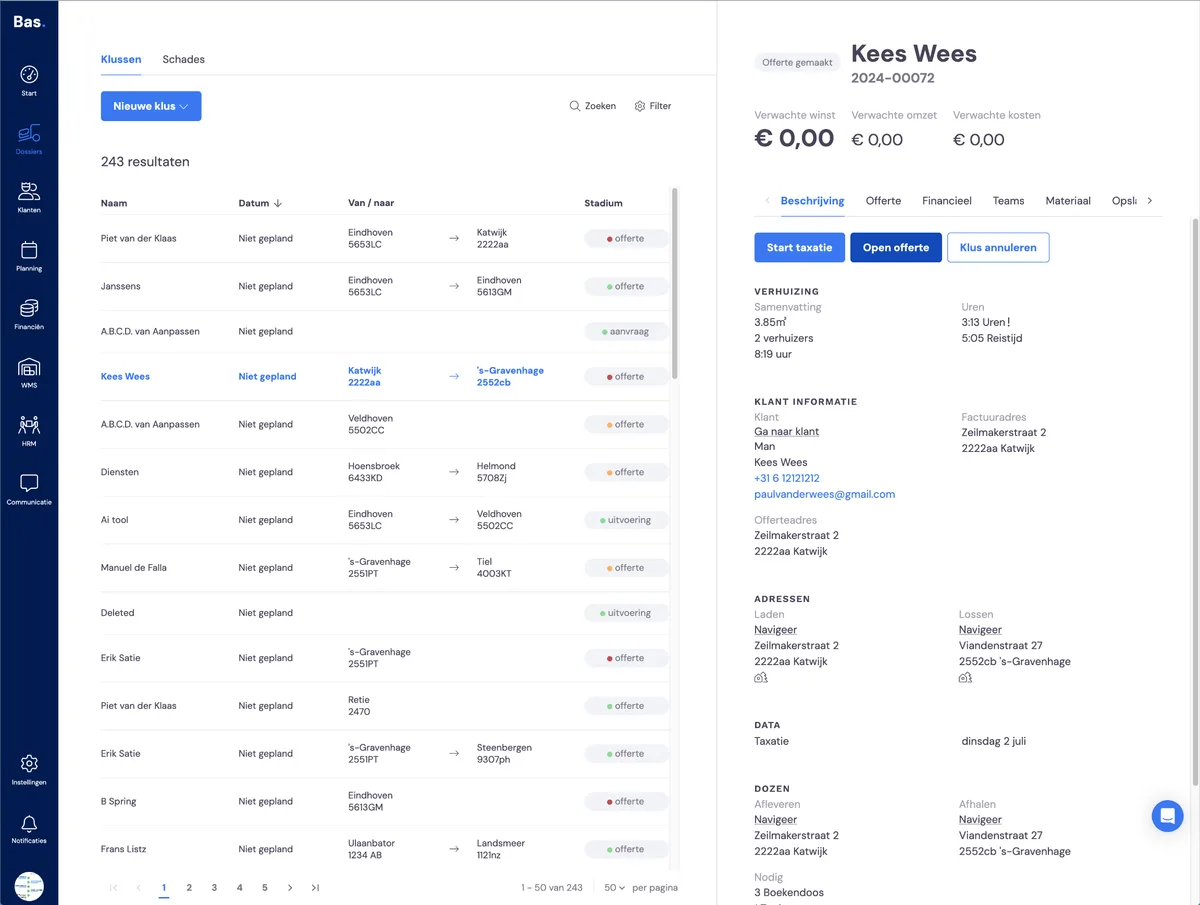
The quote is ready at the job. Click 'open quote'.
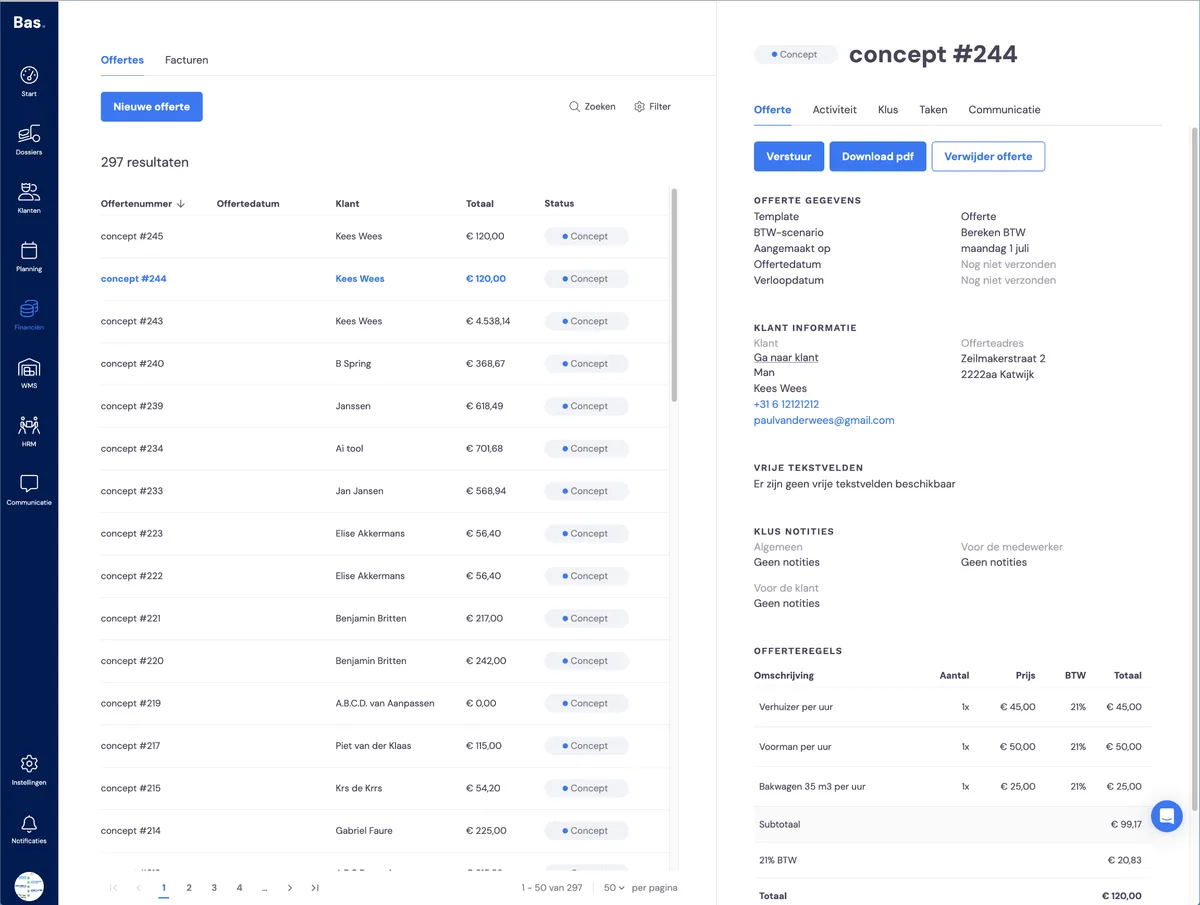
Here you can download the PDF so you can check that it is completely correct, both the content and the layout.
Next step
The next step is to review and send the quote so that it can be accepted by the customer. In this case, of course, you're the customer. >
Next step: Send the quote for your move
Next step: Send the quote for your move
Next step: Send the quote for your move