
With 'Document templates' you determine the layout and content of the documents you share with your customers. Documents are the quotes, invoices and contracts sent from Bas.
In this step, we're going to adjust the layout and content of templates. So that the layout matches your branding and the content matches the way you currently communicate with your customers.
Overview of document templates
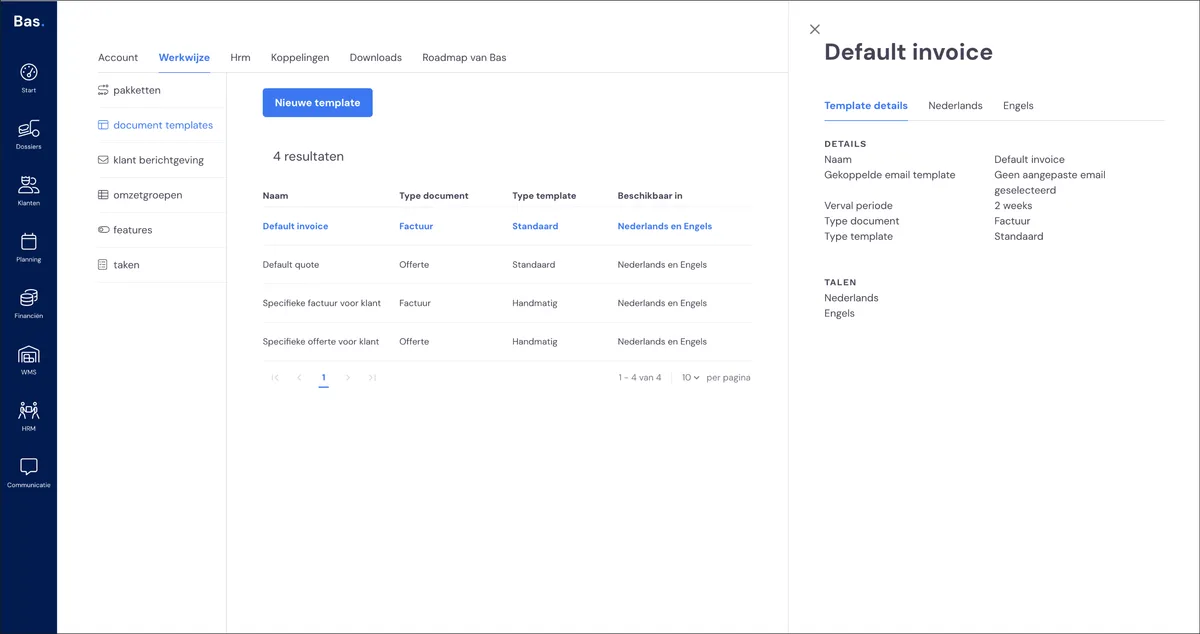
The standard templates for quotes and invoices are ready to be edited. You'll find these document templates under Settings > Workflow > Document templates.
Editing an existing document template
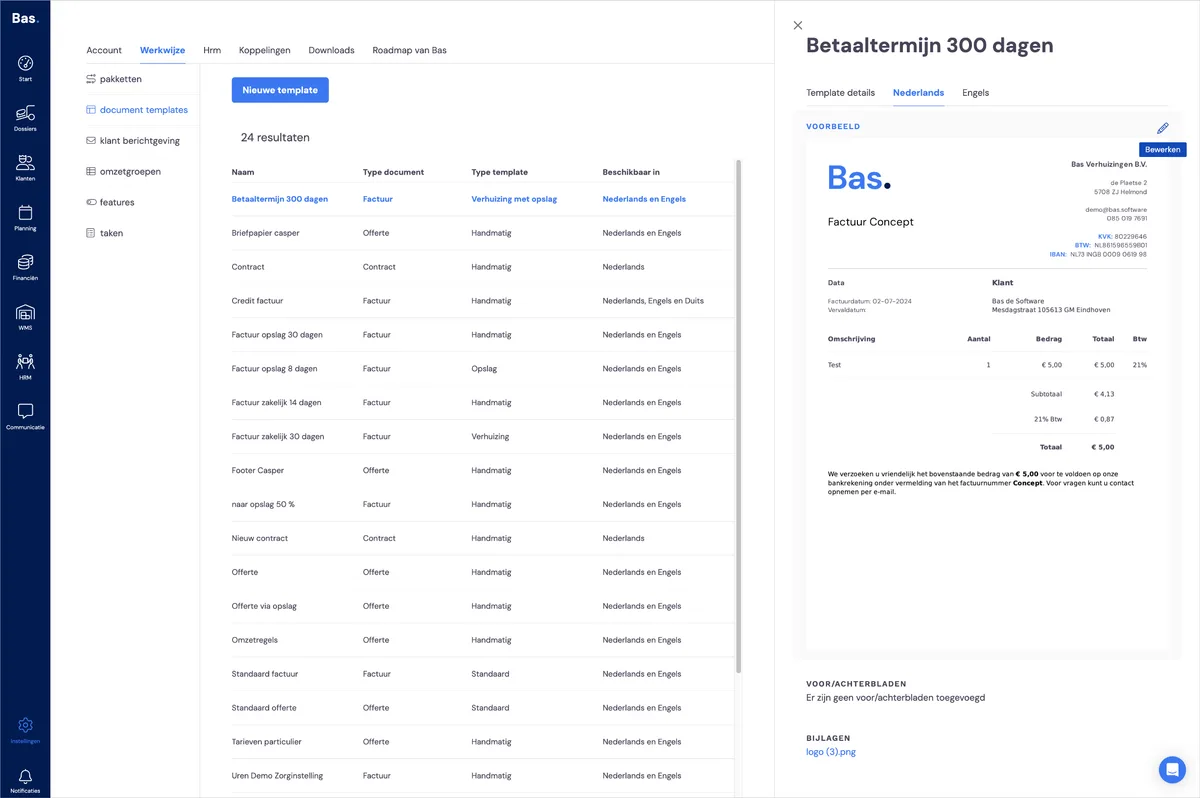
Click here on the document template you want to adjust. To edit the content and layout, click the language of the template you want to adjust. You'll find this in the top-right corner of the screen. Move your mouse over the template and click the pencil icon to edit it.
Adjusting layout and content
You can adjust the layout and content of a document template using the editor you get when you edit the template. Below are a number of options:
Editing text
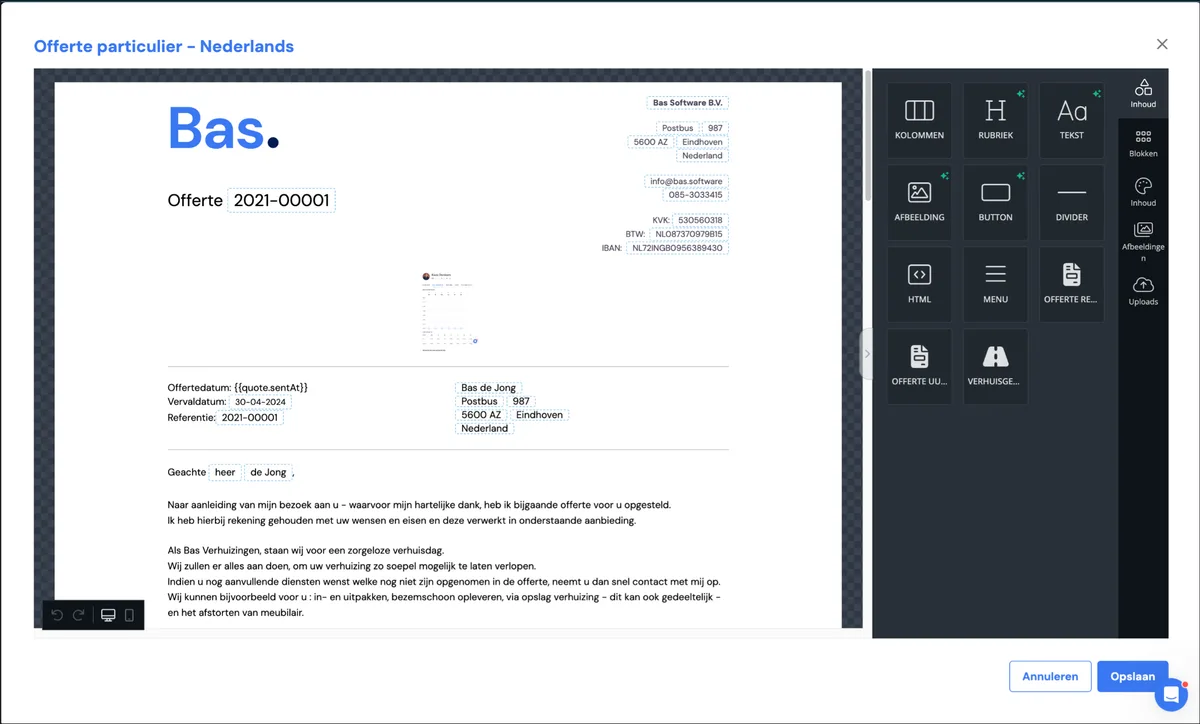
You can edit the text in your template by clicking on the text, adjusting it, and saving the template.
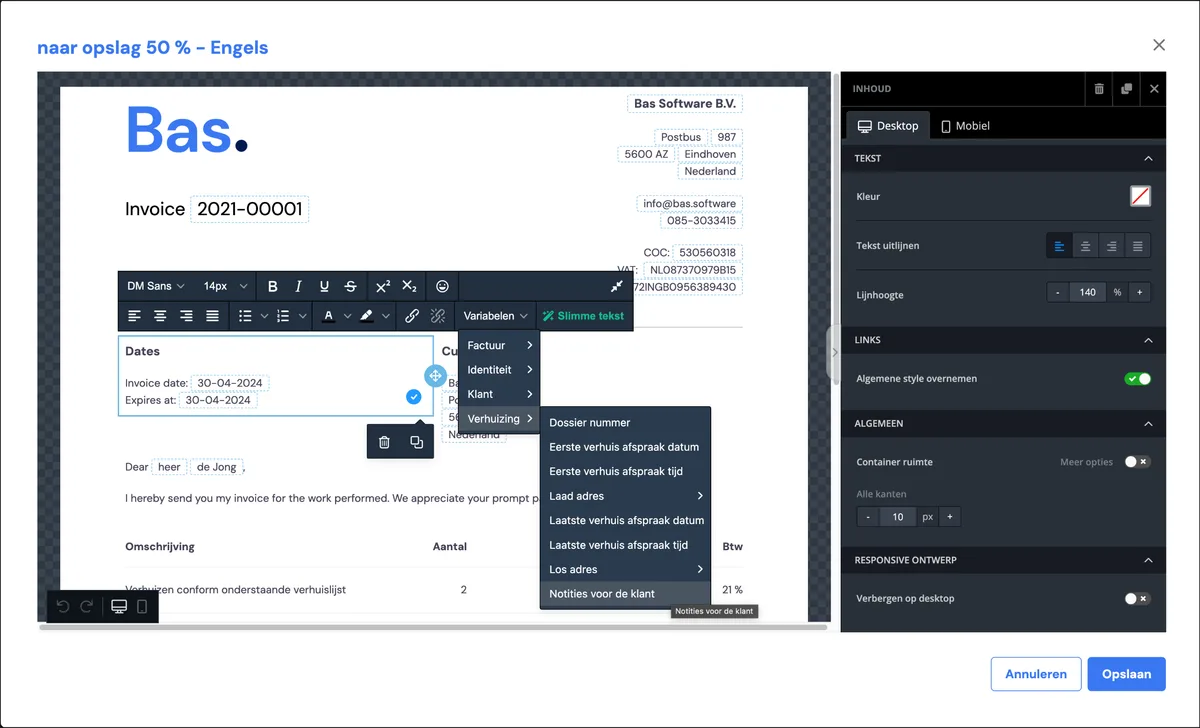
You can also use variables that are available in Bas for the text. For example, you can drag notes for the customer into the document template.
Editing images
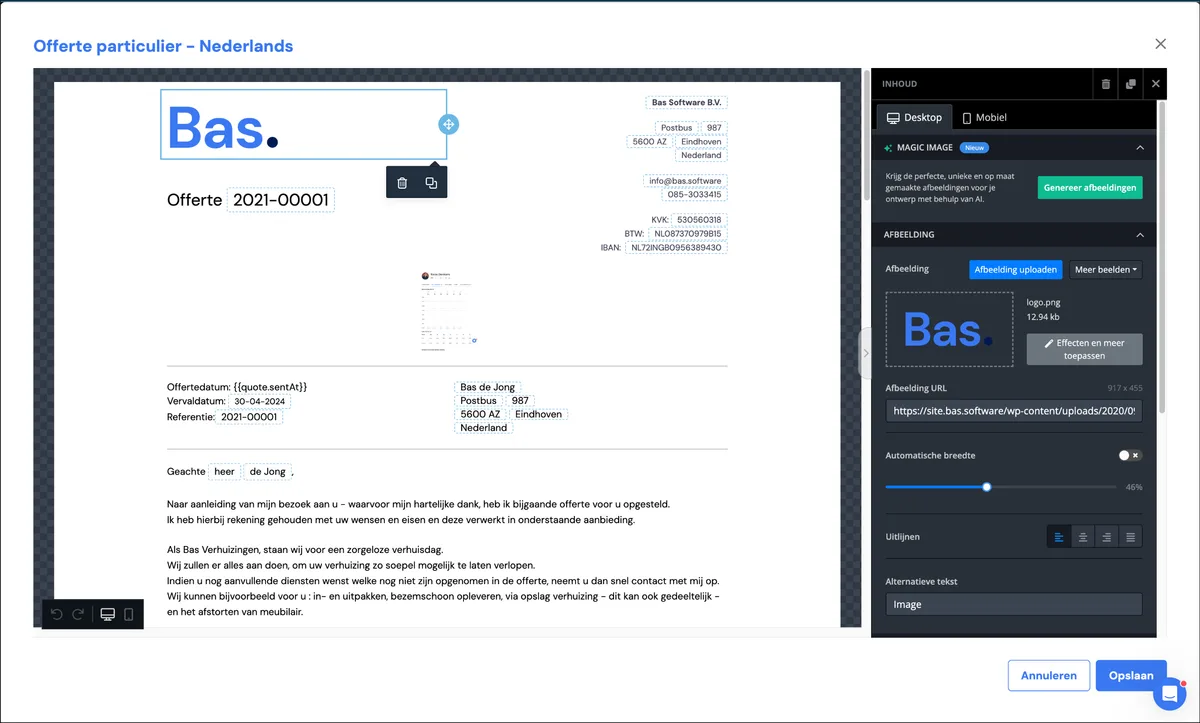
You can click on an image; the editor will then show you the option to edit it or upload an image that replaces the existing one.
Adding elements
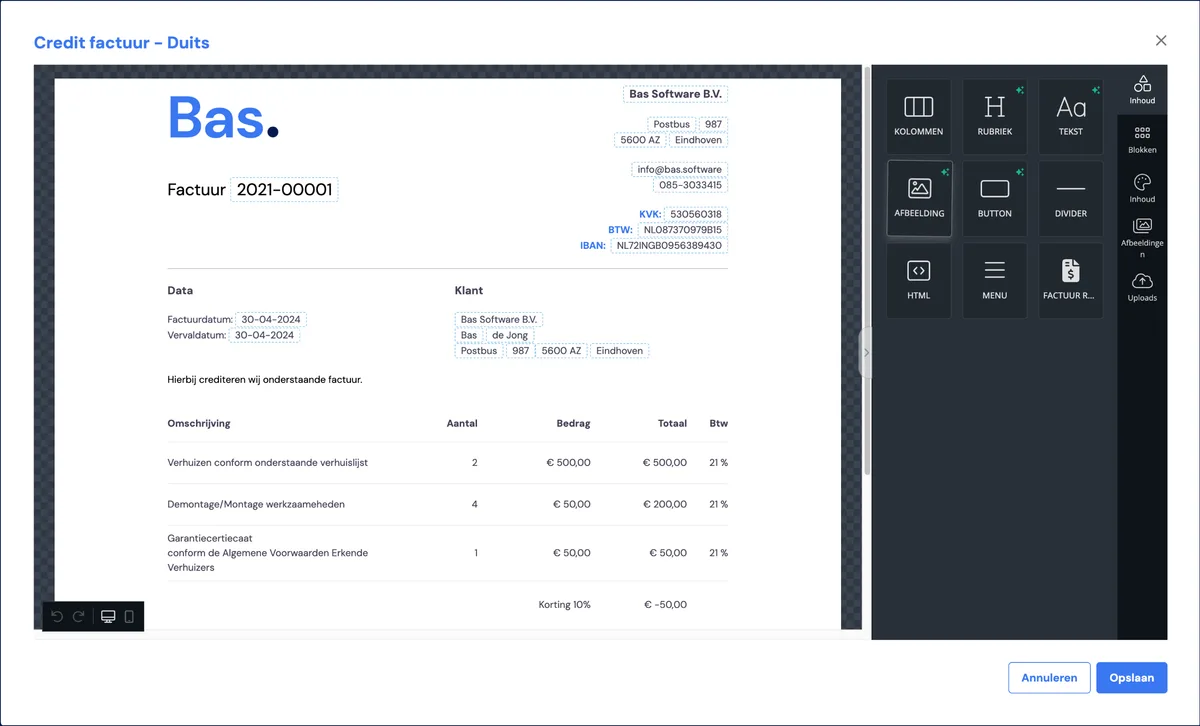
You can add elements to the template by selecting them from 'Content' and dragging them into the template
Adding attachments and cover pages/back pages
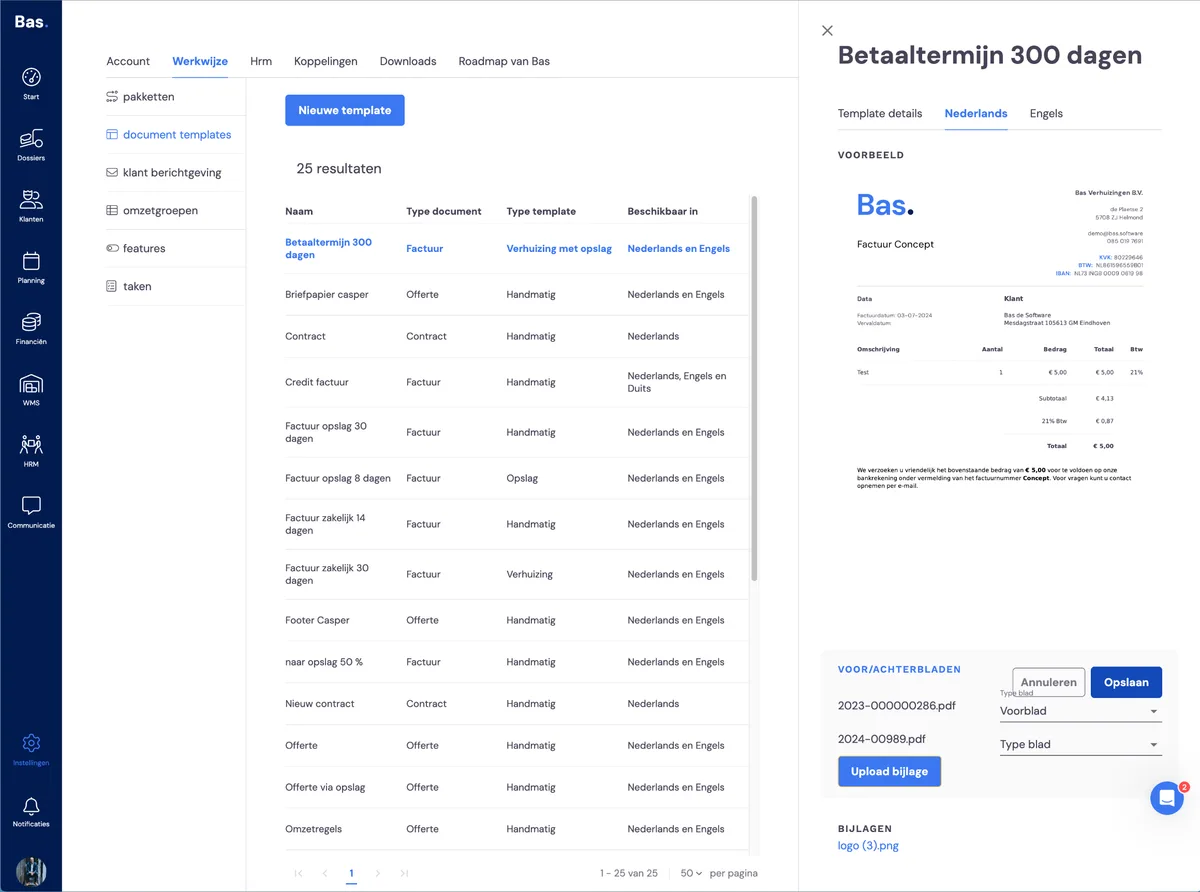
If you want to add standard attachments, cover pages or back pages, you can do this in the template, under cover/back pages (in the bottom-right corner), by uploading an attachment. Then choose, for each uploaded file, whether it's a cover page or a back page, and click 'Save'.
Check the result
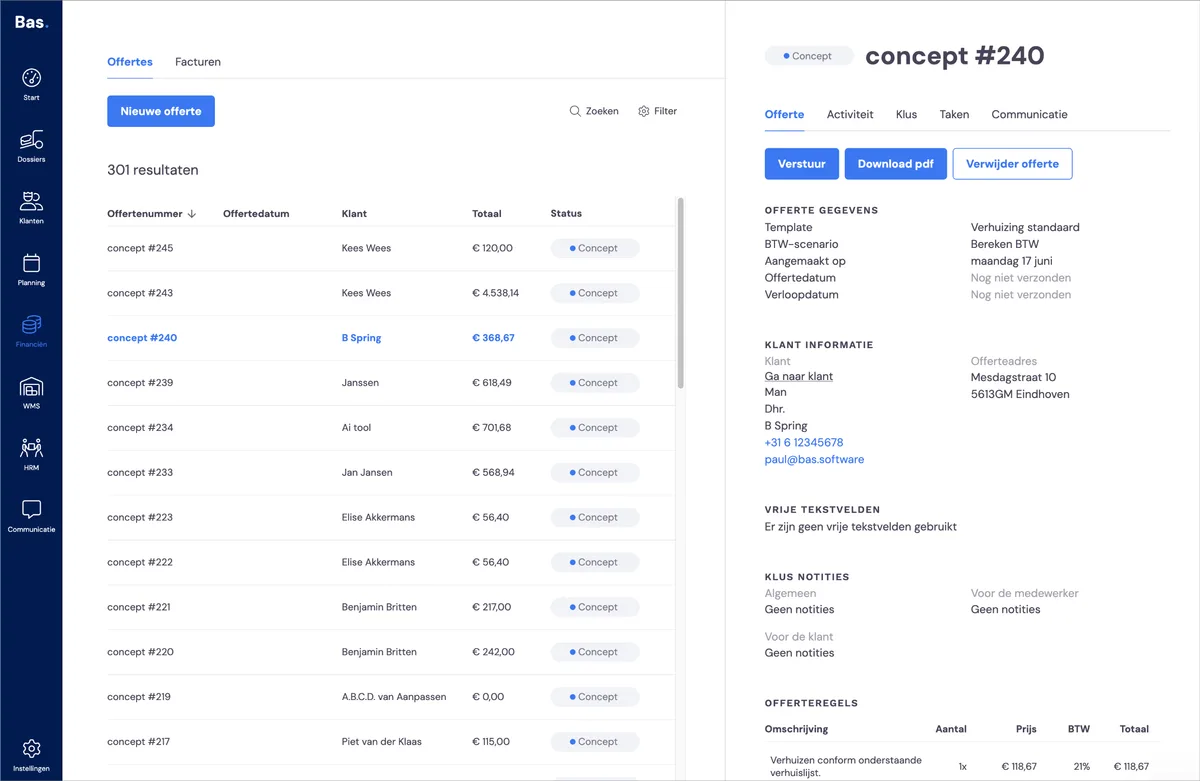
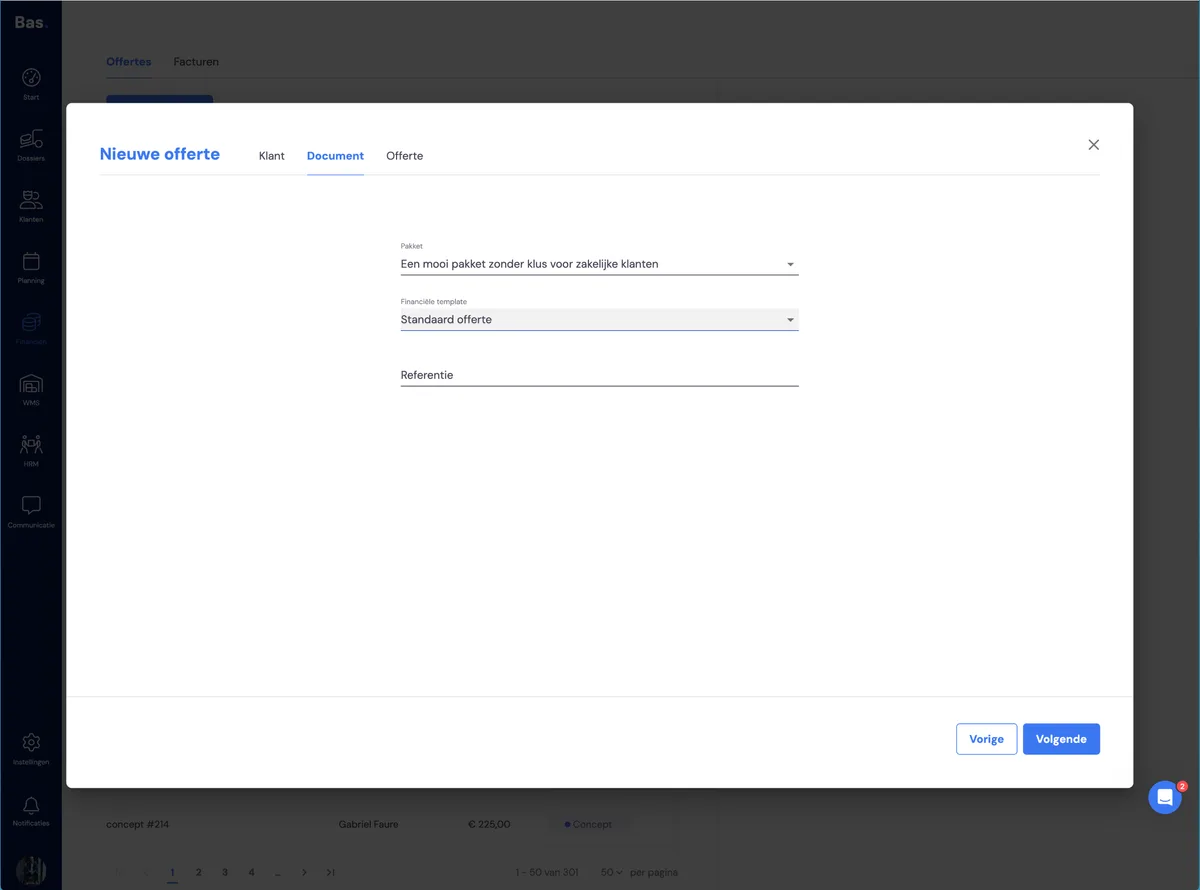
You can check the result by creating a dummy quote or invoice. You do this under Finance > Quote or under Finance > Invoice.
In the wizard, choose the template you just adjusted. You can view the result by clicking the quote or invoice and downloading it.
Next step
The next step is adjusting the layout and content of the emails you send to your customers from your jobs >