
The timeline
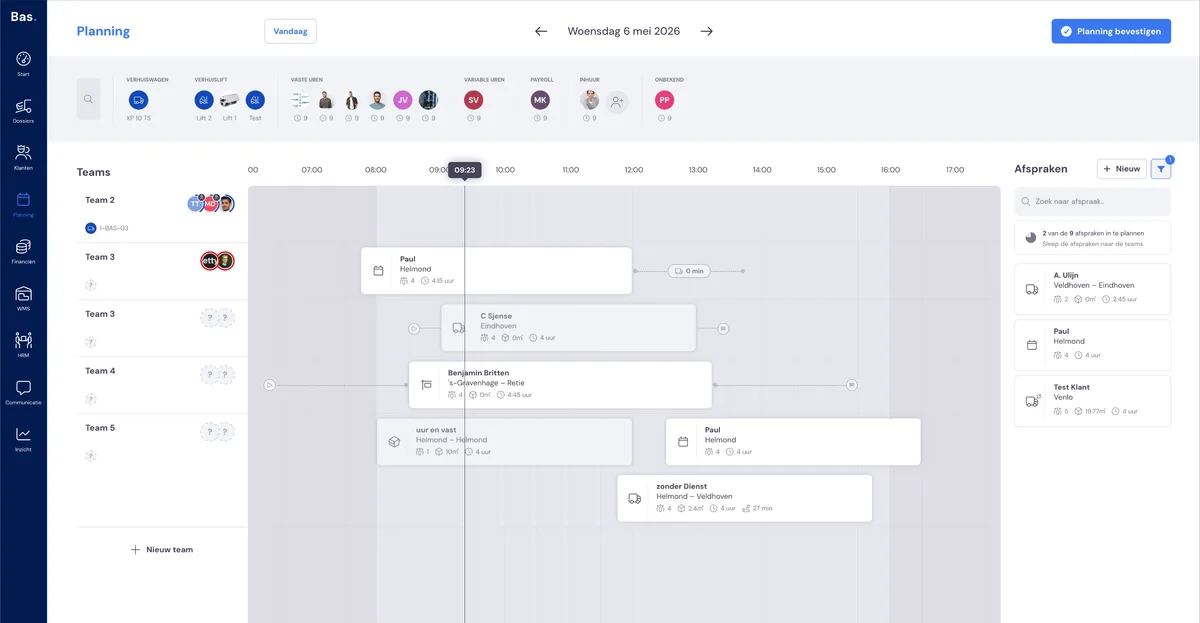
In the middle of the planning, you will see the timeline. All scheduled appointments appear here as blocks, organised per team. Time runs from left to right across the working day.
All changes you make on the timeline are saved automatically. Your employees will only see them after you publish the day — see Confirming the planning and sending emails.
Appointments on the timeline
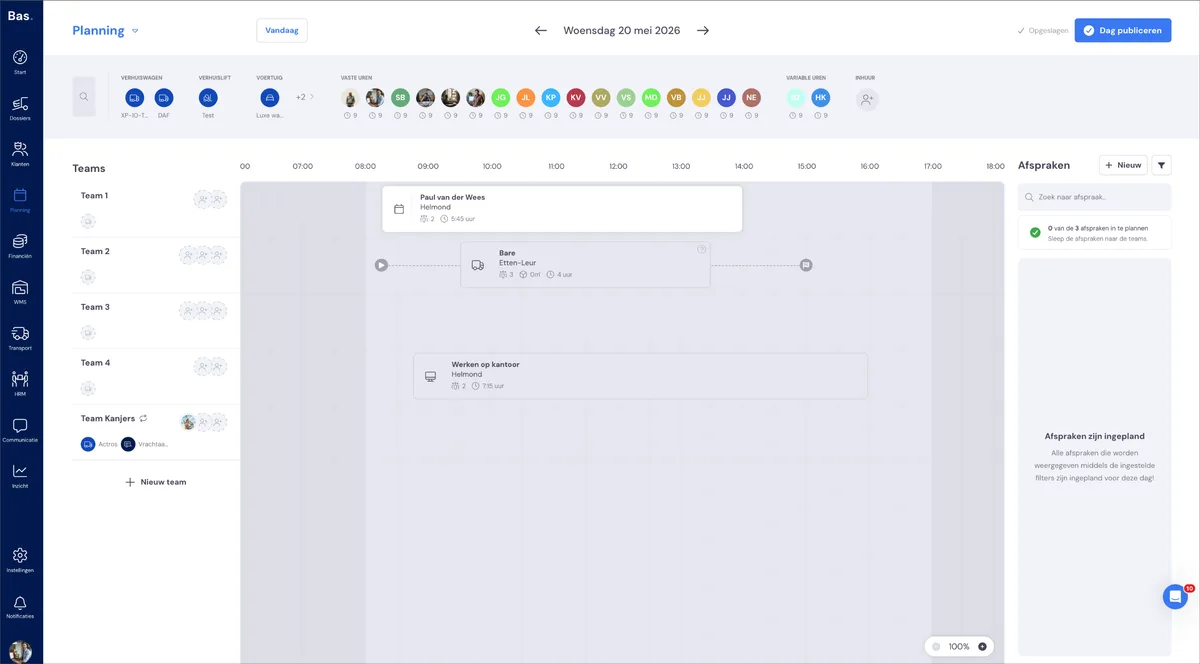
As soon as you drag an appointment from the appointments panel onto the timeline, it appears as a block at the planned start and end time. If a team has multiple overlapping appointments, the blocks shift below one another so you can see them both.
Moving appointments in time
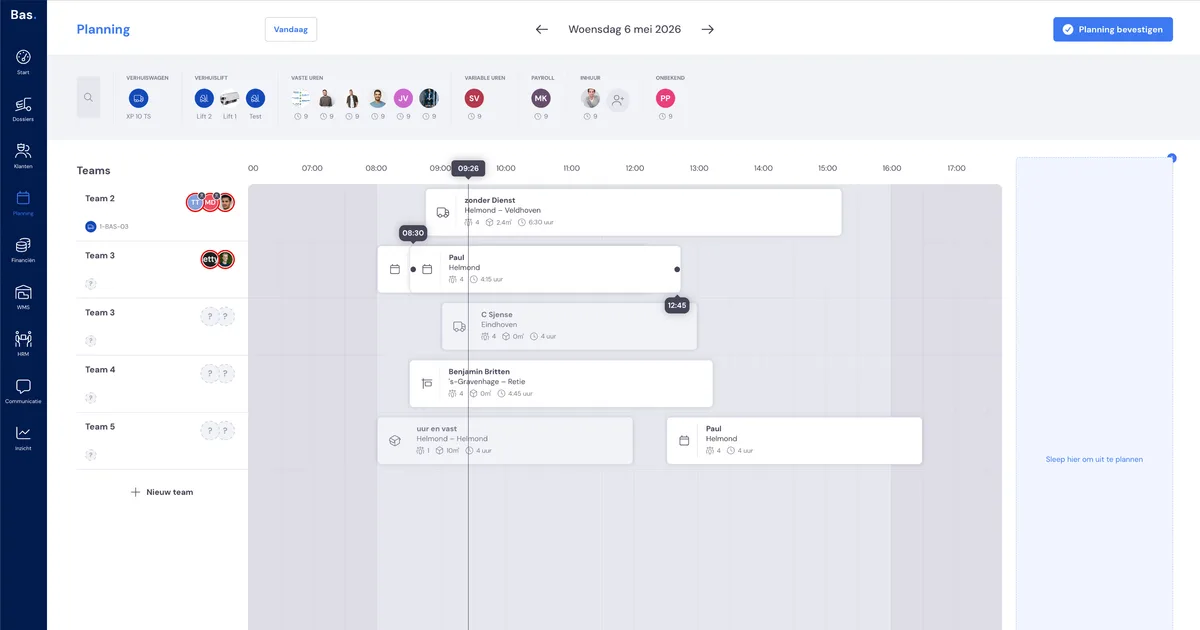
You can drag an appointment left or right on the timeline to adjust the start and end time. The appointment snaps in quarter-hour steps, so you can plan precisely.
Adjusting the duration of an appointment
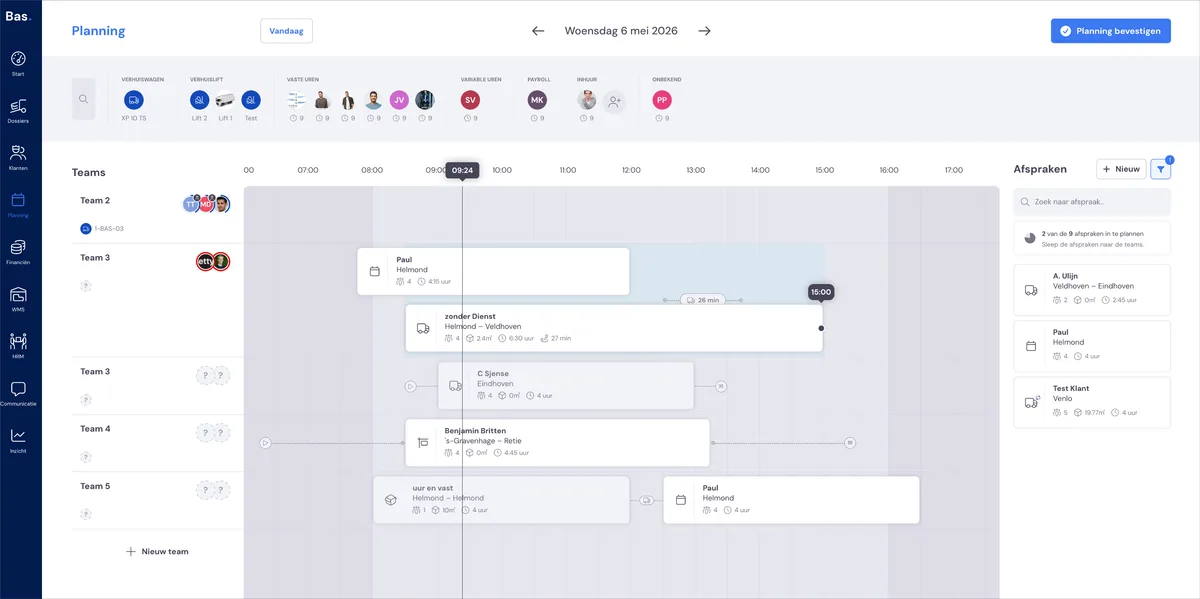
Drag the edge of an appointment block to adjust its duration. Pull the right-hand edge to the right to make the appointment longer, or to the left to make it shorter. The minimum duration is a quarter of an hour.
Moving appointments to another team
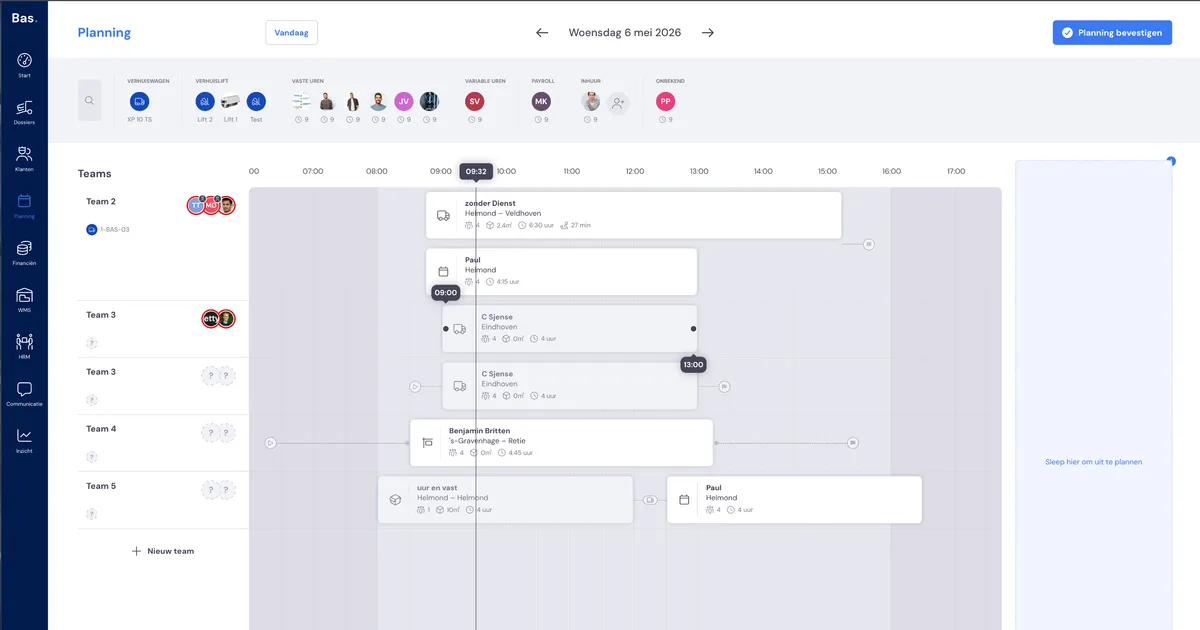
Drag an appointment from one team's timeline to another team. The employees of the original team are disconnected from the appointment — they remain on their team. The vehicle does not go with it either, because vehicles are linked to the team. The role requirements of both teams are recalculated.
Linking an extra team
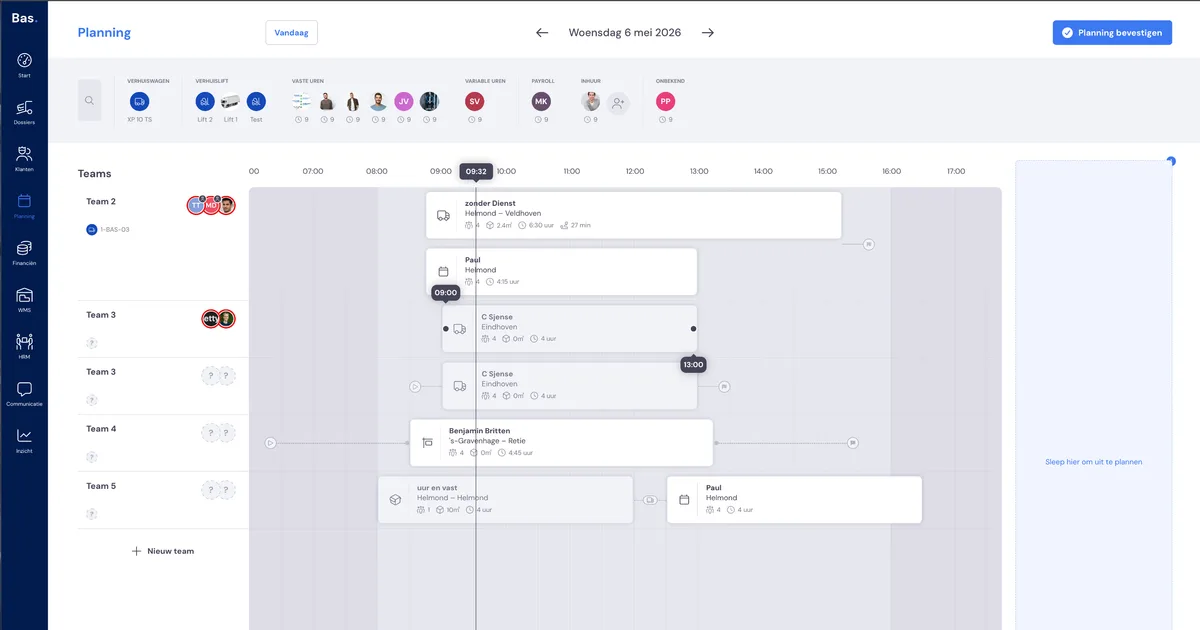
Do you need help from another team on a large job? Hold down Shift and drag the appointment to another team. The team is then linked to the appointment as an extra team, instead of the appointment being moved. There is no maximum to the number of extra teams you can link.
An extra team can have its own start and end time. This allows you, for example, to have a team join later in the day. The remaining role requirements flow through to the next team: if the first team has not yet filled all the required roles, you will see on the next team which roles are still needed.
Recurring appointments on the timeline
If you drag a recurring appointment on the timeline, make it shorter or longer, or move it to another team, by default this changes only that one day — without any prompt. The rest of the series simply stays as it is.
Do you want to change the whole series? Then double-click on the appointment and adjust the recurrence pattern.
Travel times on the timeline
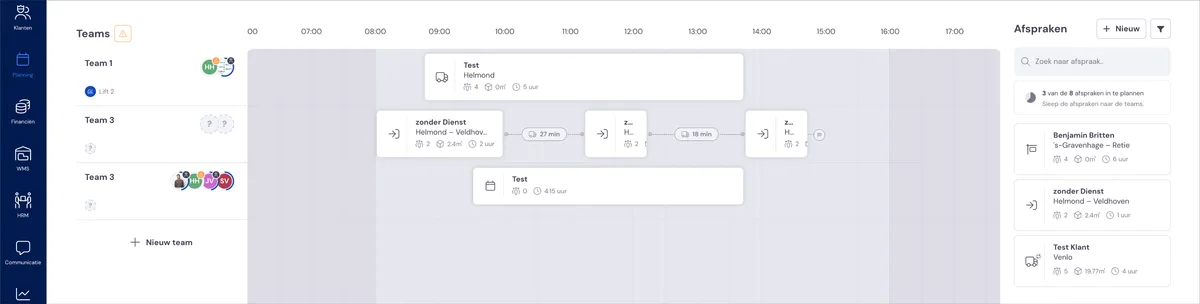
Between the appointments on the timeline, you can see the travel times. These are calculated automatically based on the team's actual route.
For the first appointment of the day, the travel time is calculated from the warehouse to the job's address. For subsequent appointments, the travel time is calculated from the previous address to the next address. After the last appointment, you can see the travel time back to the warehouse.
If you move an appointment or change the order, the travel times are automatically recalculated. This way, you always have the correct travel times in view.
The detail screen
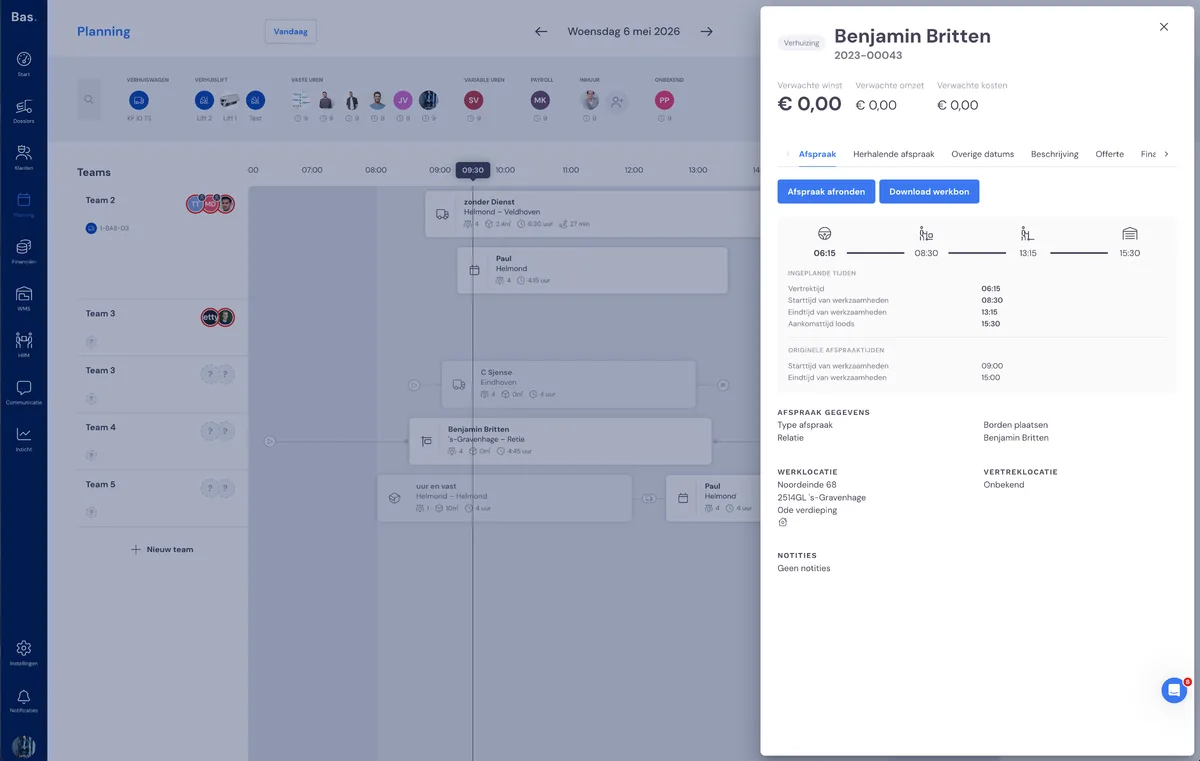
Click on an appointment in the timeline to open the detail screen. Here you can see all the information about the appointment: the description, the quote and all related details — just like in the current detail screen.
Read more
More about the new planning: